 跳到内容
跳到内容 
Choosing an adjustable LED linear track light for a retail aisle is not simply a matter of comparing wattage. The right fixture has to place useful light on merchandise, keep the aisle comfortable, fit the installed rail and remain flexible when displays change. A product can produce plenty of lumens and still create dark lower shelves, glare at the aisle entrance or difficult commissioning.
We wrote this guide for retailers, lighting designers, contractors, distributors and importers who need a repeatable selection process. Our aim is to help you define what the project needs before asking for prices or samples. We also explain where an independently adjustable dual-panel design can solve real aisle-lighting problems—and where a conventional spotlight or fixed linear luminaire may be the better choice.
Quick answer: what should you look for?
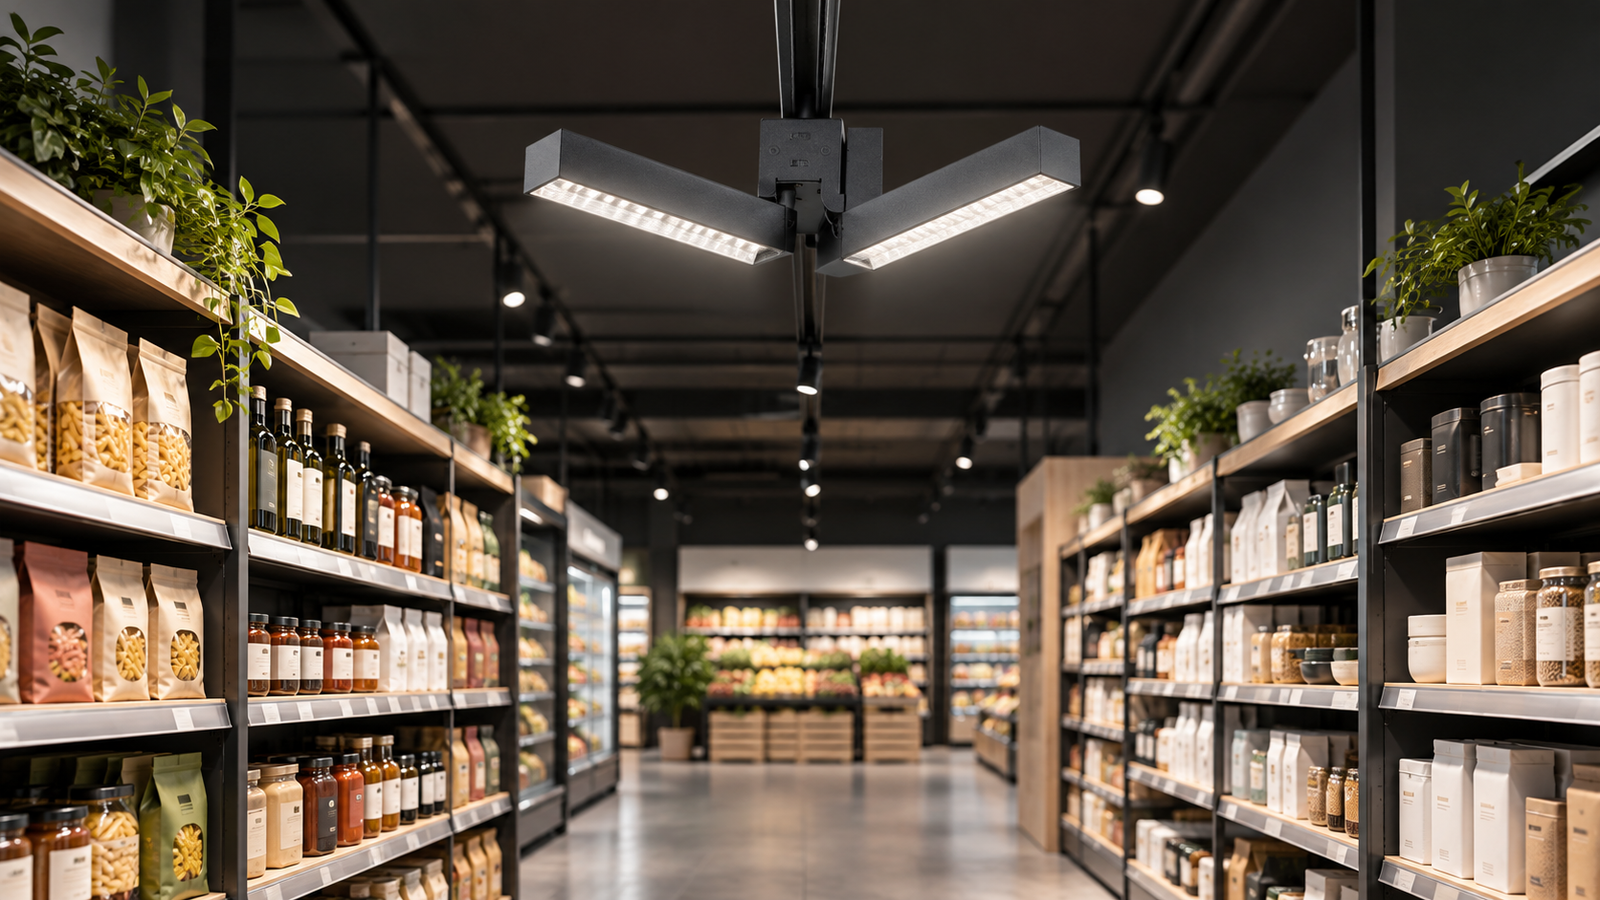
For most retail aisles, choose an adjustable LED linear track light by matching the beam distribution, delivered lumen output, mounting geometry, glare control, colour quality and rail adapter to the actual shelves. Confirm the decision with photometric data and a representative mock-up. Do not select by wattage or a generic “standard track” description alone.
A practical buying sequence is: define the target surfaces, choose the optic, estimate the required output, check sightlines, verify the track and control system, then test a production-intent sample. That sequence prevents a supplier catalogue from becoming the lighting brief.
Start with the merchandise, not the ceiling
Retail lighting exists to help customers see products and navigate comfortably. Begin by recording the surfaces that matter: upper, middle and lower shelf faces; promotional end caps; signs; central displays; aisle floors; and any reflective doors or screens. Note the shelf height, aisle width, track position, mounting height and horizontal distance from the track to each target.
When we review a project, we ask which targets need priority. A grocery aisle may need consistent vertical illumination on two long shelf faces. A fashion store may prioritise texture, colour and focal contrast. A showroom may need frequent re-aiming as displays move. The same luminaire can behave very differently in these layouts, so the product choice should follow the merchandising plan.
| Project question | Why it matters | What to record |
|---|---|---|
| Where are the visual targets? | Determines aiming and beam distribution | Shelf faces, floor, signs and displays |
| How far is the track from the target? | Affects beam size and intensity | Mounting height and horizontal offset |
| Will layouts change? | Determines the value of adjustability | Seasonal and promotional changes |
| Which views create glare? | Influences tilt, optic and track position | Aisle entrances, checkouts and work positions |
| Which rail is installed? | Controls mechanical and electrical compatibility | Manufacturer, model, profile and adapter |
Choose 60° or 90° optics from the required coverage
A 60° distribution generally provides more controlled coverage and can help place light onto shelf faces from a defined track position. A 90° distribution spreads light across a wider area and may suit open retail zones, wider aisles or layouts that need softer overlap. Neither beam is automatically better: the correct optic is the one that meets the target at the proposed spacing.
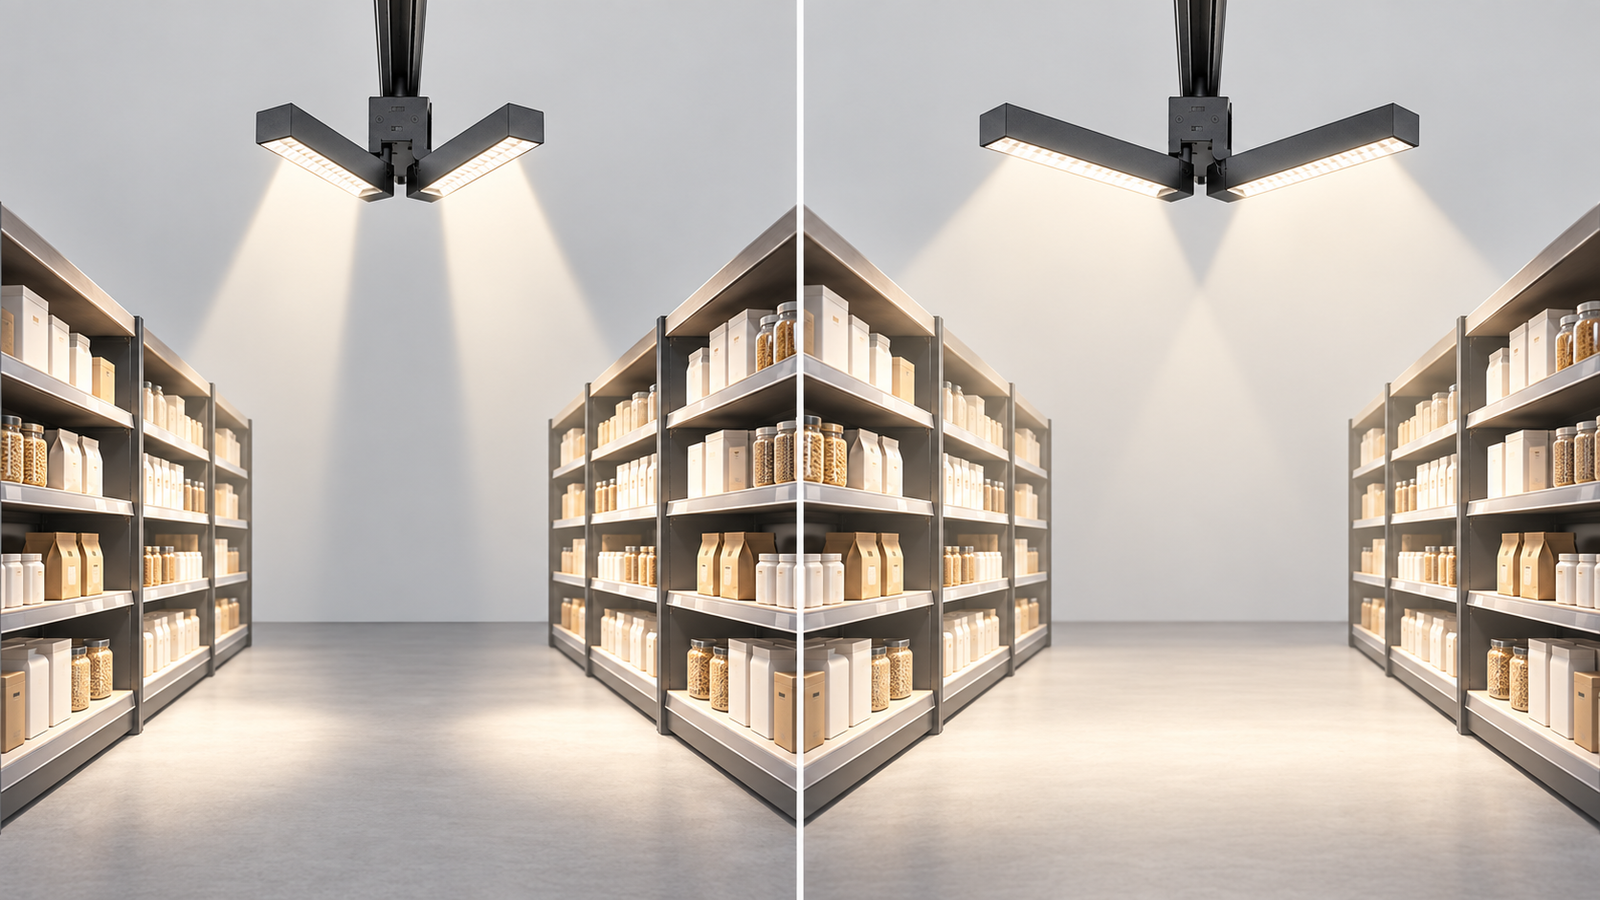
Use photometric files to compare the two options under the same geometry. Check vertical illuminance at several shelf heights, horizontal illuminance where people walk or work, uniformity and spill outside the target. Our IES vs LDT buyer guide explains what to request from the manufacturer and how file revisions affect the calculation.
Do not rely on a beam-angle number alone. Two optics with the same nominal angle can differ in centre intensity, edge softness, stray light and visual comfort. Ask whether the file represents the complete luminaire and the exact wattage, optic and LED configuration you intend to order.
Select lumen output by geometry—not by watts alone
Wattage describes electrical input, not the amount of useful light reaching merchandise. Start with the project target, then compare complete-luminaire output and photometry. Higher output may be necessary for taller mounting or darker merchandise, but excessive output can produce glare, strong hot spots and wasted energy when the optic or position is wrong.
The LL1615 family provides a useful example of one housing covering several project zones. The confirmed options are shown below. These values help narrow the sample choice; they do not replace a calculation for the actual store.
| LL1615 setting | Nominal lumen output | Planning use |
|---|---|---|
| 27 W | 4,393 lm ±5% | Lower-output zones or closer targets |
| 40 W | 6,200 lm ±5% | General retail comparison point |
| 50 W | 7,680 lm ±5% | Higher mounting or demanding targets |
| 60 W | 9,079 lm ±5% | Highest confirmed output in the family |
The built-in DIP switch selects the total fixture power. This can reduce stock complexity and allow an installer to choose an approved output during commissioning. It should not be described as separate output control for the two panels. If a project requires DALI, 0–10 V, TRIAC or another protocol, confirm the exact driver and documentation before quotation.
Prioritise vertical illuminance and uniformity
Customers view products on vertical shelf faces, so a floor-only lux value is rarely enough. Measure or calculate vertical illuminance at upper, middle and lower shelf positions. A bright upper shelf with a dark bottom row may look impressive in a single photograph but still perform poorly for the shopper.
Uniformity also matters. Look for dark bands between luminaires, hard transitions between the two panels, excessive centre intensity and spill into the opposite aisle. For a long run, evaluate several fixtures together rather than judging one unit in isolation. Record the proposed spacing, panel angles and track offset so the calculation can be repeated on site.
We recommend agreeing a small set of measurable acceptance points before the sample arrives. That turns “looks bright enough” into a decision the buyer, supplier and installer can understand.
Check glare from real customer positions
Glare depends on the complete room, viewing direction, luminous area, optic, output and aiming—not only on a UGR number printed on a data sheet. LL1615 is specified at UGR <22, but that does not guarantee the same result in every retail aisle. The final layout still needs a calculation and visual check.
Walk the proposed sightlines: approach the aisle, stand at both ends, look across intersections and check staff or checkout positions. If customers can see a bright aperture directly, consider changing the panel angle, track location, optic, output or fixture spacing. Our guide to UGR and glare control for linear track lights explains why fixture data and room conditions must be evaluated together.
Use colour quality that matches the merchandise
LL1615 is available in 3000 K, 4000 K and 6000 K, with CRI above 80 or 90 options. A warmer 3000 K can support hospitality-style or premium presentations; 4000 K is a common neutral starting point for retail; and 6000 K produces a cooler appearance for applications that require it. The best choice should be viewed on the actual products, finishes and brand colours.
CRI 90 can be valuable for fashion, cosmetics, food, art and colour-sensitive goods, but a single Ra value does not describe everything. If red rendering, colour fidelity or gamut is important, request the relevant R9 or TM-30 data for the exact configuration. Our CRI 90, R9 and TM-30 retail guide provides a buyer-focused comparison.
Why a dual-panel fixture can reduce layout compromises
An independently aimable dual-panel track light can direct one panel toward each shelf face from a central track position. It can also divide light between a vertical display and the aisle floor, or support two nearby targets without adding a second fixture. This flexibility is most valuable where merchandise layouts change but the rail stays in place.
The benefit is mechanical aiming, not automatic independent electrical control. Both panels may share a driver and power setting. State clearly whether the project needs separate switching, different colour temperatures or individual dimming, and obtain written confirmation rather than assuming that independent movement means independent electronics.
In a simple open area, a fixed wide-distribution linear luminaire may cost less and be easier to commission. In a store requiring narrow accent beams, dedicated spotlights may provide stronger focus. We recommend the dual-panel format where its ability to serve two defined surfaces genuinely reduces fixtures, simplifies repositioning or improves shelf coverage.
Verify the track system before approving the luminaire
“Three-circuit,” “three-phase,” “four-wire” and “standard European track” are not sufficient compatibility specifications. Buyers should provide the rail manufacturer, model, end-profile dimensions, conductor arrangement and clear photographs of the existing adapter. A long linear fixture also places different leverage on the rail compared with a compact spotlight.
Approve the complete production-intent luminaire on a representative rail section. Check insertion, orientation, locking, retention, earthing where applicable, circuit selection and removal. Moving the panels should not loosen or rock the adapter. Our track compatibility and circuit-layout guide provides a step-by-step verification workflow.
Build a representative mock-up before mass production
A useful mock-up reproduces the mounting height, track offset, aisle width, shelf height, merchandise colour and reflective surfaces of the real project. Install the production-intent optic, LED, driver and adapter. Mark every panel angle and power setting, then measure the agreed shelf and floor points.
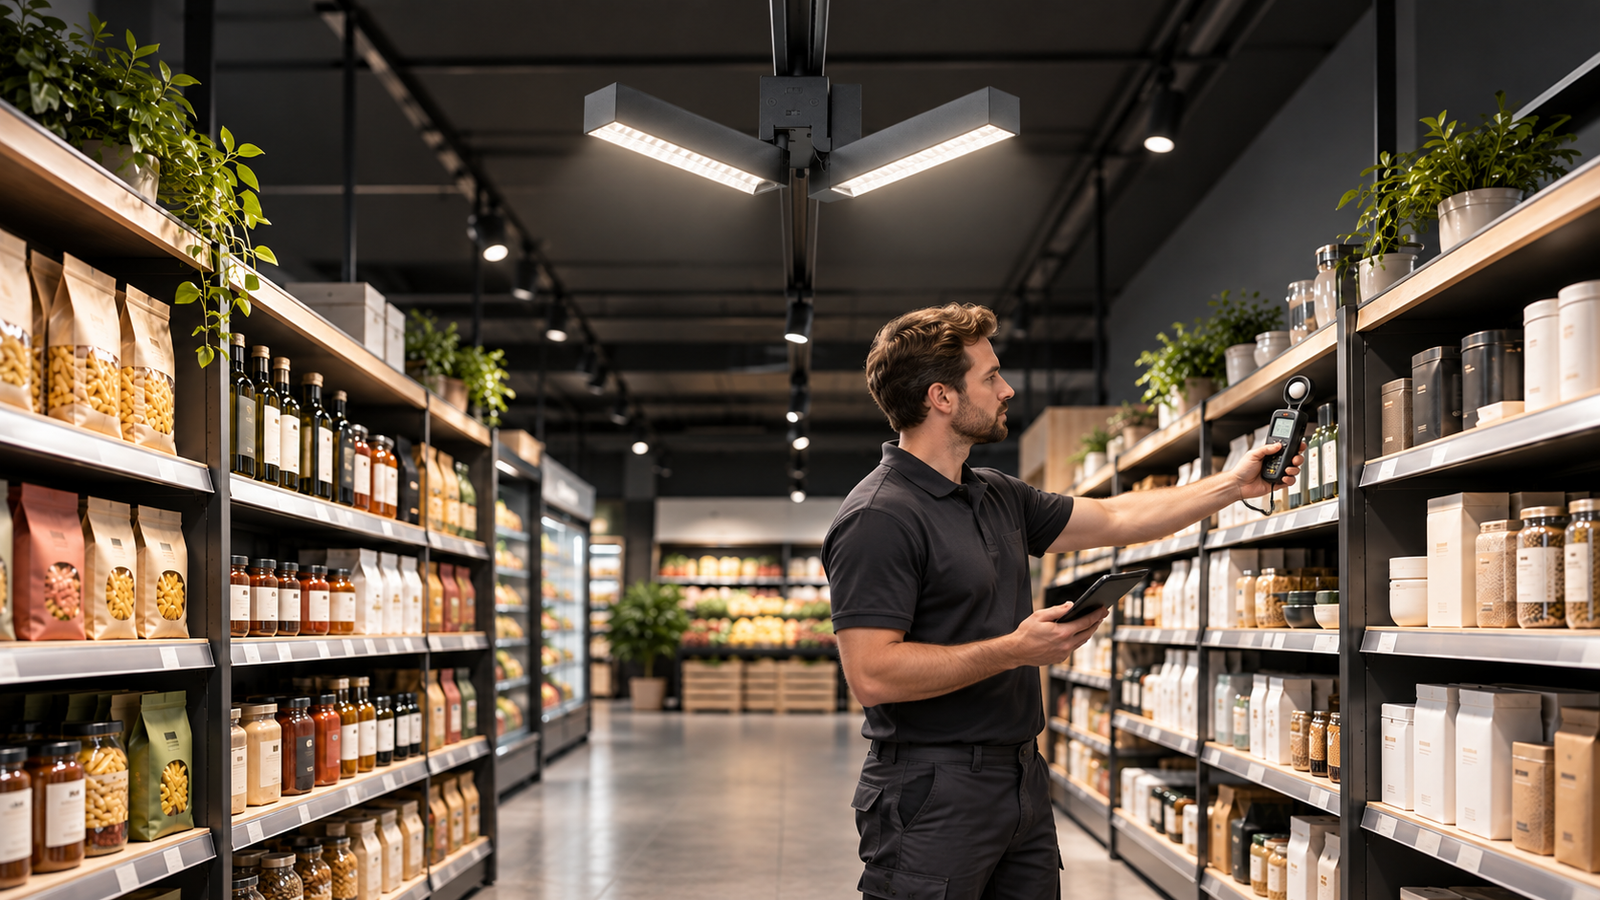
Photograph the result using fixed camera exposure for comparisons, but do not treat automatic phone photographs as measurements. Check merchandise appearance, beam overlap, reflections and customer sightlines. If the sample fails, change one variable at a time—optic, angle, position, spacing or output—so the cause remains clear.
For a complete approval record, follow our dual-panel track-light sample and commissioning checklist. It covers incoming inspection, rail fit, electrical checks, photometry, documentation and the golden-sample process.
A buyer’s RFQ checklist
- Project country, application and planned installation date
- Supply voltage, frequency and required control protocol
- Track manufacturer, model, profile photographs and adapter reference
- Mounting height, aisle width, shelf height and track offset
- Target surfaces and required measurement points
- Required wattage or performance range
- 60° or 90° optic, supported by photometric files
- 3000 K, 4000 K or 6000 K colour temperature
- CRI 80 or CRI 90 and any additional colour metrics
- Body finish, label language and packaging requirements
- Required compliance and project documents
- Sample configuration, approval method and permitted production tolerances
- Warranty, spare-parts and change-notification terms
Send the same checklist to every shortlisted supplier. Comparable inputs produce comparable quotations and make hidden assumptions easier to find. If a supplier proposes an alternative, ask it to state the exact difference and the effect on output, optics, controls, adapter, documents, price and lead time.
Applying the process to LL1615
For a two-sided retail aisle, we would begin with the confirmed store geometry and model both the 60° and 90° options. We would select one power level for the sample, aim each panel at a defined shelf face and measure vertical illuminance at several heights. We would then check the aisle entrance and cross-aisle sightlines before changing output or spacing.
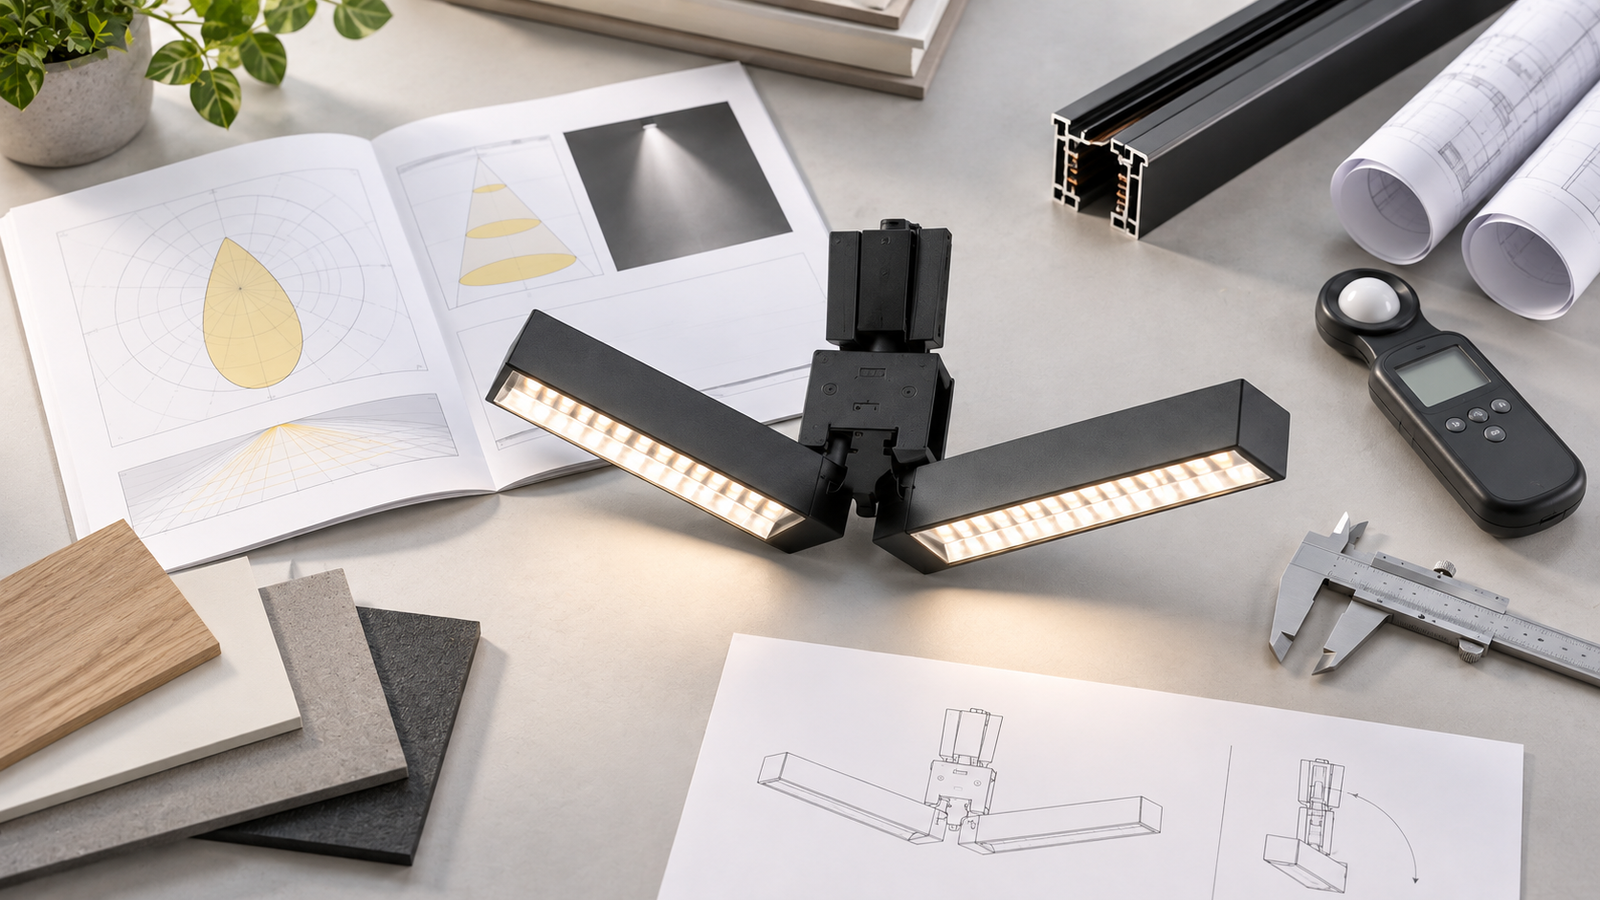
The LL1615 adjustable LED linear track light offers 27–60 W selectable output, 4,393–9,079 lm, 60° or 90° PMMA optics, CRI 80 or 90 and independently aimable panels. These options make it a practical candidate for retail aisles, supermarkets and adaptable commercial displays. Final suitability depends on the approved configuration, rail and project layout.
Frequently asked selection questions
Is 60° or 90° better for retail aisles?
Use 60° when the layout needs more controlled distribution toward defined shelf faces. Use 90° for wider coverage or open areas. Compare both with photometric data at the same mounting height and spacing.
How many lumens does a retail aisle need?
There is no universal fixture-lumen answer. Required output depends on mounting geometry, shelf reflectance, optic, spacing, target illuminance and local project standards. Calculate useful light on the merchandise rather than choosing the largest lumen number.
Can one dual-panel light illuminate both shelf faces?
Often yes, when the track is positioned suitably and each panel can be aimed toward a separate shelf. Confirm lower-shelf coverage, uniformity and glare through calculation and a representative mock-up.
Does adjustable mean separately dimmable?
No. Independent panel aiming describes mechanical movement. Separate dimming, switching or colour-temperature control requires the appropriate driver and wiring and must be confirmed for the exact ordered configuration.
Can I use the fixture on an existing track?
Do not assume compatibility from a generic track name. Verify the rail manufacturer, profile, conductors, adapter, electrical rating and mechanical retention using the complete production-intent luminaire.
Final recommendation
The best adjustable LED linear track light is not the one with the longest feature list. It is the one that reaches the required shelf surfaces, remains comfortable from real viewing positions, fits the approved rail and can be reproduced consistently across the project.
Define the targets first, compare 60° and 90° photometry, select an appropriate output, check colour and glare, then approve a complete sample. If you send us your aisle dimensions, rail details, target surfaces and acceptance criteria, we can help you identify the LL1615 configuration that should be modelled and sampled—without asking you to accept unverified assumptions.

