 跳到内容
跳到内容 
A sample should answer the questions that could stop a project later. It should prove more than “the light turns on” or “the finish looks good.” For an adjustable dual-panel track light, approval needs to cover the rail interface, complete electrical configuration, light distribution, independent panel movement, comfort, labelling and repeatability. Commissioning then has to reproduce the approved result across the real site.
We created this checklist for lighting brands, importers, contractors, designers and retail project teams. It helps you decide what to request, what to test and what to record before mass production. It also gives installers a clearer handover so the value of an adjustable product is not lost through random aiming.
Define what the sample is meant to prove
Begin with the project risks. Is the track rail already installed? Is the ceiling high or difficult to access? Must one fixture illuminate two shelf faces? Are the products glossy, dark or colour-sensitive? Will the store adjust displays frequently? Is the destination Europe, Australia or another market with specific documentation and responsible-party requirements?
Turn each risk into an approval question. Examples include: Does the exact adapter lock correctly in the site rail? Can both panels hold their angles? Does the 60° or 90° option cover the required shelf height? Is the LED aperture comfortable from the aisle entrance? Are the ordered wattage, CCT, CRI and driver traceable on the label? A sample plan built around these questions is much more useful than an unstructured visual inspection.
Stage 1: approve the sample request before it is built
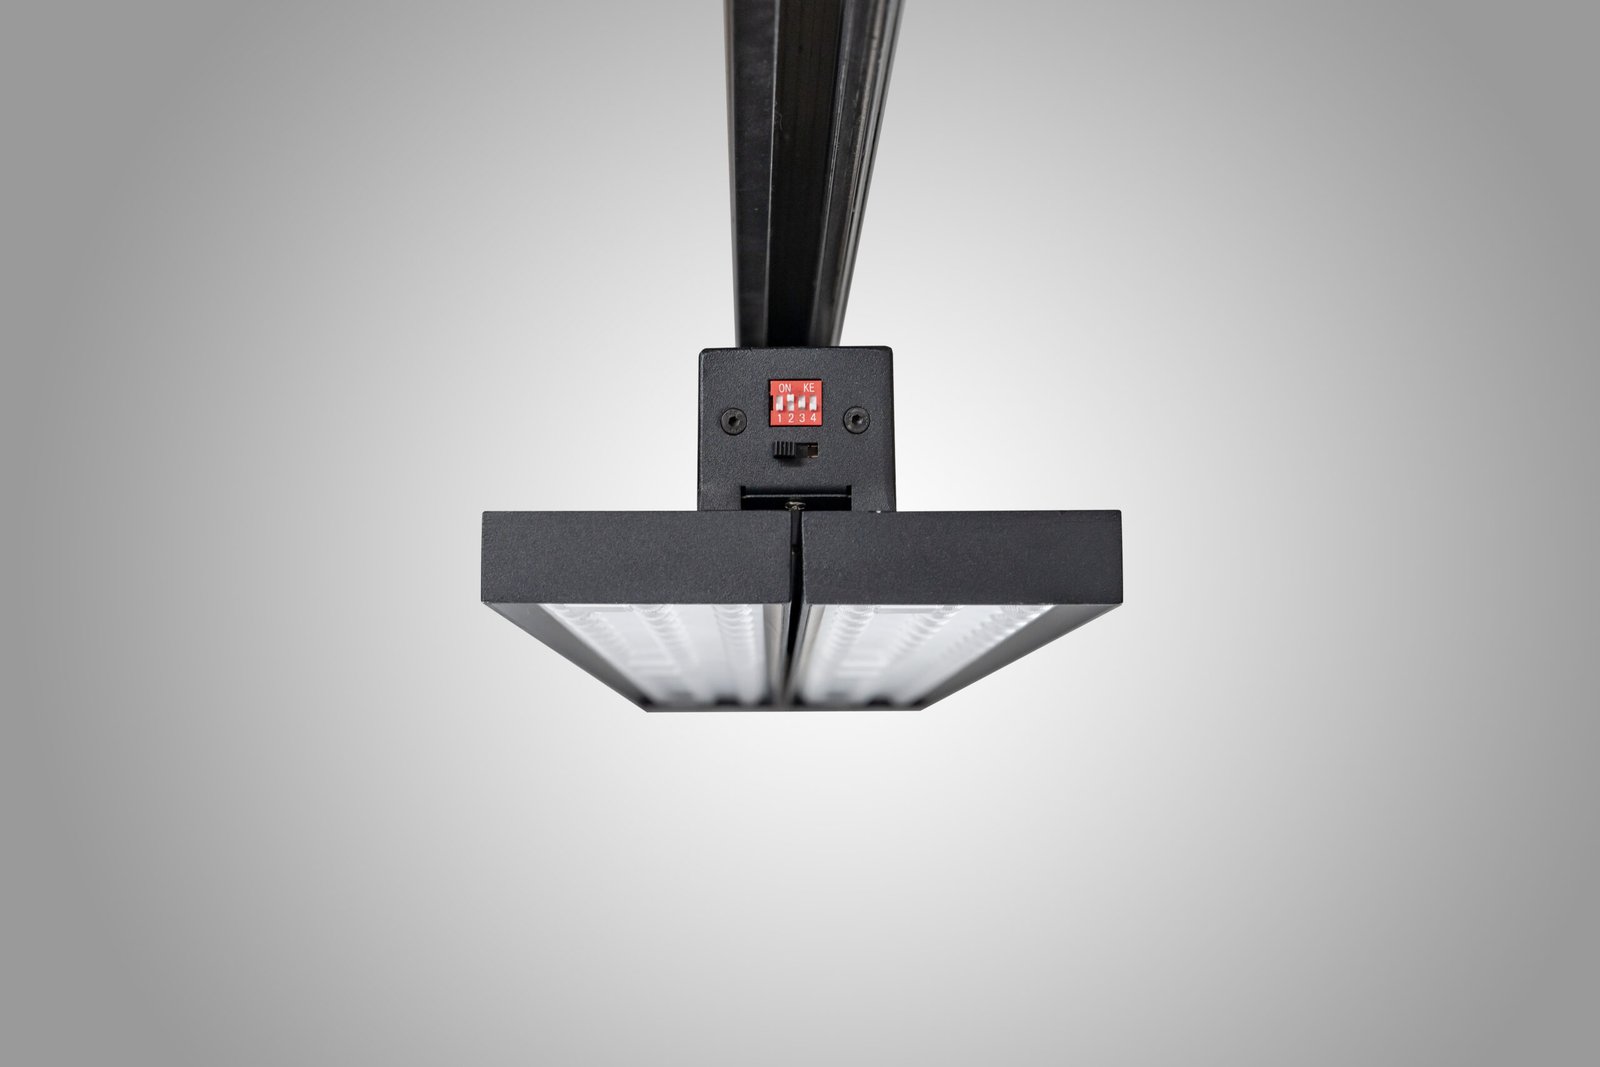
Your sample order should state one unambiguous configuration. Include model, wattage, nominal complete-luminaire output, beam angle, CCT, CRI, driver, dimming or control, track adapter, body finish, label, plug or connection details where applicable, quantity and destination. Attach the dimensional drawing and relevant rail information.
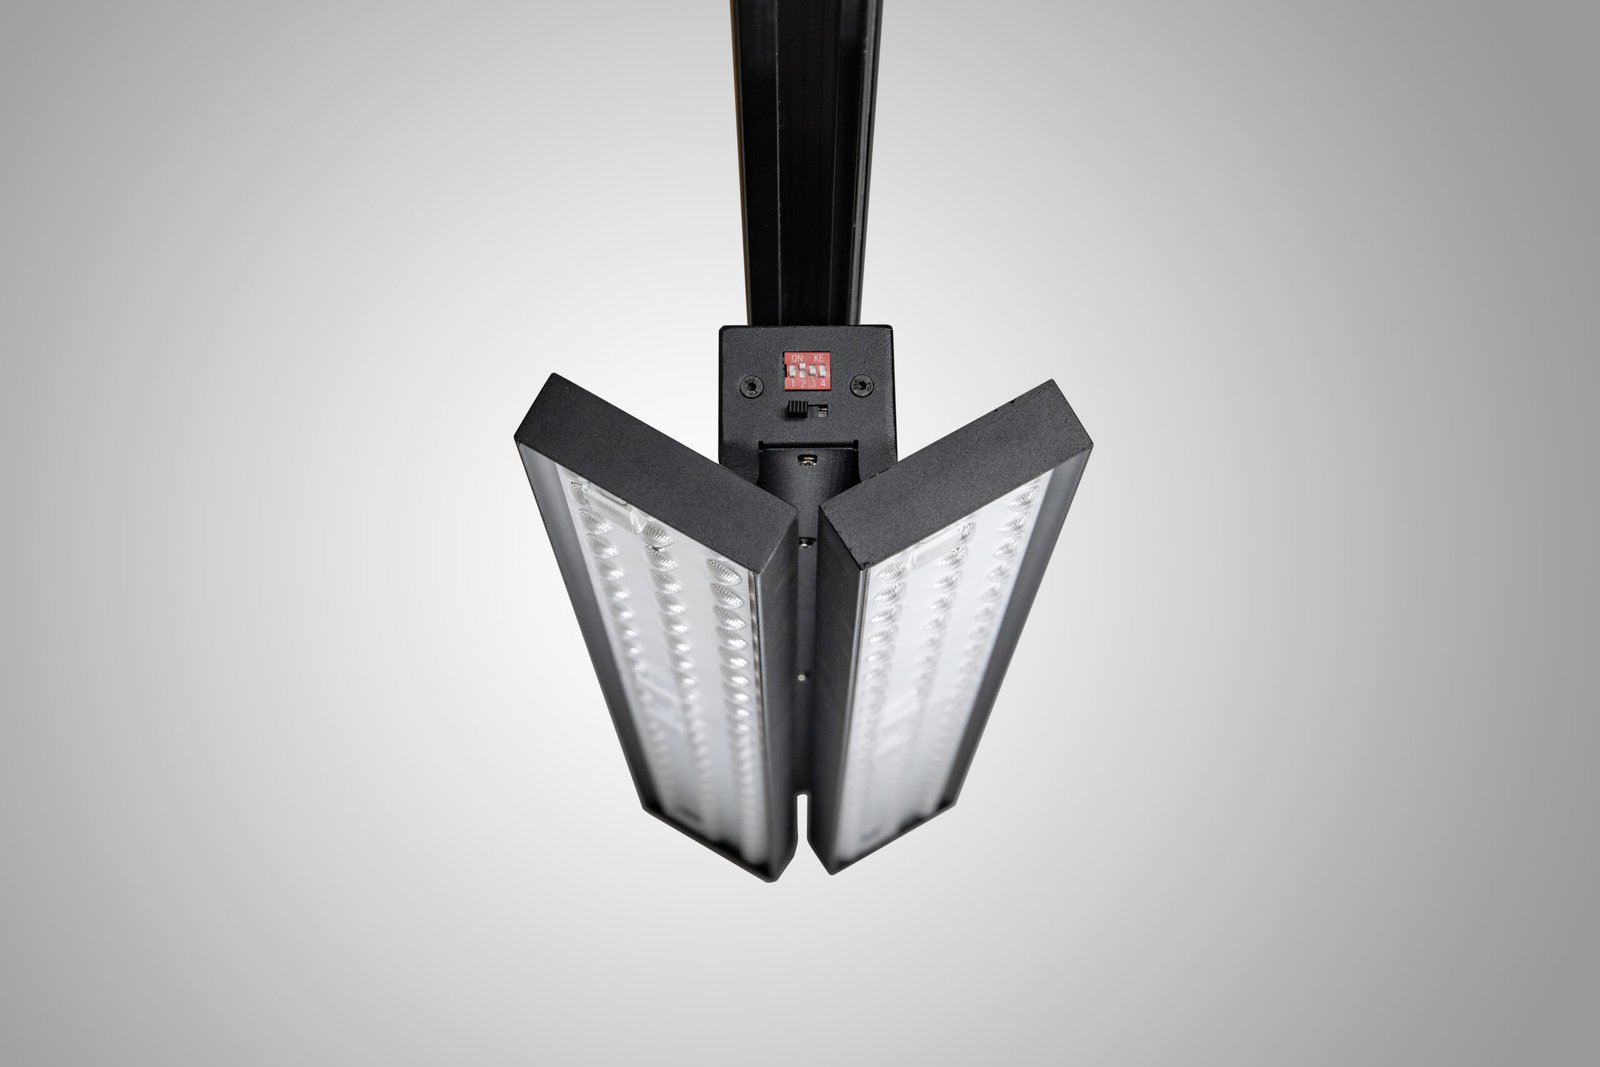
The LL1615 adjustable LED linear track light is offered in 27 W, 40 W, 50 W and 60 W versions, with 60° or 90° optics, CRI above 80 or 90, independently aimable panels and built-in DIP-switch power selection. Confirm the required aiming range and exact track adapter during sample approval. Do not request “one normal sample” from a configurable family; the sample must match the option you intend to evaluate and buy.
Information the buyer should send
- Application, layout and target surfaces
- Mounting height, track position, aisle width and shelf dimensions
- Country, supply voltage, frequency and controls
- Track brand, model, profile photographs and conductor arrangement
- Desired wattage or performance target, CCT, CRI and optic
- Required compliance documents and label language
- Sample test location, decision date and mass-production schedule
Information the supplier should confirm
- Exact sample configuration and any difference from future production
- Drawing revision, dimensions, weight and adjustment range
- Adapter part number and known compatible rail reference
- Driver and LED configuration
- Photometric-file revision and measurement basis
- Available reports, declarations, certificates and instructions
- Sample lead time, shipping method and contact for technical questions
Stage 2: conduct an incoming inspection
Do not install the sample immediately after opening the carton. Photograph the packaging and label, then compare the received configuration with the order. Check the model, electrical ratings, optic identification, CCT, CRI, control, adapter, finish and accessories. Record any serial or batch number.
Inspect the housing, track adapter, lenses, screws, hinges and cable routing for shipping damage or incomplete assembly. Move each panel gently through its intended range while the product is de-energised. Movement should be controlled and the panels should remain at the selected position. If the sample differs from the requested configuration, stop and document the difference before treating its performance as an approval result.
Stage 3: verify dimensions and mechanical operation
Measure the main dimensions and compare them with the approved drawing. Confirm overall length, width and height, adapter position and any clearance needed for rotation or tilt. For a long linear fixture, also examine balance and the relationship between its centre of mass and track connection.
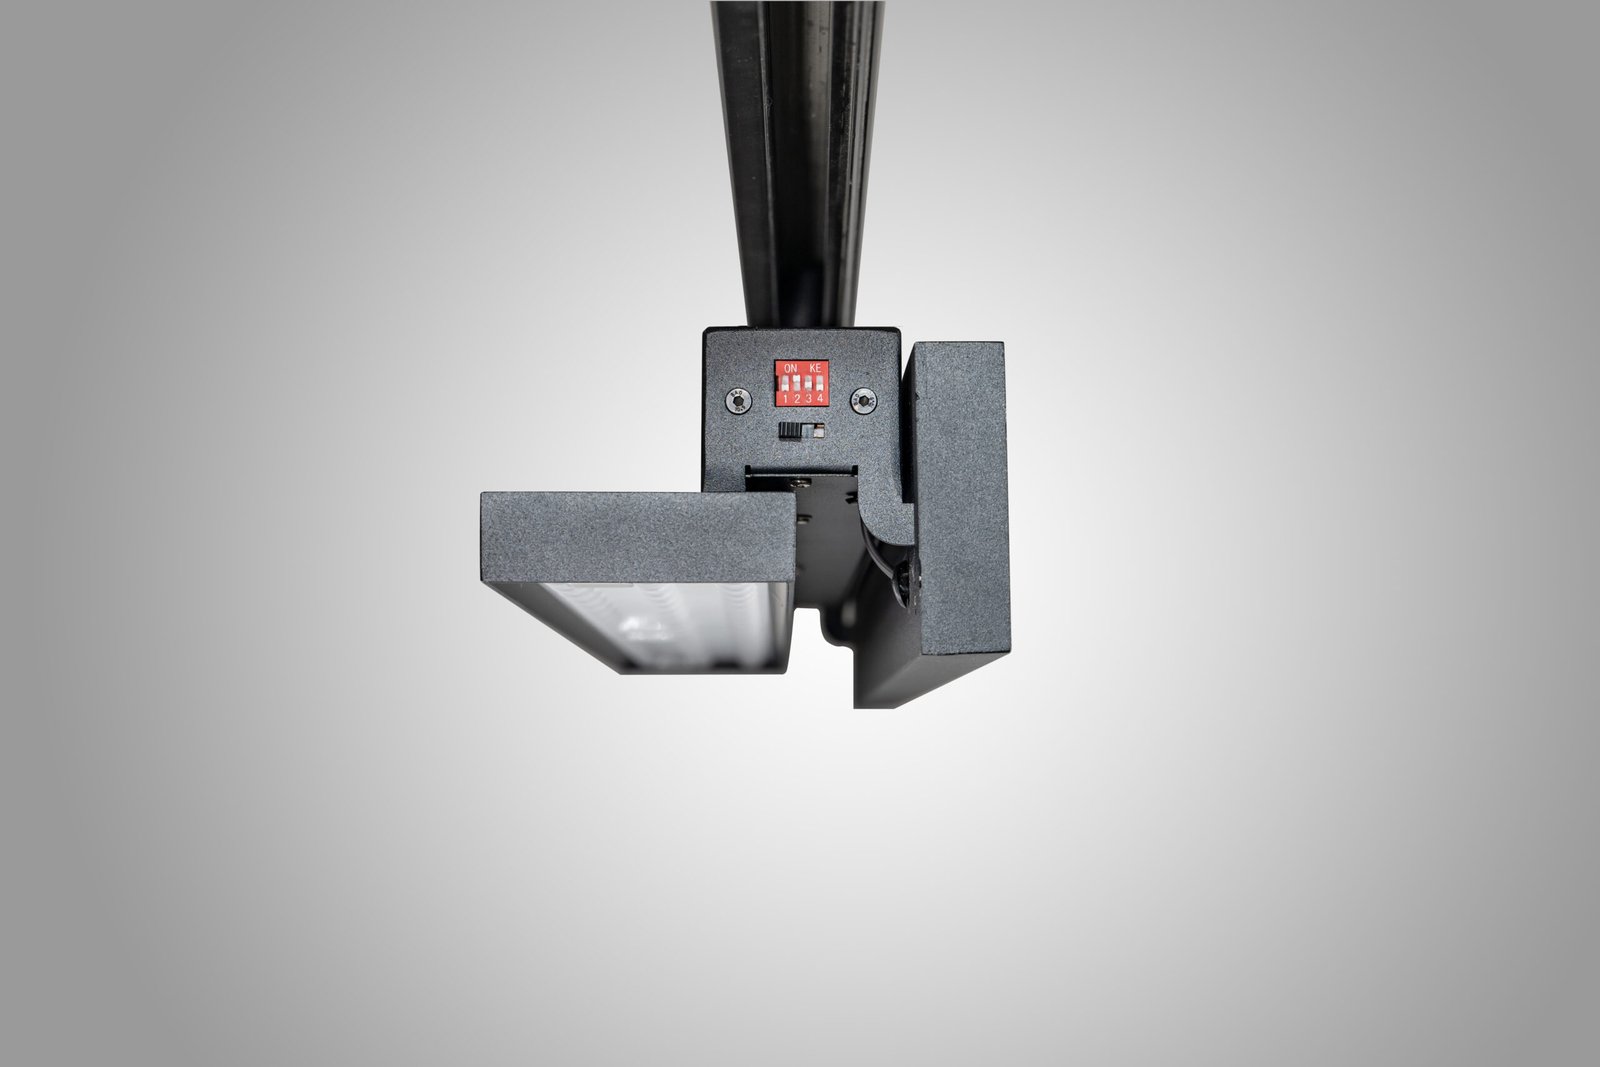
Cycle the body rotation and both panel adjustments several times without forcing the mechanism. Check for interference, loose parts, scraping, unexpected cable movement and loss of holding force. The purpose is not to perform an improvised life test; it is to find immediate mechanical problems and confirm that the product can be commissioned safely in the intended orientation.
Stage 4: prove track compatibility
Use a representative section of the actual site rail whenever possible. A qualified person should check the correct orientation, insertion, locking, retention, circuit-selection method, earthing contact where applicable and removal. The adapter should not require improvised force or modification. Confirm that moving the body and panels does not unlock or rock the fixture.
If the project contains more than one rail brand or generation, test each one as a separate system. A successful fit in the supplier’s workshop track cannot automatically approve every store. Include the exact approved adapter in the sample record and later purchase order.
Stage 5: complete a controlled electrical test
Electrical testing should be performed by competent personnel with suitable equipment and protection. Confirm the stated input conditions and correct connection before energising. Check start-up, stable operation, switching, circuit selection and the ordered dimming or control behaviour. Record input measurements needed by the project and observe any abnormal sound, flicker, odour or heat.
Do not infer the function of visible selectors from their colour or position. Use the exact product instructions. If driver, control or adapter components change after sample approval, decide whether electrical and compliance review must be repeated.
Stage 6: confirm colour and appearance
Compare the emitted colour with the approved requirement and, when practical, with a trusted reference or measurement instrument. View light on representative merchandise rather than only a white wall. Check colour consistency between both panels and across multiple samples. Review the black or other selected body finish under the project lighting for texture, colour and visible defects.
CRI is important but does not describe every aspect of colour quality. If the application is sensitive—fashion, food, cosmetics, art or branded materials—define what visual or measured evaluation the team will use. Record the exact CCT and CRI option so production cannot drift to a similar-looking substitute.
Stage 7: build a representative lighting mock-up
Install the sample at the intended mounting height and horizontal offset. Use actual or representative shelves, product colours, signs, glass and finishes. A table-top test at a short distance can be useful for initial comparison, but it does not validate real beam coverage, glare or aiming.
For a two-sided aisle, aim one panel toward each shelf face. Measure vertical illuminance at upper, middle and lower shelf positions on both sides. Add horizontal measurements only where they serve a task. Note luminaire spacing, panel angle, body rotation, meter orientation and operating condition so the result can be repeated.
Stage 8: evaluate beam quality and overlap
Inspect the entire target, not just the brightest point. Look for dark bands between panels or luminaires, excessive centre intensity, striations, colour separation and spill onto unrelated areas. Compare the 60° and 90° options under the same geometry if the decision is uncertain. A wide beam may improve coverage; a tighter beam may give more control or reach. The correct choice depends on the target and spacing.
Take photographs from a fixed exposure for comparison, but do not use automatic phone images as a substitute for measurements. Cameras can brighten dark scenes and compress contrast. Keep both the visual record and the measurement table.
Stage 9: check glare from customer and staff positions
Walk the mock-up as a customer would. Pause at the entrance, aisle ends, cross-aisles, checkout queue and seated or working positions. Look directly ahead rather than only at the merchandise. Check whether bright LED apertures are visible and whether panels reflect in glass doors, mirrors, polished packaging or display screens.
Adjust tilt, rotation and position systematically. Record the setting that balances shelf coverage and comfort. If one panel must be tilted into a common line of sight to reach the target, reconsider track location, optic or fixture spacing instead of accepting permanent discomfort.
Stage 10: review thermal and operating behaviour
Operate the sample in the intended orientation and representative ambient condition for a meaningful observation period defined by the project team. Confirm that ventilation and clearances follow the manufacturer’s instructions. Observe stability, control behaviour and any change in sound or visible output. Temperature and safety testing should follow applicable methods and be handled by qualified laboratories or personnel where required.
A short mock-up cannot predict complete lifetime. Review the manufacturer’s thermal design evidence, driver data, warranty terms and production controls alongside the sample. Avoid making a lifetime decision from touch temperature alone.
Stage 11: review documentation before approval
Match every document to the exact sample and intended production configuration. Review drawings, photometric files, installation instructions, labels, driver information, test reports, declarations and certificates requested for the destination. Check model names, electrical ratings and component references for consistency.
The responsible importer, brand or project professional should determine whether the documents satisfy current market and project requirements. Ask questions before issuing a purchase order. Compliance should not be treated as a logo check at the end of production.
Stage 12: issue a clear sample decision
Use one of three outcomes: approved, approved with documented changes, or rejected with reasons. Avoid a vague message such as “sample looks okay.” Attach the configuration sheet, photographs, measurement results, final angles, drawing revision and document list. If changes affect the adapter, driver, optic, LEDs, housing, thermal path, controls or compliance, request a revised sample or evidence appropriate to the risk.
Keep an approved golden sample in a controlled location and label it with project, configuration, date and approver. It supports production comparison, but written specifications and agreed tolerances remain essential.
Mass-production checkpoints
Before production, agree which characteristics the supplier verifies and records. These may include configuration identity, electrical safety checks, input and function, appearance, colour, panel movement, adapter locking and packing. Define sampling level or inspection plan according to the buyer’s quality system and project risk.
For the first production batch, compare randomly selected units with the approved reference. If the project contains multiple wattages or optics, keep them physically separated and clearly labelled. Preserve batch traceability through packing and delivery.
Site commissioning sequence
- Inspect delivered configuration and isolate damaged units.
- Confirm rail condition, circuit labels and approved adapter.
- Install a small first area and obtain a hold-point approval.
- Set each fixture to its scheduled position and circuit.
- Aim one panel at a time using the reference bay.
- Measure key target planes and inspect customer sightlines.
- Correct dark bands, hot spots, spill and reflected glare.
- Photograph and record final body and panel settings.
- Train authorised staff on permitted adjustment and safe isolation.
- Provide spare-unit, warranty and maintenance information.
Commission after shelves, signs and displays are substantially complete. An empty room encourages aim settings that become wrong as soon as merchandise arrives. If store layouts change frequently, create two or three approved aiming patterns rather than leaving every adjustment to guesswork.
One-page approval record
Your final record should contain project and location, sample ID, complete configuration, rail reference, test date, responsible reviewers, incoming-inspection result, mechanical and fit result, electrical result, photometric result, glare observations, documents reviewed, deviations, photographs, final decision and actions. Add signatures or digital approval according to your quality process.
For a fuller procurement structure, see our LED linear-lighting RFQ and sample-approval guide. For layout fundamentals, our retail track-lighting selection guide helps define the targets before samples are ordered.
Final recommendation
A good sample process protects your schedule twice: first by finding the wrong configuration before mass production, and again by creating a commissioning reference for site teams. The strongest approval combines exact product identity, physical rail fit, measured target performance, sightline comfort and traceable documentation.
If you send us your track details, layout and acceptance objectives, we can prepare an adjustable dual-panel sample around those questions. We prefer a transparent pass-or-change process because a documented sample is far more valuable than a quick “yes” that leaves the difficult decisions for installation day.

