 跳到内容

Quick answer: Good video conference room lighting has to work for people in the room, people seen by the camera, and people watching a screen. Start by locating the camera, displays, seats and windows. Light faces softly and consistently, keep bright luminaires out of display reflections, give the table enough light for notes, and provide separate scenes for discussion, video calls and presentations. Test the finished room through the actual camera, not only by looking at a floor plan.
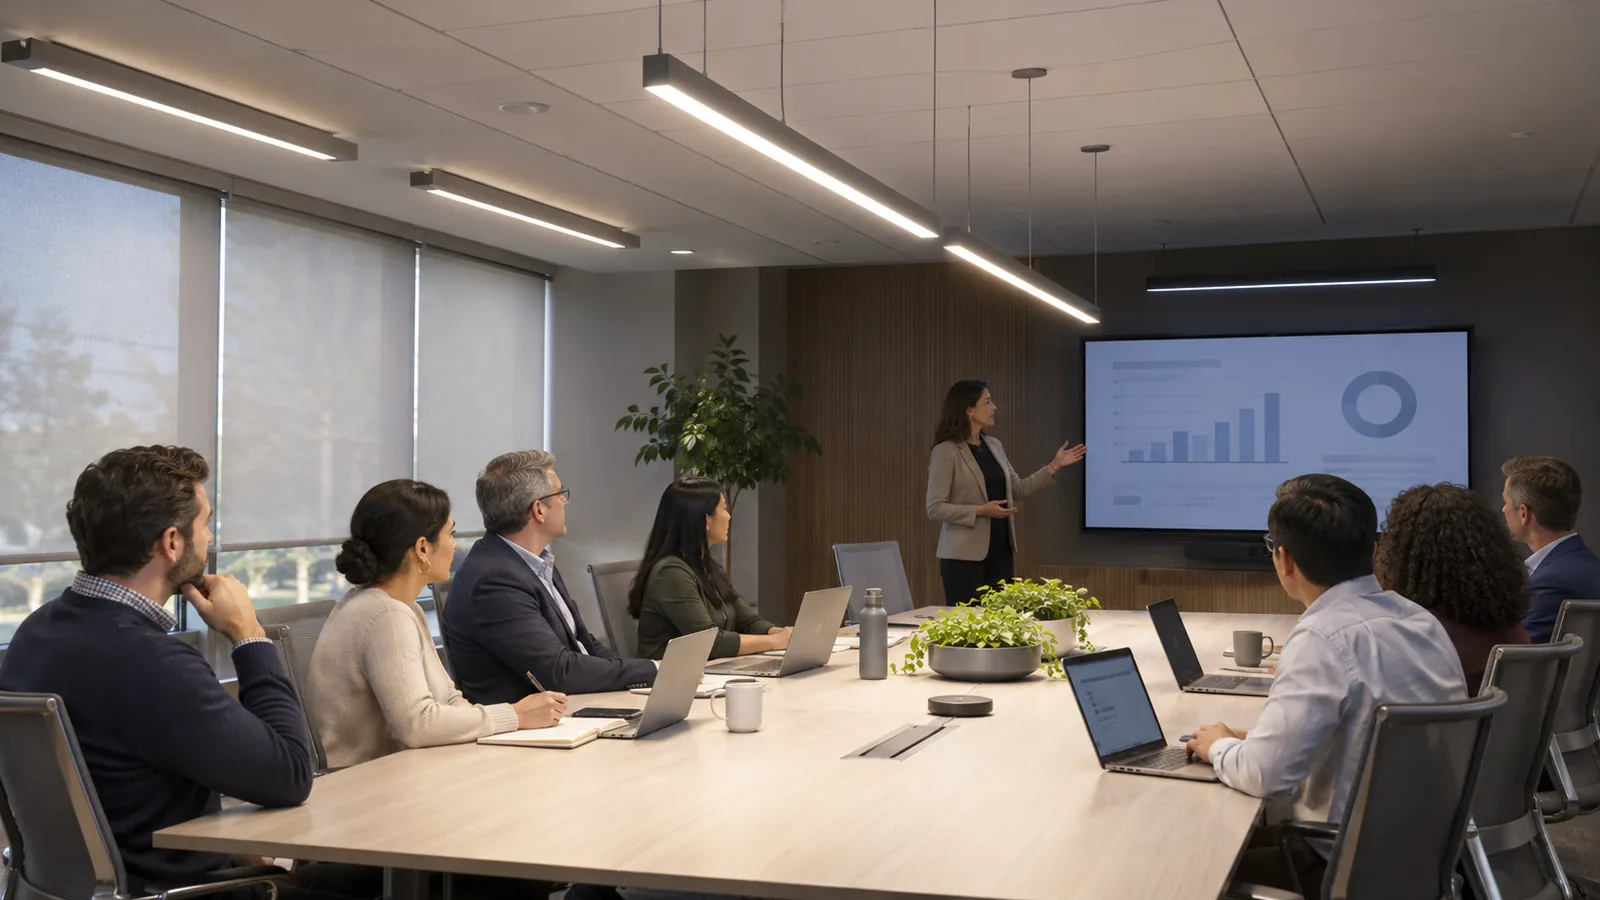
Featured image: concept illustration, not an LCB installation or a photometric design.
A meeting room can look pleasantly bright to people sitting at the table yet produce a disappointing remote image. A window behind the group may turn faces into silhouettes. A single row of downlights can create dark eye sockets. A glossy display may show a reflection of every bright ceiling fitting. Then someone dims the room for slides and the camera raises its gain, leaving the participants grainy. These are coordination problems between lighting, room layout and audiovisual equipment. Buying a brighter luminaire alone will not solve them.
This guide is for facilities teams, electrical contractors, AV integrators and buyers planning a small or medium commercial room. It explains what to check before specifying LED linear fixtures, downlights and controls, what to request from suppliers, and how to test the result. Any numerical target should come from the project brief and a qualified lighting design, not from a generic product page.
Begin with the camera view, not the ceiling grid
Mark the principal camera position and field of view on a room drawing. Note the seats that appear at the edge of the frame, not just the person at the center. Then mark the display, presentation position, whiteboard, doors and glazing. This simple exercise reveals whether the camera looks toward a bright window, whether a presenter will stand in front of a dark wall, and whether ceiling fittings will appear reflected in the display or glass partitions.
The Illuminating Engineering Society publishes a recommended practice for small to medium videoconferencing rooms. Its stated aims include participant viewing, camera image quality and visual comfort. The public summary does not provide a universal fixture layout or a free set of target values; it is a useful reference for the design team, not a substitute for a room-specific calculation.
Ask the AV designer for a camera still or rendering from the proposed location. Put temporary markers at the seat positions if the room is unfinished. In an existing room, make a short test call at different times of day. A camera view often reveals uneven facial light that a person standing under the luminaires does not notice.
Light faces without turning the display into a mirror
For video meetings, the important surface is often the participant’s face. Light directed only down onto the table may leave the front of a face underlit, especially when a screen is the brightest thing in the room. A broad, diffuse component from suitable direct-indirect linear fixtures, wall reflection or carefully positioned front fill can help produce more even facial light. The right solution depends on ceiling height, wall finishes, camera direction and the luminaire’s actual distribution.
Do not assume every indirect luminaire is suitable. A dark ceiling may absorb uplight; a low ceiling may create a bright patch; an exposed source can still cause glare. Request photometric files, mounting details and a calculation for the specific room. Our guide to direct-indirect LED linear lighting for offices explains the fixture questions to ask, while the LCB product range can be used as a starting point for discussing an application-specific option. Confirm any proposed configuration and performance against its current technical data.
Check reflections from the seated eye position as well as the camera position. A fixture that is comfortable when you face the table can appear as a bright bar on a display at the far wall. Try moving the row, changing its distribution, adjusting its output or separating the display-side zone. A slight change in position can be more useful than specifying more power.
Manage windows and the background
Daylight is valuable, but an uncontrolled window behind the participants gives the camera a difficult exposure choice. If it exposes for the window, faces become dark. If it exposes for faces, the window may wash out. Zoom’s own lighting concepts guidance discusses balancing light on subjects and using indirect light to reduce washed-out images. Window shades, a revised camera direction and a dedicated face-lighting zone are practical responses. None requires flooding the whole room with light.
Consider what the camera sees behind the group. A bright strip right above one person’s head can look distracting; a completely unlit back wall can make the group appear flat. Gentle background illumination may help separate people from the room, provided it does not become a source of screen reflection. Dark walls, glossy wall panels and bright logos also affect the camera image, so lighting and interior finishes should be reviewed together.
Test daytime and evening conditions. A setting that looks balanced at noon may be too dim after sunset, while a room tuned at night can look harsh when the window is bright. Where daylight varies, the project may need controllable shades and independent lighting zones. The designer should define how those systems interact, including what happens when a user overrides the automatic setting.
Create separate scenes for separate tasks
A single on/off switch usually asks one lighting layout to serve conflicting needs. A practical room might have a discussion scene, a video-call scene and a presentation scene. Discussion may favor comfortable table and face illumination. A call may need more reliable light on every seated face. Presentations may reduce light near the display while retaining enough light for the speaker, note-taking and safe movement. The scene names and levels should be understandable to the people using the room.
Keep the controls simple. If the user must navigate several menus before every meeting, the carefully planned scenes will be ignored. A labeled wall panel, preset buttons or an AV interface can work, but it needs a clear owner and a documented commissioning process. Specify the driver and control protocol together, verify the dimming range, and test the full combination of luminaire, driver, controller and camera. Do not infer camera-friendly behavior from a dimming claim alone.
Where the room has a projector rather than a self-lit display, screen light needs particular care. A setting suitable for an LED display may wash out a projected image. Give the presenter a controllable zone that can remain on while the projection area is dimmed. Microsoft notes that cameras need enough light for clear video, and that larger hybrid spaces should light the presenter clearly. The exact implementation should follow the camera and projection equipment selected for the project.
Check camera flicker at every useful dimming level
People may not notice a problem that a camera records as banding, pulsing or rolling dark bars. LED temporal light artifacts depend on the driver, control method, dimming level and camera settings. The US Department of Energy’s flicker basics explains why light output can vary over time. It does not mean every LED fitting has the same behavior. For this room, ask suppliers for relevant temporal-light data and test representative samples with the intended camera.
Run a live call and record a short clip with each programmed scene. Include low dimming levels, a midrange setting and a full-output setting. Check the actual camera configuration, including any automatic shutter or exposure changes that users will normally leave enabled. If banding appears, investigate the combined driver-control-camera system. Replacing a fixture before checking the dimmer and camera settings could waste time.
Specify fixture information that can actually be verified
A supplier quote should let the buyer compare an installed system, not just a catalogue wattage. Request a product drawing, photometric file for the selected optic, proposed mounting method, driver data, control compatibility, finish, expected access for service and the warranty terms. Confirm the dimensions against ceiling services, sprinkler locations and the AV equipment. If the specification uses a different optic, driver or diffuser from the sample, request updated data for that exact configuration.
Ask for a reflected ceiling plan and a lighting calculation showing the seating area, presenter position and table. Calculate for the proposed finish and furniture layout where possible. A bright white table and dark wall produce a different visual balance from a matte dark table and light wall even if the installed luminaires are identical. Compare camera views from representative seats alongside the calculation. Both are needed to understand the result.
A practical design sequence for a small meeting room
- Survey the room: measure ceiling height, glazing, display position, seating and finishes. Photograph the camera view in daylight and at night.
- Define activities: list in-room discussion, video meetings, presentations, whiteboard use and cleaning. Identify who needs light in each mode.
- Plan zones: separate participant lighting from display-side lighting and, where appropriate, presenter and table lighting. Place controls where users can find them.
- Review optics: select candidate linear or downlight distributions using the actual room geometry and a calculation. Check glare from seated positions and screen reflections.
- Test samples: view faces through the intended camera, examine the display, use the proposed dimmer and record video at several output levels.
- Commission scenes: save clear presets, check daylight and night conditions, document final settings and hand over a simple user guide.
This process is deliberately more specific than “choose a UGR number.” Glare ratings can help compare products in a defined context, but a meeting room’s display reflections, camera image and presentation tasks still require direct review. A rating from a catalogue cannot tell you whether a window is behind the speaker or whether a bright fitting reflects in a screen.
What to ask when requesting a quote
Send a drawing or dimensions, ceiling photos, a camera position, display type, seating plan and notes on daylight control. State whether the room uses a projector, video wall or standard display. Describe the required scenes and the available control system. Ask the supplier to identify assumptions, especially any missing ceiling or AV information. A clear request produces a useful proposal and exposes compatibility questions before installation.
If a custom configuration is proposed, treat the sample as an approval stage. Confirm the luminaire body, diffuser or optic, driver, finish, mounting hardware and control response. Record the approved combination so later deliveries can be checked against it. For a broader project, our commercial LED lighting commissioning checklist covers handover questions that also apply here.
Frequently asked questions
What is the best LED lighting for a video conference room?
There is no single fixture that is best for every room. A suitable scheme gives people comfortable task light, delivers even illumination to faces, controls reflections on the display and works with the camera and controls. Direct-indirect linear lighting may be useful in some rooms, while a combination of linear fixtures and carefully placed accents may suit others. Evaluate the actual photometric distribution and the room layout.
Should meeting room lights be dimmed during a video call?
Only if the camera image and in-room visibility remain good. A very dim room may make faces noisy or poorly exposed. It can also reveal temporal light artifacts that were not visible at full output. Create a video-call preset and test it with the intended camera instead of applying a fixed dimming percentage to every room.
How can we reduce glare on a conference room display?
View the screen from normal seats and look for reflected luminaires, windows and glossy surfaces. Adjust fixture placement or distribution, control daylight, and consider a separate display-side lighting zone. A matte screen may help, but it does not replace a careful reflected ceiling plan.
Does a higher CRI guarantee better video quality?
No. Color rendering is one factor in how skin tones and room finishes appear, but camera exposure, white balance, spectral characteristics, light placement and daylight also matter. Request relevant color data, keep the scene reasonably consistent and judge representative samples through the actual camera.
Can the same scene work for video meetings and slide presentations?
Sometimes, but a separate presentation scene is usually worth evaluating. The display or projector may need a darker surrounding area while the presenter and participants still need enough light. Test both activities, then simplify or combine presets only if the result works.
Make the room work for everyone in the meeting
A useful specification starts with the experience of a seated person, a presenter and a remote participant. Map the camera and display first, make facial light deliberate, control daylight, divide the room into sensible scenes and test the actual equipment before approving a full installation. If you are planning a new room or replacing an underperforming layout, share the room drawing and application details with LCB so the fixture and control options can be reviewed against the real project.
