 跳到内容
跳到内容 
UGR<19 linear lighting is frequently requested for offices, classrooms and other screen-based workplaces. The number is useful, but it is also one of the most misunderstood items in a luminaire quotation. At LCB Light, we do not treat “UGR<19” as a permanent property that follows a fixture into every room. We treat it as a project result that depends on the luminaire and the installation together.
This guide explains what the buyer should verify in a UGR table or lighting calculation, how optics and layout influence discomfort glare, and why a comfortable office still needs more than one number.
UGR is an installation calculation
The Unified Glare Rating method considers background luminance, source luminance, the apparent size of glare sources and their position relative to the observer. The CIE publication behind the method explicitly recognizes observer position and direction of view. That means room size, surface reflectance, mounting height, spacing, luminaire orientation and viewing direction affect the result.
The official CIE overview of discomfort glare in interior lighting also describes reference tables under standard conditions. A supplier’s table can help shortlist an optic, but the actual project should be checked with its own geometry.
Why a product label can be misleading
A catalogue may state “UGR<19” without showing the tested or calculated configuration. Ask which optic, lumen package, body length and luminous area were used. A higher-output version of the same profile can create a different luminance. A microprismatic lens and an opal diffuser can also produce different intensity distributions even when they share the same housing.
Be cautious when a UGR claim is shown without an IES or LDT file, room assumptions or a UGR table. The phrase may describe one reference condition rather than the exact model in the quotation.
What the project calculation should include
Model the real room dimensions, mounting position, work plane, major surface reflectances and luminaire layout. Define representative observer positions and view directions, especially along long light lines. In an open office, check seated views toward screens and circulation paths as well as the average work-plane illuminance.
For a practical layout process, combine this glare review with our LED linear light spacing guide. Spacing that produces a good average lux value may still place a bright aperture in a common line of sight.
Optical methods used to reduce glare
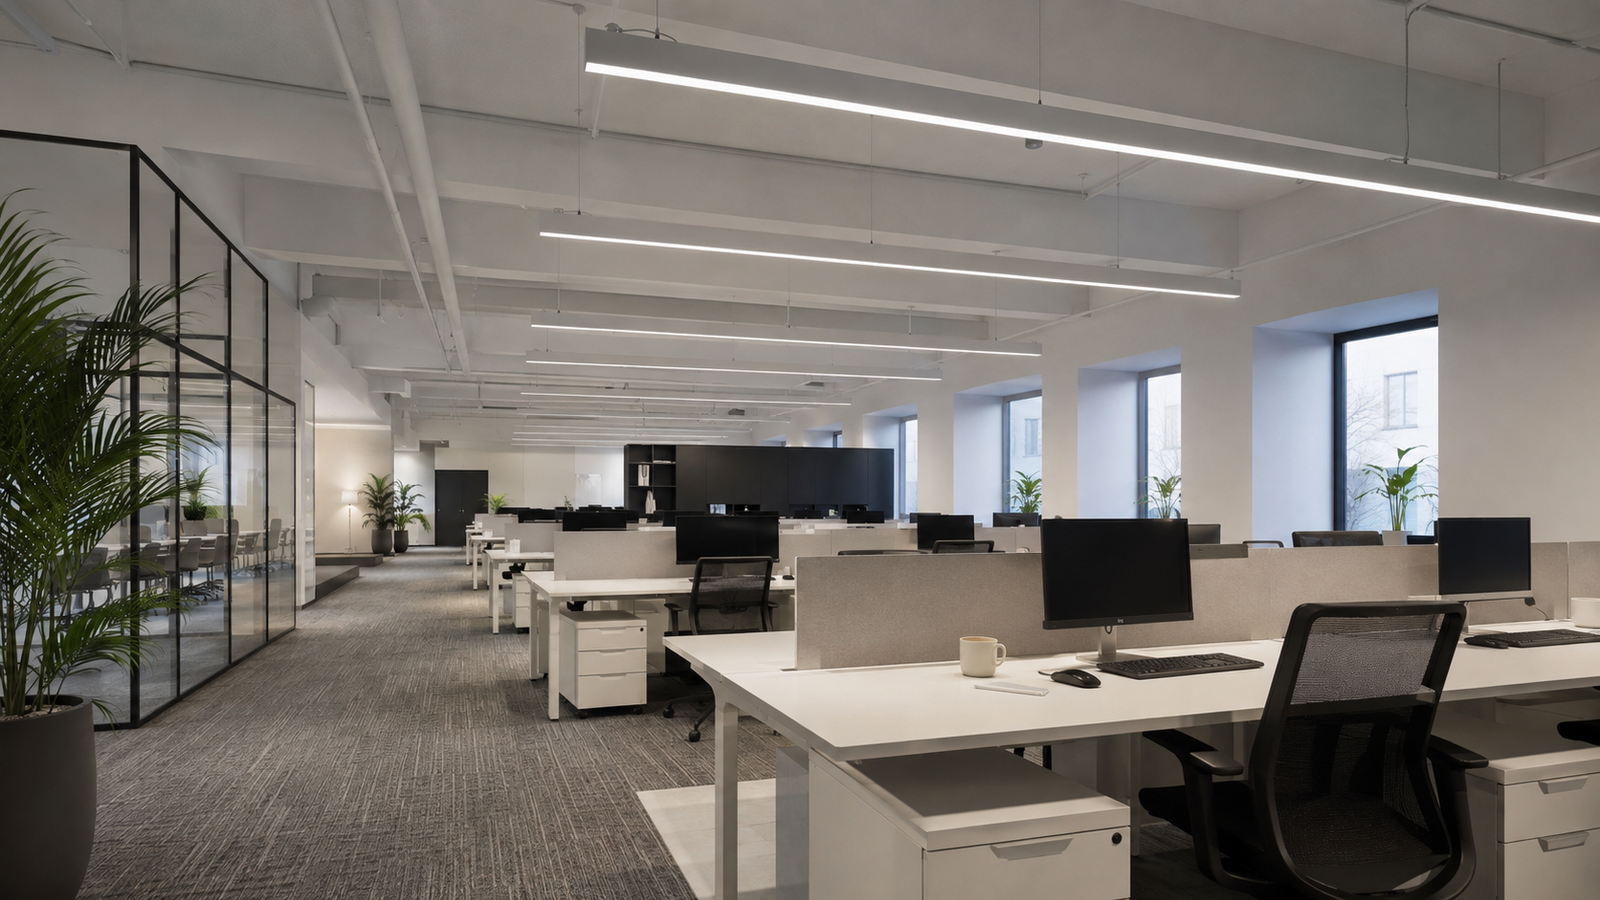
Low-glare systems may use microprismatic optics, louvers, reflectors, larger luminous apertures or controlled batwing distributions. Each method changes efficiency, appearance and light distribution. A deep louver can limit high-angle light but create a more directional visual character. A broad diffuser can soften the aperture but may not control intensity at critical angles as effectively.
Do not choose the lowest numerical UGR claim without comparing delivered lumens, uniformity and vertical illumination. Glare control should support the task, not simply move light away from the calculation point.
Continuous lines need special attention
A long line can occupy a large part of the field of view. Joint locations, luminous continuity and output per meter all influence the visual impression. If the line is suspended, direct/indirect distribution may brighten the ceiling and raise background luminance, but the direct aperture still needs control. For recessed systems, the ceiling cutout and exact mounting height affect the geometry.
At LCB Light, we recommend modeling the full run rather than substituting one short luminaire repeatedly without checking how the software treats the combined luminous area.
Questions to ask about a UGR report
- Does the photometric file match the quoted length, optic, output and CCT?
- What room dimensions, reflectances and mounting height were used?
- Which observer positions and viewing directions were checked?
- Is the reported figure a reference table value or a project calculation?
- What maintained illuminance and uniformity were achieved at the same time?
- Were partitions, furniture or large dark surfaces considered?
Save the calculation file and report with the approved luminaire code. If the optic or output changes, rerun the check.
Comfort beyond UGR
UGR does not replace a review of flicker, color quality, reflections on screens, ceiling brightness or user control. Highly non-uniform LED apertures can also complicate the relationship between calculated and perceived glare. A full-size sample viewed at the intended mounting height remains valuable.
Our office linear lighting guide combines glare, spacing and controls. For occupied spaces, we also recommend commissioning dimming levels and asking users about visual comfort after furniture is installed.
Worked comparison: same fixture, different room
Imagine one low-glare linear fixture used in two offices. Room A has a bright ceiling, moderate dimensions and rows placed across the main viewing direction. Room B is long and narrow, uses dark finishes and places the same bright apertures in the observer’s forward view. Even with the same output and optic, background luminance, source position and number of visible luminaires change. The UGR result can therefore differ.
This is why a supplier should not paste one “UGR 16” figure onto every quotation. Ask for the file and model both rooms. If the result is above the target in Room B, possible responses include a lower-output distribution, larger luminous area, louver or prism optic, different spacing, changed orientation or a layout that moves the line away from critical views. Each response affects quantity, efficiency or appearance.
How to compare two low-glare optics commercially
Create one table with delivered lumens, power, efficacy, calculated UGR, maintained illuminance, uniformity, vertical light, unit price and fixture count. An optic that lowers UGR but requires many more fittings may raise installed cost. Another may meet glare and task targets with a slightly lower efficacy but a better distribution. The lowest fixture price cannot reveal these trade-offs.
At LCB Light, we prefer to explain why the selected optic fits the room. This helps the buyer defend the choice to the consultant and keeps purchasing from substituting a visually similar high-output diffuser after the calculation is approved.
What to inspect in a physical mock-up
View the luminaire from seated and standing positions, along and across the line. Check screen reflections, visible LED pattern, louver brightness, ceiling contrast and the effect at several dimming levels. Use the intended finish and suspension height. A short sample cannot reproduce the entire room UGR calculation, but it can reveal non-uniform brightness, harsh reflections and optical appearance that a numeric report does not communicate.
Put the glare requirement in the right document
The lighting specification should identify the project glare target and calculation method. The luminaire schedule should identify the optic and output used. The calculation report should record room, layout and observer assumptions. The purchase order should reference those controlled documents. If “UGR<19” appears only in marketing copy, purchasing cannot know whether the delivered configuration matches the design.
For repeated floors, keep one approved calculation zone and state which changes require recalculation. A different ceiling height, output, orientation or spacing can invalidate the reference. This document chain is especially important when value engineering occurs: the substitute should be tested in the same room model, not accepted because its catalogue shows the same UGR badge.
Turn the technical finding into a purchasing decision
A useful specification states the application, exact luminaire configuration, operating conditions, required evidence and acceptance method. At LCB Light, we encourage buyers to separate mandatory performance from preferences and to approve one production-intent sample. That makes quotations comparable and gives production inspectors a clear reference.
Keep the approved product code, drawing, driver, optic, test file and finish in one project package. If any of those items changes, review the effect before shipment. This simple change-control step protects the result more effectively than adding more marketing adjectives to the purchase order.
Our recommendation before approval
Ask the supplier for the exact photometric file and run a representative office zone using the intended layout. Review UGR together with maintained lux, uniformity and visible brightness from seated positions. Then approve a sample of the real optic and output. At LCB Light, we can support this process when the buyer provides the room plan, ceiling height, workstation direction and target control strategy.
This approach turns “UGR<19” from a marketing line into an auditable design decision. It also makes quotations easier to compare because every supplier is evaluated in the same room, not under unrelated reference conditions.
Frequently asked questions
Does UGR<19 guarantee a glare-free office?
No. It indicates that a defined calculation is below a selected limit. Individual sensitivity, reflections, non-uniform sources and unmodeled viewing positions can still affect comfort.
Can the same luminaire be UGR<19 in one room and above 19 in another?
Yes. Room proportions, reflectance, layout, mounting and viewing direction change the calculation.
Is an opal diffuser always low glare?
No. It can make the aperture look more uniform, but luminance and high-angle intensity still depend on output, area, material and optical design.
Discuss Your LED Linear Lighting Project
Share your layout, mounting height, target light level, optic, control and destination-market requirements. The LCB Light team can help you prepare a project-specific configuration and sample plan.

