
Correct linear light spacing creates uniform illumination without wasting fixtures or producing dark bands. There is no universal rule such as “one fixture every two meters” because the result changes with mounting height, beam distribution, output, room reflectance, and the illuminated task.
This guide explains a practical design process and the information needed for a reliable lighting calculation.
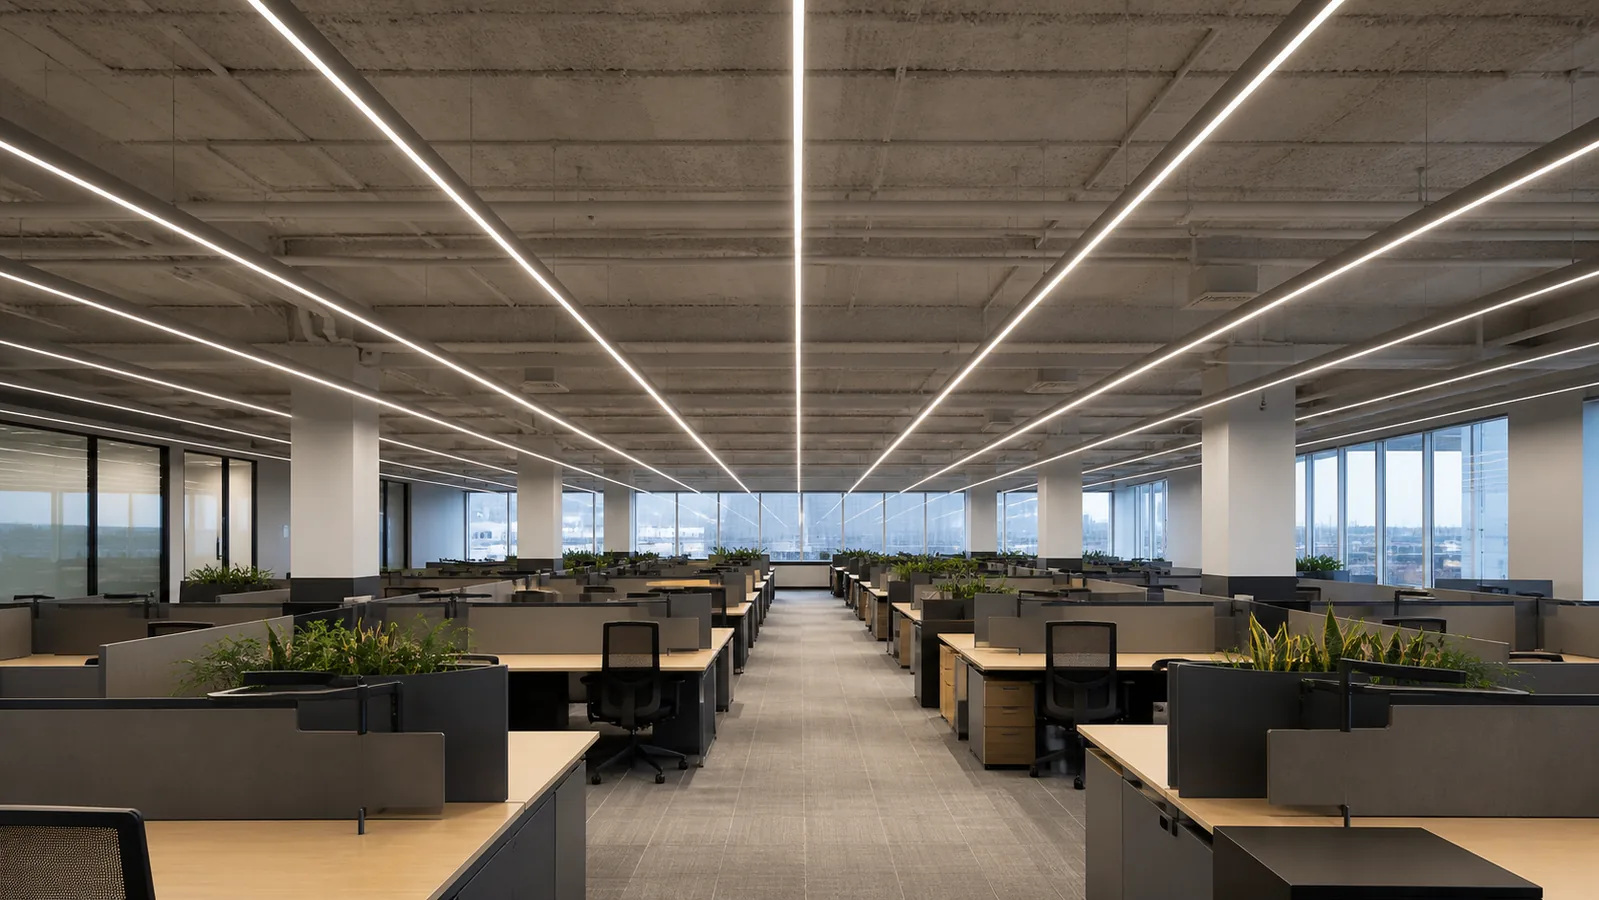
Start with the Target Surface
Define where light is needed: a desktop, warehouse floor, retail shelf, wall display, corridor, or production plane. State the target illuminance and uniformity for that surface.
For retail, vertical shelf illumination may matter more than floor lux. For offices, task-plane illuminance and glare are critical. For warehouses, aisle orientation and rack height affect the useful distribution.
Record the Real Geometry
Measure room length, width, ceiling height, workplane height, suspension distance, and the location of racks, walls, partitions, beams, ducts, and daylight openings. Use realistic ceiling, wall, and floor reflectances in the model.
A suspended fixture mounted 800 mm below a ceiling behaves according to its height above the workplane, not simply the nominal ceiling height.
Use the Exact Photometric File
An IES or LDT file describes intensity in different directions. Import the exact wattage, optic, length, and distribution into lighting software. Do not substitute a visually similar product.
Compare layouts for average illuminance, minimum illuminance, uniformity, and vertical light. Check calculation grids at the relevant height and include maintenance factors appropriate to the environment.
Understand Spacing-to-Mounting-Height Ratio
Some manufacturers provide a spacing criterion or recommended spacing-to-mounting-height ratio. It can help with an initial layout, but it is not a replacement for a project calculation.
A wider distribution generally supports wider spacing at a given height, while a controlled narrow distribution may need closer rows for uniform low-ceiling coverage. Higher output does not automatically correct poor uniformity.
Coordinate Layout with Architecture
Rows should align with workstations, shelves, racks, circulation paths, and ceiling elements. Continuous lines can organize a space, but aesthetic symmetry should not override the lighting task.
Check sprinkler, HVAC, acoustic panel, structural, and access requirements. Continuous runs also need feed points, suspension locations, joiners, and maximum electrical run lengths.
Check Glare and Visual Comfort
Closer spacing at lower output may improve uniformity, but the luminance of each fixture and its position in the field of view still matter. Review diffuser brightness, shielding, beam control, and any available UGR data.
Computer models should be followed by a mock-up when the space includes glossy screens, reflective merchandise, polished floors, or critical visual tasks.
Layout Workflow
- Define task surfaces and targets.
- Measure geometry and reflectances.
- Select candidate fixtures and photometric files.
- Build an initial row layout.
- Calculate illuminance and uniformity.
- Adjust output, distribution, spacing, and aiming.
- Coordinate with ceiling services.
- Validate with a sample or mock-up.
Use our lumens and wattage guide when selecting candidate outputs.
Frequently Asked Questions
How far apart should LED linear lights be?
It depends on mounting height, distribution, output, room reflectance, task, and uniformity. Use the fixture photometric file for the actual project.
Does a higher ceiling require more wattage?
Often it requires more delivered lumens or a more controlled distribution, but the correct answer comes from a lighting calculation.
Should linear lights run parallel to desks?
The orientation should support the workstations and minimize glare and shadowing. It also needs coordination with the ceiling and room layout.
Can I calculate spacing from lumens alone?
No. Lumens measure total output but do not show distribution. Photometry is needed to predict spacing and uniformity.
