 跳到内容
跳到内容 
A track luminaire can have excellent optics and still fail a project if its adapter does not match the installed rail. This risk is especially important for importers, contractors and lighting brands supplying projects across Europe and Australia, where a description such as “three-phase track” or “four-wire track” may not identify one universal mechanical and electrical interface.
This guide helps you collect the right evidence before ordering linear LED track fixtures. It does not replace local electrical design, product compliance assessment or installation by qualified people. Instead, it gives the buyer, supplier and contractor a common checklist so compatibility is proven with documents and samples rather than assumed from a photograph.
Why the phrase “standard track” is not enough
Track systems combine a mechanical profile, electrical conductors, polarity or circuit arrangement, adapter geometry, locking method and load limits. Products from different families can appear nearly identical from below but place contacts and keying features differently. Even within a familiar track category, the adapter version, control functions or installation age may introduce another variable.
For that reason, do not approve a fixture from a message that says only “it fits European track” or “suitable for Australia.” Ask which exact rail brands and models have been tested with the supplied adapter. For an existing site, the installed rail—not a generic catalogue image—is the reference that matters.
1. Identify the project market and installation type
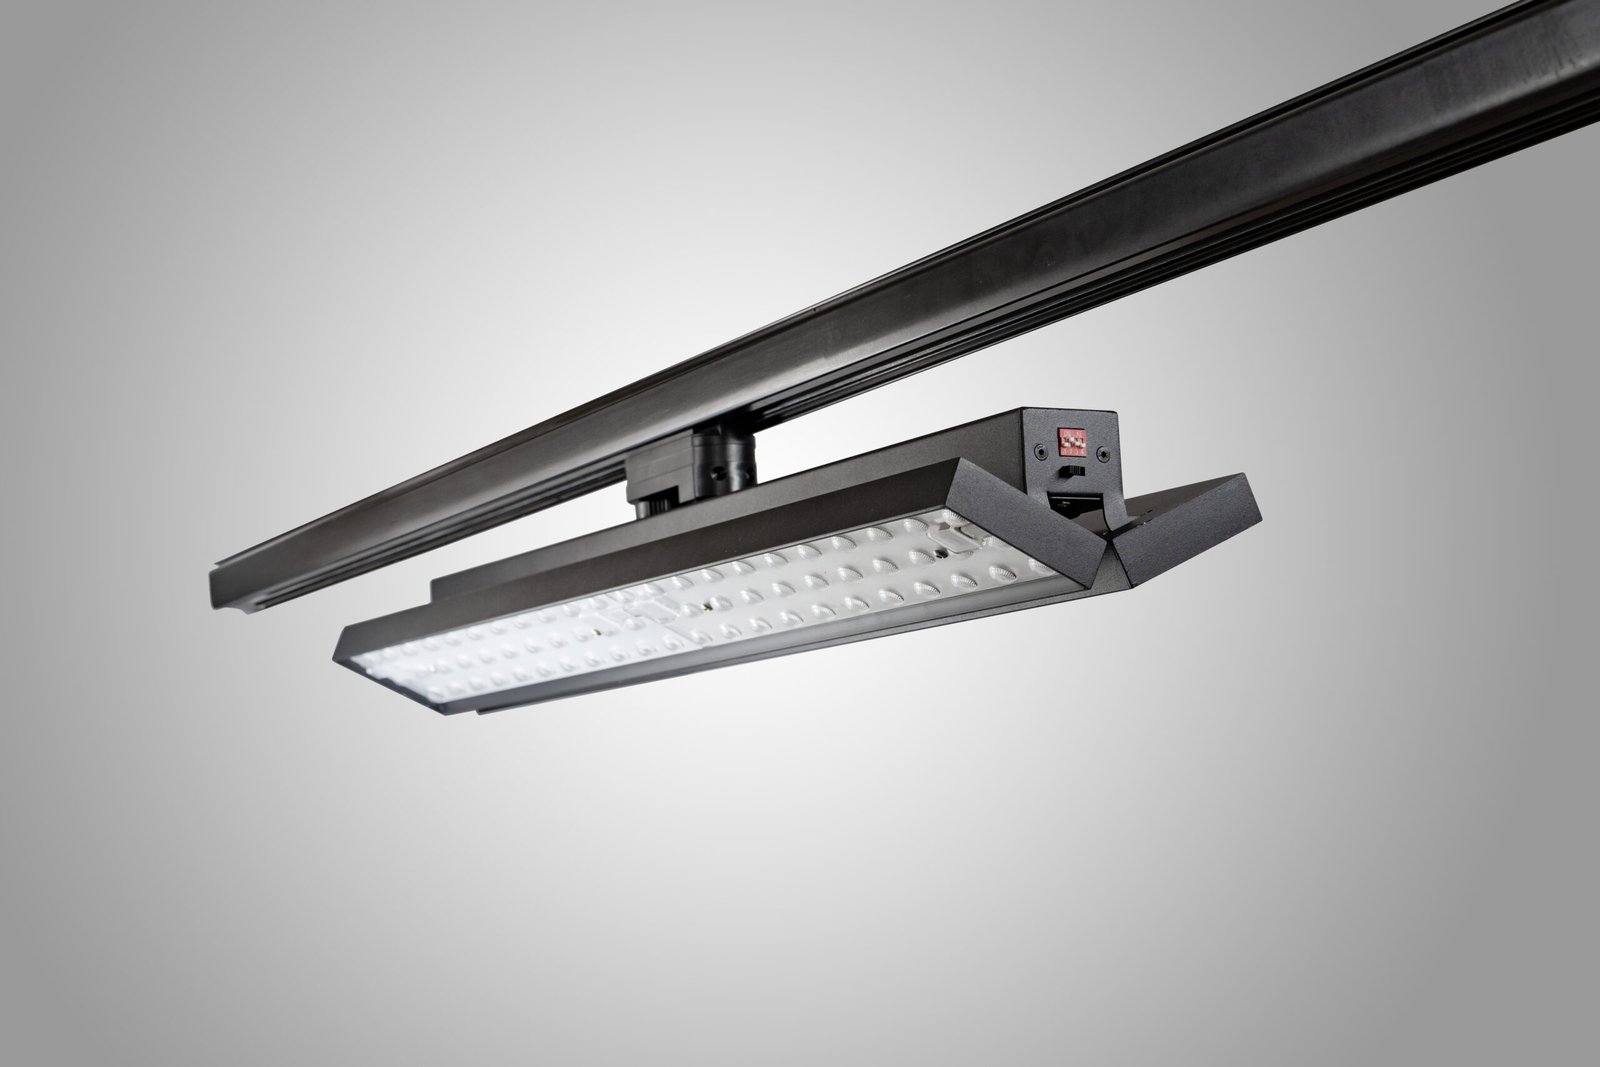
State the country and whether the project is a new installation, a retrofit to an existing rail or an addition to a mixed system. “Europe” is not a single project condition: supply, documentation, installation rules and market obligations must be checked for the actual destination. Australia likewise requires the responsible local parties to confirm that the complete supplied product and installation satisfy applicable requirements.
For a new project, selecting rail and luminaires as one coordinated system is usually easier. For a retrofit, compatibility evidence needs to start with the existing rail. If several store generations use different tracks, treat them as separate configurations and label the photographs carefully.
2. Record the rail manufacturer and model
Look for labels on the rail, live end, connectors, suspension parts or existing adapters. Record every code exactly, including suffixes. Photograph the label in place and also take a wider image showing which store or zone it belongs to. If the system is old, ask the original installer or property team for drawings, invoices and operation manuals.
If no model can be identified, do not guess. The next-best evidence is a dimensioned end profile and a physical sample of unused rail. A short sample that has been safely removed and declared de-energised can allow the supplier to conduct a controlled fit check. Site electrical work should be handled by authorised local personnel.
3. Photograph the profile correctly
Provide a clear, square-on photograph of the open end of the rail with a ruler or caliper reference. Add views from below and both sides. Photograph the live end, couplers, bends, suspension method and one existing adapter outside the rail where safe and practical. Show any locating ridge, groove or asymmetric feature.
Do not rely on one distant ceiling photo. Perspective can make profiles look wider or narrower, and darkness inside the rail can hide conductor positions. A useful image set lets the supplier compare geometry before the sample stage; it does not replace the sample stage.
4. Document conductors, circuits and selection method
Ask the electrician to confirm conductor arrangement, earthing, polarity where relevant, number of selectable circuits and the way an adapter selects a circuit. Photograph the selector on an existing approved fitting. If the project uses multiple switched groups, define which group each new luminaire should use and how installers will identify it.
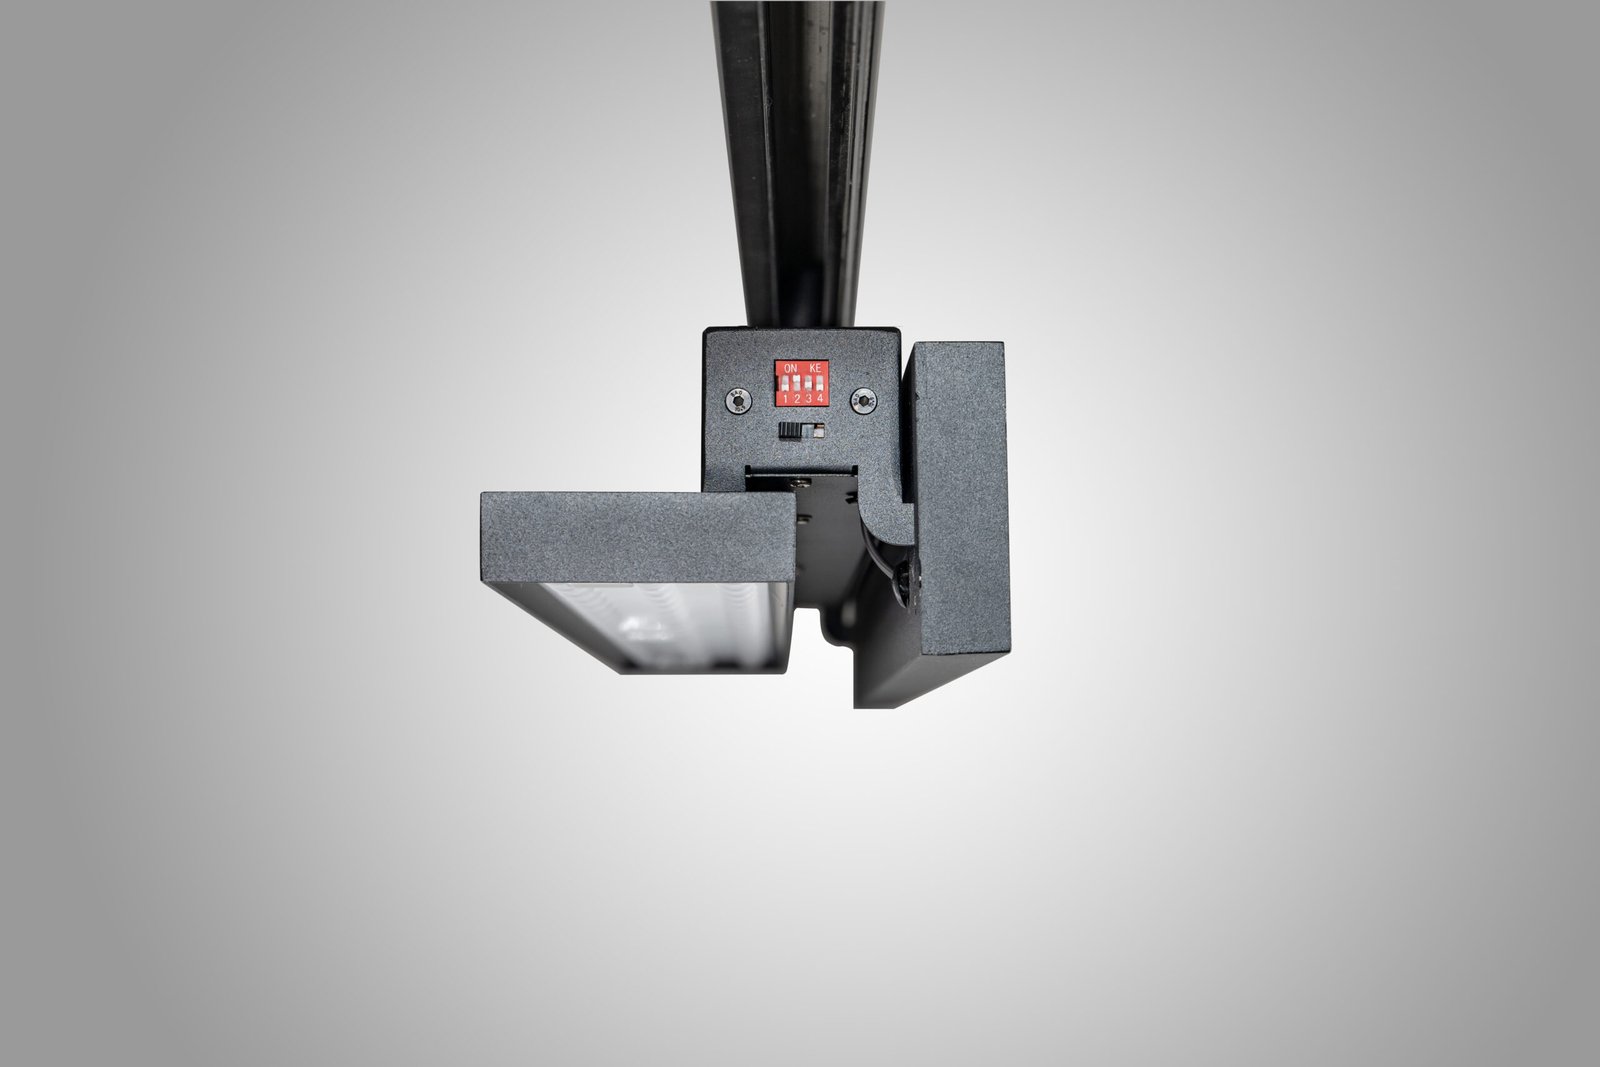
The red selector visible on some product photographs should not be interpreted from appearance alone. Its function, permitted settings and installation procedure must come from the exact product instruction supplied for the ordered configuration. Never ask site staff to experiment with switches or contacts on an energised product.
5. Confirm supply and control requirements
State nominal voltage, frequency, circuit protection and whether the project uses simple on/off switching, phase control, 0–10 V, DALI or another control approach. Confirm which functions are provided through the track and which require separate conductors, wireless components or external controls. A physically fitting adapter does not prove control compatibility.
Request the driver make and model, input specification, power-factor information where required, inrush data for circuit design and a wiring or connection diagram. The project electrical designer should determine allowable quantity per circuit and protection—not the sales photograph or nominal wattage alone.
6. Check mechanical loading and clearances
A long linear body creates different leverage from a small spotlight. Obtain complete-luminaire dimensions, weight, adapter position, centre of gravity and allowed operating orientation. Ask the track supplier or project engineer to confirm the rail and suspension can carry the proposed loads, including the layout’s spacing and any relevant local design requirements.
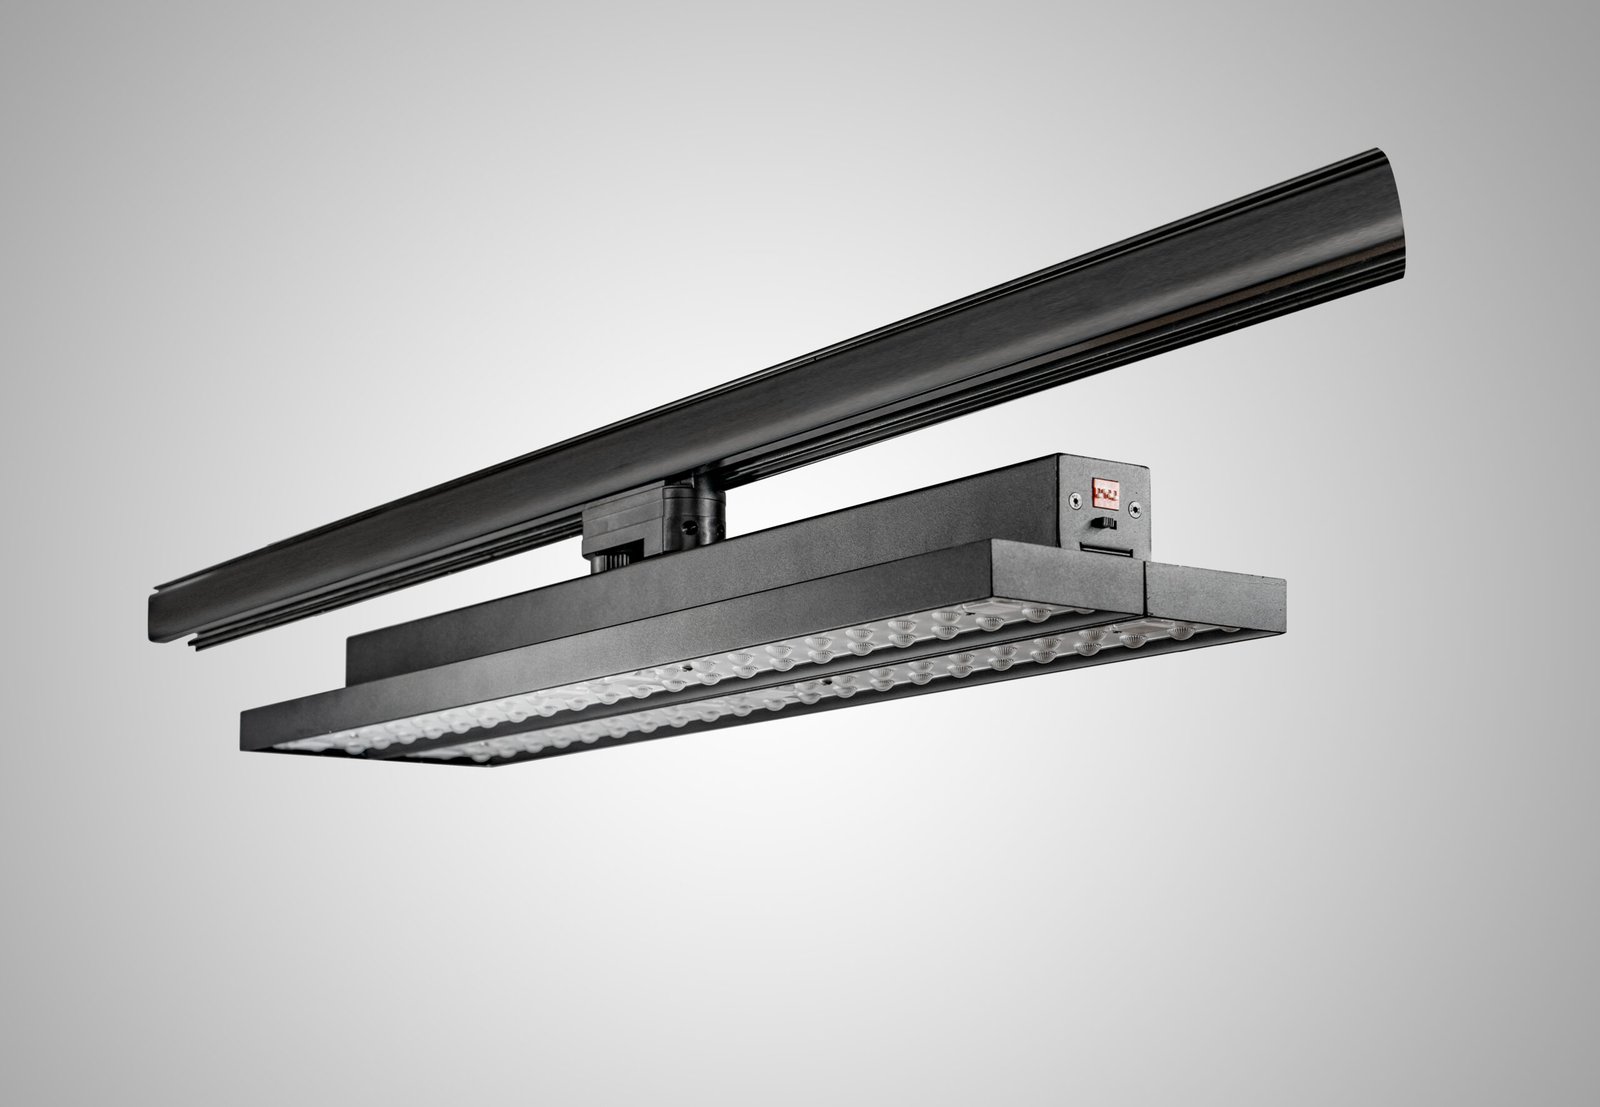
For an adjustable dual-panel light, model the full movement envelope. Check that the body can rotate and both panels can tilt without touching the ceiling, signage, services, sprinklers, neighbouring luminaires or shelving structures. Make sure the locking mechanism holds the chosen position after repeated adjustment.
7. Match the luminaire configuration to the exact adapter
Include the adapter manufacturer and part number in the quotation and purchase order whenever possible. If the supplier offers several adapters, require the chosen version to appear on the approved drawing, packing label and bill of materials. Do not approve an optical sample with one adapter and assume production can change to another without review.
The LCB adjustable dual-panel LED track linear light is a 577 × 140 × 124 mm product family with 27 W, 40 W, 50 W and 60 W options, 60° or 90° optics, body rotation up to 350° and individual panel tilt of ±90°. These product choices do not establish compatibility with every rail. We ask buyers to share the exact track information so the connection can be checked before production.
8. Request destination-specific compliance evidence
Define required documentation with a qualified compliance adviser or responsible local importer. Ask for reports, declarations, certificates, labels, instructions and supplier details that apply to the exact model, driver, adapter and market. A logo in a brochure or a certificate for a related model should not be treated as approval for a changed configuration.
For European destinations, confirm the obligations applicable to the product and economic operator, including the exact evidence the importer or distributor must retain. For Australia, confirm the relevant electrical-safety, electromagnetic-compatibility, marking and registration responsibilities for the exact supply arrangement. Requirements can change and may depend on product classification, so obtain current local advice rather than copying a checklist from a different project.
9. Approve labelling and instructions
The product label should identify the model and electrical ratings required for the destination and match the order. Review adapter or circuit-selection instructions, installation limits, minimum clearances, adjustment method, maintenance, cleaning and safe isolation. If the end user needs local-language instructions, agree the translations and responsible party before mass production.
Include carton and master-carton labels in the approval. When multiple wattages, optics or adapters look similar, a clear configuration code reduces the chance that installers receive the wrong version. Use barcode or batch references where they support traceability.
10. Conduct a controlled sample-fit test
Use the actual production-intent adapter and a representative rail section. A qualified person should check insertion force, key orientation, locking, retention, earthing contact where applicable, circuit selection, removal and signs of damage. The luminaire should not rock excessively or unlock when its panels are adjusted within the intended range.
Power the sample only in a safe test environment with suitable protection. Verify start-up, steady operation and controls. Observe whether moving the body or panels interrupts operation. Record photographs and a short video of the correct connection sequence for the installer, but let the official instructions remain the controlling document.
11. Test a real ceiling position
A bench fit proves only part of the system. Install the sample in a representative ceiling area and check clearance, balance, appearance and access for locking or circuit selection. Confirm that staff can aim the panels without applying force to the adapter or rail.
Then conduct the lighting test: use actual mounting height, shelf position and merchandise. Measure important vertical and horizontal planes and inspect glare. The compatibility sample should ideally answer both interface and application questions before the buyer approves a larger quantity.
12. Freeze an approved configuration
Create one configuration line containing luminaire model, wattage, complete-luminaire lumen basis, optic, CCT, CRI, driver, control, adapter, finish, label and destination. Link it to the approved drawing, sample serial or batch reference and compliance document set. If one field changes, decide whether the fit, electrical, optical or compliance approval must be repeated.
We recommend retaining a golden sample at the buyer or supplier and recording critical dimensions and photographs. The sample is not a substitute for specifications and tolerances, but it helps resolve questions when production begins.
13. Build receiving inspection around the main risks
When the shipment arrives, inspect cartons and randomly selected units before sending everything to site. Check configuration labels, adapter version, dimensions, finish, panel movement, locking, visible damage and basic operation. Compare selected samples with the approved reference. Record serial or batch information and isolate any suspect quantity.
On site, install a small first batch and have it approved before completing the project. This catches a rail variation or clearance issue while the problem is still contained. Store managers should not become the final compatibility test.
Europe and Australia project checklist
- Destination country and responsible importer or supplier identified
- New-build or retrofit condition stated
- Rail brand, model, age and condition recorded
- Dimensioned rail end profile and close-up photographs supplied
- Conductor, circuit and selection arrangement confirmed by a qualified person
- Voltage, frequency, protection and control method documented
- Adapter manufacturer and exact part number fixed in the order
- Luminaire size, weight, centre of gravity and movement envelope checked
- Compliance evidence reviewed for exact configuration and destination
- Labels, instructions and language requirements approved
- Physical rail sample and production-intent luminaire tested together
- Ceiling pilot completed with actual merchandise and sightlines
- Golden sample and configuration code retained
- Receiving inspection and first-installation hold point planned
What to send with an RFQ
Send the project country, delivery address, supply and control details, rail identification, profile dimensions, photographs, luminaire quantity, mounting height, layout, target surfaces, required CCT and CRI, optic options, project schedule and compliance-document request. If the rail cannot be identified, say so openly and arrange a sample instead of selecting an adapter by appearance.
Our RFQ and sample-approval guide can help structure the technical and commercial information. For broader layout decisions, see our commercial track-lighting guide for retail stores.
Final advice
The most useful compatibility promise is not “it should fit.” It is a traceable chain: identified rail, exact adapter, physical sample-fit, safe electrical test, destination-specific document review and a controlled site pilot. That chain protects the schedule, the installer and the customer experience.
If you are considering our adjustable dual-panel linear track light for a European or Australian project, send us the evidence listed above. We will use it to narrow the adapter and configuration questions before quoting. Where the rail remains uncertain, we will recommend a sample test rather than pretend that a photograph proves compatibility.

