 跳到内容
跳到内容 
Replacing every metre of track in a working store is not always the smartest way to improve the lighting. If the existing rail is electrically sound, mechanically secure and compatible with the new adapter, a carefully planned retrofit can reduce disruption while giving the sales floor a much more useful light distribution. The difficult part is not choosing a brighter luminaire. It is proving that the new fixture will fit, remain secure, deliver light to the merchandise and work reliably with the existing electrical system.
We wrote this guide for retail owners, lighting designers, contractors and buyers who need to decide whether an existing track installation can be reused. It gives you a practical sequence—from the first site survey to final commissioning—and explains where an adjustable dual-panel linear track light can solve layout problems that a fixed single-direction fixture cannot.
Start with the business problem, not the replacement product
Before counting tracks or comparing watts, write down what the current lighting fails to do. Are upper shelves bright while lower shelves disappear? Does the centre of the aisle receive too much light while the vertical merchandise remains dull? Are promotions moved every month, forcing staff to call an electrician? Are frequent lamp failures or inconsistent colour creating a maintenance burden?
A useful retrofit brief connects each problem to a measurable result. Examples include improving vertical illumination on both sides of an aisle, reducing obvious dark bands, creating a flexible position for seasonal displays, or standardising one serviceable fixture family. This prevents the project from becoming a simple one-for-one replacement that preserves the original weaknesses.
Step 1: document the existing track system
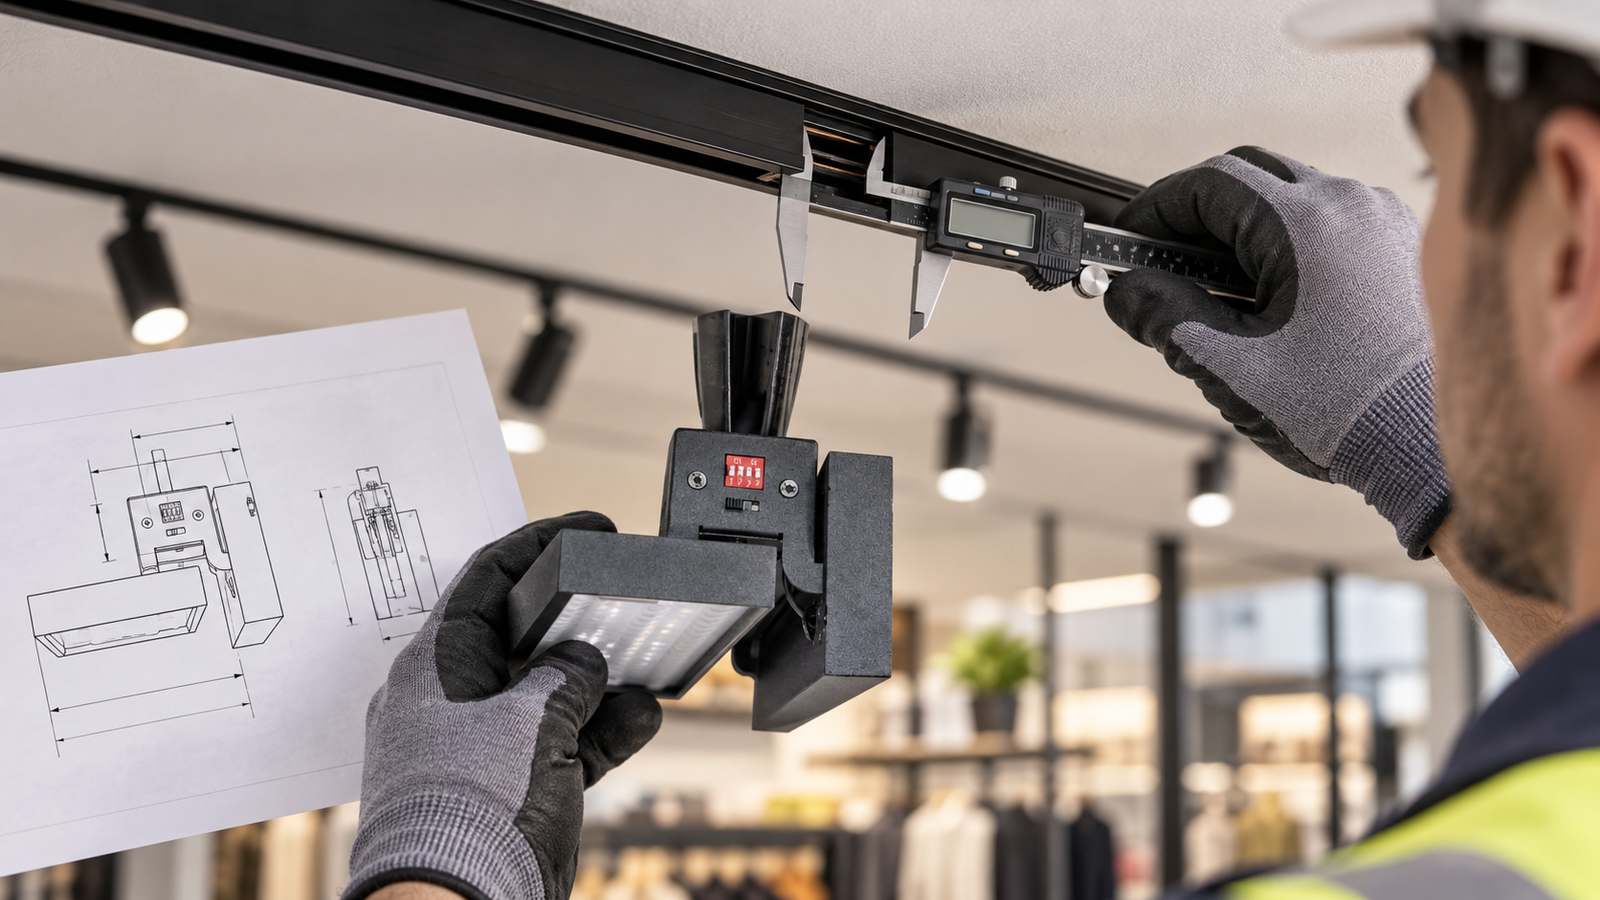
“Track lighting” is a category, not a universal connection standard. Two rails may look similar but differ in width, conductor position, polarity, locking geometry or load capacity. Record the track manufacturer and model if labels are visible. Photograph the rail from below, the end profile, the live-end feed, every connector and the adapter of an existing working luminaire. Count the conductors and note whether the installation uses one circuit or multiple selectable circuits.
Also record supply voltage, frequency, dimming or control method, protective devices and any emergency-lighting relationship. A qualified local electrician should verify the electrical details; photographs alone are not enough. If the rail is damaged, distorted, overheated, poorly fixed or no longer supported by its manufacturer, keeping it may create more risk than value.
Step 2: inspect mechanical condition and loading
A linear track luminaire places its mass and leverage differently from a compact spotlight. Check how the rail is fixed to the ceiling, the spacing and condition of supports, connector joints and the locking action of adapters. Look for sagging sections, cracked plastic, loose end feeds, discolouration or adapters that can be moved after locking. Do not assume that an old rail can accept a larger fixture simply because the adapter enters the slot.
Ask the proposed supplier for the exact fixture weight and adapter specification, then have the responsible contractor confirm the allowable load for the installed rail and fixing method. A physical sample-fit is especially important for a twin-panel body because both the main body and the moving panels must clear nearby ceiling details, signs, sprinklers and other fixtures through their full adjustment range.
Step 3: create a baseline you can compare later
Measure the present installation before removing anything. Record illuminance on the floor only as one reference; retail visibility depends heavily on light reaching vertical merchandise. We recommend measuring at several shelf heights on both sides of representative aisles, plus the promotional endcap, checkout or feature wall that matters most. Take photographs from consistent customer viewpoints and note the meter position, time and operating condition.
Collect current connected load, operating hours, maintenance history and replacement frequency if available. These figures help you judge the whole-life benefit of the retrofit. They also protect the team from vague claims: after the pilot, you can compare the new arrangement with the same locations and tasks rather than relying on memory.
Step 4: map zones before choosing optics
Divide the store into visual tasks. Long shelving aisles need continuous vertical coverage. Feature walls may need stronger modelling and contrast. Promotional islands change frequently. Circulation zones mainly need comfortable orientation. Checkout and service counters require clear faces and work surfaces. The best retrofit often uses a small family of coordinated distributions rather than one beam angle everywhere.
Mark mounting height, track offset, aisle width, shelf height and possible aiming direction on a simple plan. These dimensions determine whether the light should spread broadly or be controlled more tightly. If you are deciding between common 60° and 90° distributions, our commercial track-lighting selection guide gives a broader starting framework, but a real mock-up remains the safest decision tool.
Why a dual-panel fixture can help in a constrained retrofit
Existing tracks are rarely in the ideal position for a new merchandising layout. A fixed linear light sends its output in one principal direction; a compact spotlight may create a series of bright circles instead of a continuous band. An independently adjustable twin-panel design gives the commissioning team two directions of light from one track position. In a central aisle, one panel can address each shelf face. Near a perimeter, the two panels can share coverage between the wall and an adjacent display.
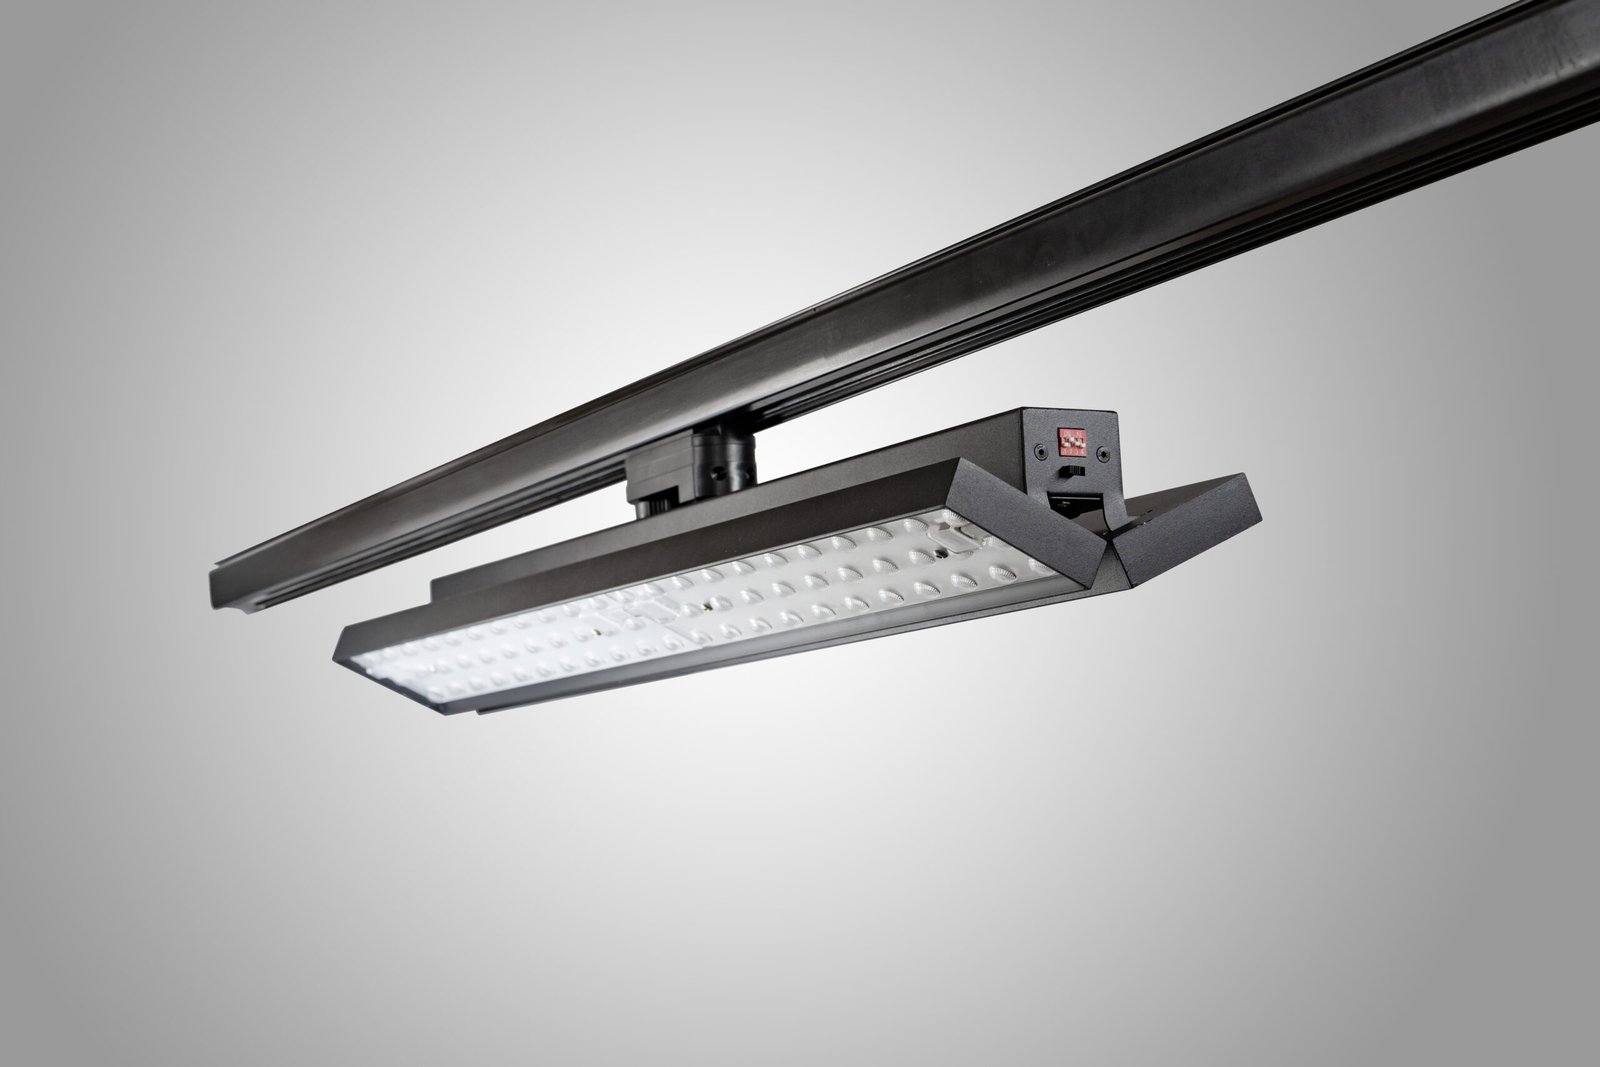
The LCB adjustable dual-panel LED track linear light is available in a model family covering 27 W, 40 W, 50 W and 60 W, with 60° or 90° beam options, CRI above 80 or 90, body rotation up to 350° and individual panel tilt of ±90°. Those choices are useful only when matched to the project. We do not recommend selecting the highest power automatically; mounting height, surface reflectance, required vertical illuminance and spacing should drive the decision.
Step 5: verify adapter and electrical compatibility with a sample
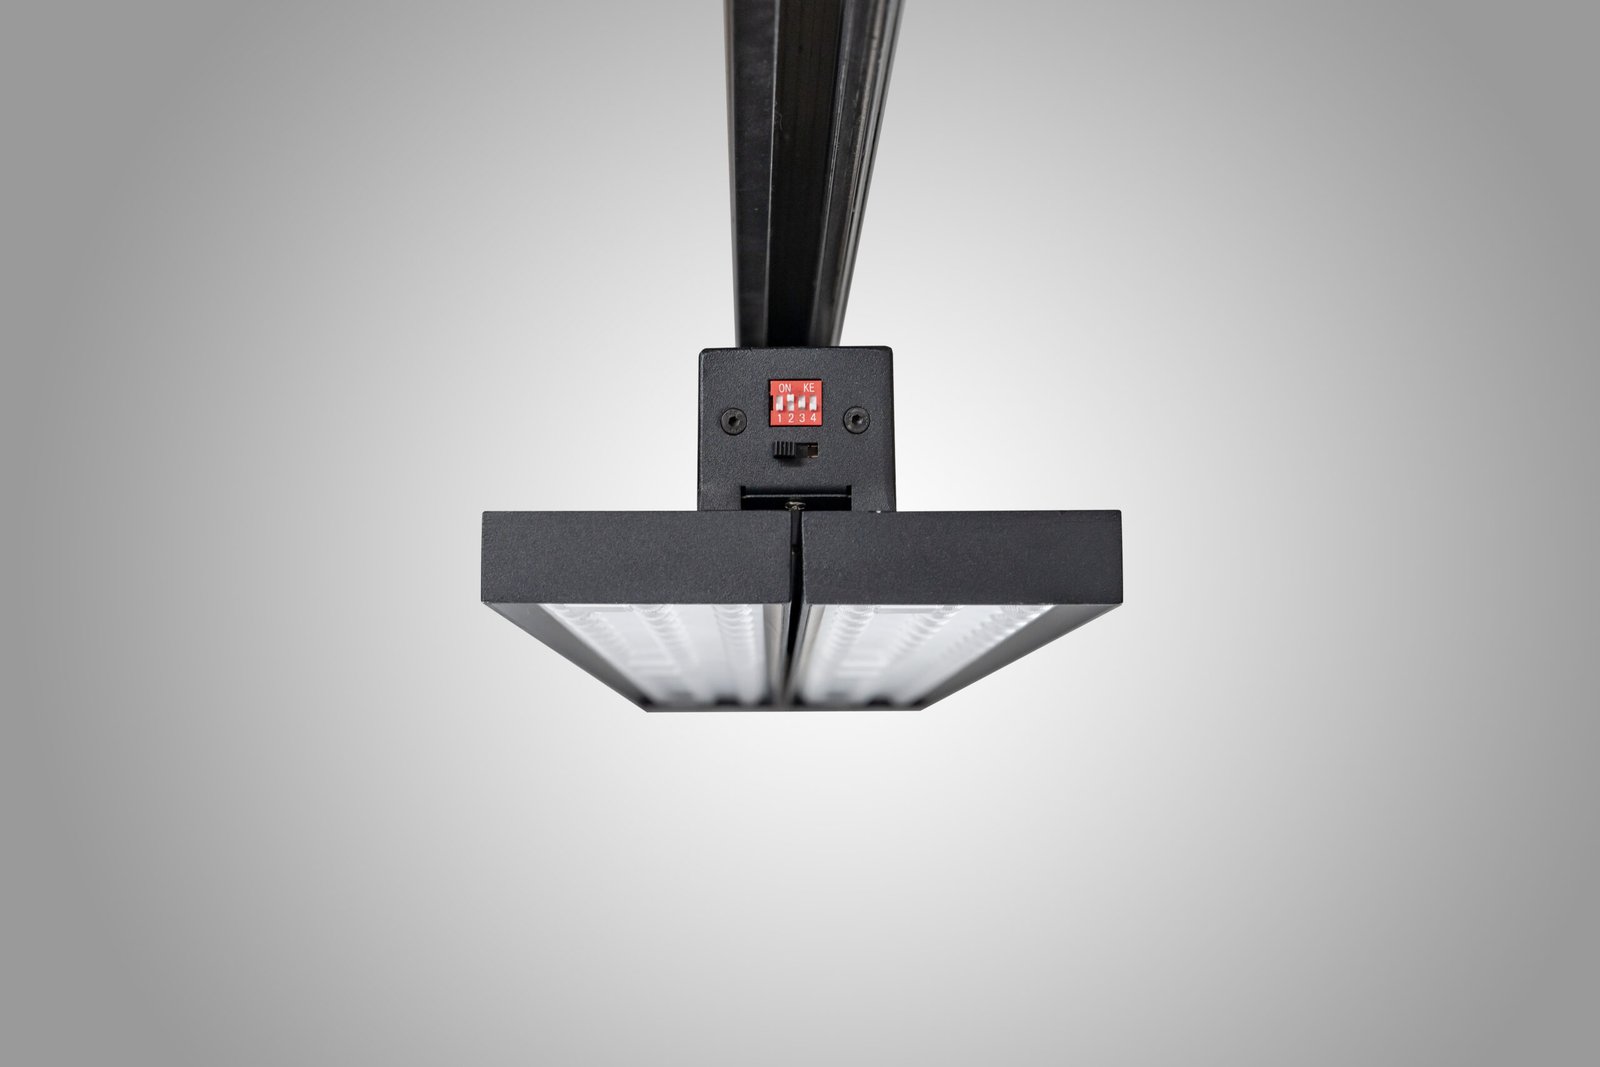
Send the supplier more than a description such as “European three-phase track.” Provide the rail brand and model, end-profile dimensions, close-up photographs and, when possible, a short unused rail sample. Ask the supplier to state the exact adapter supplied, rated voltage and frequency, circuit selection method, control compatibility and any limitations. Certification and compliance documents should refer to the exact ordered configuration, not merely a similar product family.
When the sample arrives, have a qualified person test insertion, locking, electrical contact, polarity or circuit selection and removal. The adapter should lock positively without forcing, rocking or leaving excessive gaps. Energise it under controlled conditions and check that adjustment does not disturb the connection. If compatibility is uncertain, replace the rail or use a manufacturer-approved adapter solution; improvisation is not an acceptable retrofit plan.
Step 6: build a representative pilot zone
A desk calculation cannot reveal every reflection, shadow or sightline in a finished shop. Choose a pilot area containing the most difficult conditions: a typical aisle, dark packaging, light packaging, glossy labels, upper and lower shelves and a realistic customer viewing direction. Install enough samples to judge continuity rather than testing one isolated fitting in an empty room.
Test at least two plausible settings, such as a wider optic at moderate output and a narrower optic at lower or higher output. Aim both panels deliberately, then record angles or photograph the final positions. Measure vertical illumination at multiple shelf heights, check horizontal light where required, and view the scene with the actual signs and merchandise present.
Step 7: check comfort as carefully as brightness
A retrofit can produce more light and still make the store worse. Stand at entrances, aisle ends, checkout queues and the normal eye positions of customers and staff. Look for direct views of bright LED apertures, reflected glare in glass doors and polished packaging, harsh overlap lines, scalloping and distracting brightness on the floor. Adjust panel tilt and body rotation before changing the entire specification.
Use shielding, mounting position and aiming discipline to keep the brightest emission away from common sightlines. A broader beam may improve uniformity, but it can also place more light outside the target. A narrower beam can control spill, but poor spacing may create hot spots. The correct answer comes from the geometry of the project, not from a universally “best” optic.
Step 8: compare the full retrofit cost
Keep-the-track and replace-the-track options should be compared on the same basis. Include luminaires, adapters, rail repairs, electrical labour, access equipment, night work, ceiling making-good, controls, commissioning, disposal, spare parts and expected disruption. Reusing a healthy compatible rail can save time; repairing an obsolete or questionable system repeatedly may erase that saving.
Also consider future merchandising changes. If one adjustable twin-panel unit can cover two useful directions from an existing position, it may reduce the number of fittings or relocations in some zones. That is a design possibility, not a guaranteed outcome. Confirm it with a layout and pilot before using it in the commercial calculation.
Step 9: plan installation as a controlled change
Prepare a circuit and track schedule before the site team begins. Label zones, define which existing fittings are removed, identify any rail sections to repair, and state the intended luminaire positions and initial aiming. Isolate circuits safely and follow local electrical regulations. Keep a small group of installed luminaires available for review before completing the whole store.
Because stores often retrofit outside trading hours, the handover between shifts matters. Use a simple checklist with completed track sections, test results, unresolved defects and photographs. This prevents the next crew from repeating work or overlooking a connection that has not been tested.
Step 10: commission for merchandise, not an empty room
Final aiming should happen after shelves, signs and promotional structures are in place. Begin with one reference bay and agree what acceptable coverage looks like. Aim panel by panel: first establish the principal target, then soften dark areas and overlaps. Repeat the baseline measurements at the same points and photograph the same customer views.
Record the final fixture position, body rotation, panel angles, circuit selection and any driver or control setting. These records make future resets faster after staff move a fixture. They also create a clear acceptance basis for the buyer, contractor and supplier.
A practical retrofit approval checklist
- Existing rail brand, model, conductor arrangement and circuit configuration recorded
- Supply voltage, frequency, controls and protection verified by a qualified person
- Rail, feeds, connectors and ceiling fixings inspected for damage and loading
- Exact luminaire adapter and mechanical compatibility proven with a sample
- Fixture weight, clearances and full adjustment range checked
- Baseline vertical and horizontal measurements documented
- Representative pilot installed with actual merchandise
- Beam angle, output, colour quality and aiming approved
- Direct and reflected glare reviewed from customer positions
- Compliance documents matched to the ordered model and destination market
- Installation schedule, circuit labels and commissioning records prepared
- Spare units, warranty route and replacement consistency agreed
Information to include in your RFQ
A useful request for quotation should include site country, supply details, track information, mounting height, aisle and shelf dimensions, target surfaces, desired colour temperature and CRI, control method, operating hours, quantity and project timing. Add drawings, rail photographs and baseline images. Ask for dimensional drawings, photometric files, adapter details, sample lead time, compliance documentation and a clear production configuration.
Our LED linear-lighting RFQ and sample-approval guide provides a structured way to collect those items. The more precise the input, the easier it is for any responsible supplier to recommend a defensible option instead of guessing.
Final advice
The most successful retrofit is not the one that changes the fewest components or buys the most lumens. It is the one that keeps only what has been proven safe and compatible, directs light to the merchandise customers actually see, and leaves the store with a repeatable maintenance plan. Treat the existing rail as an asset that must earn its place in the new design.
If you send us your rail details, site dimensions and photographs, we can help review whether an adjustable dual-panel linear track light is worth testing. We recommend starting with a documented sample and representative mock-up. That small step usually answers the most expensive questions before a full order or overnight installation begins.

