 跳到内容
跳到内容 
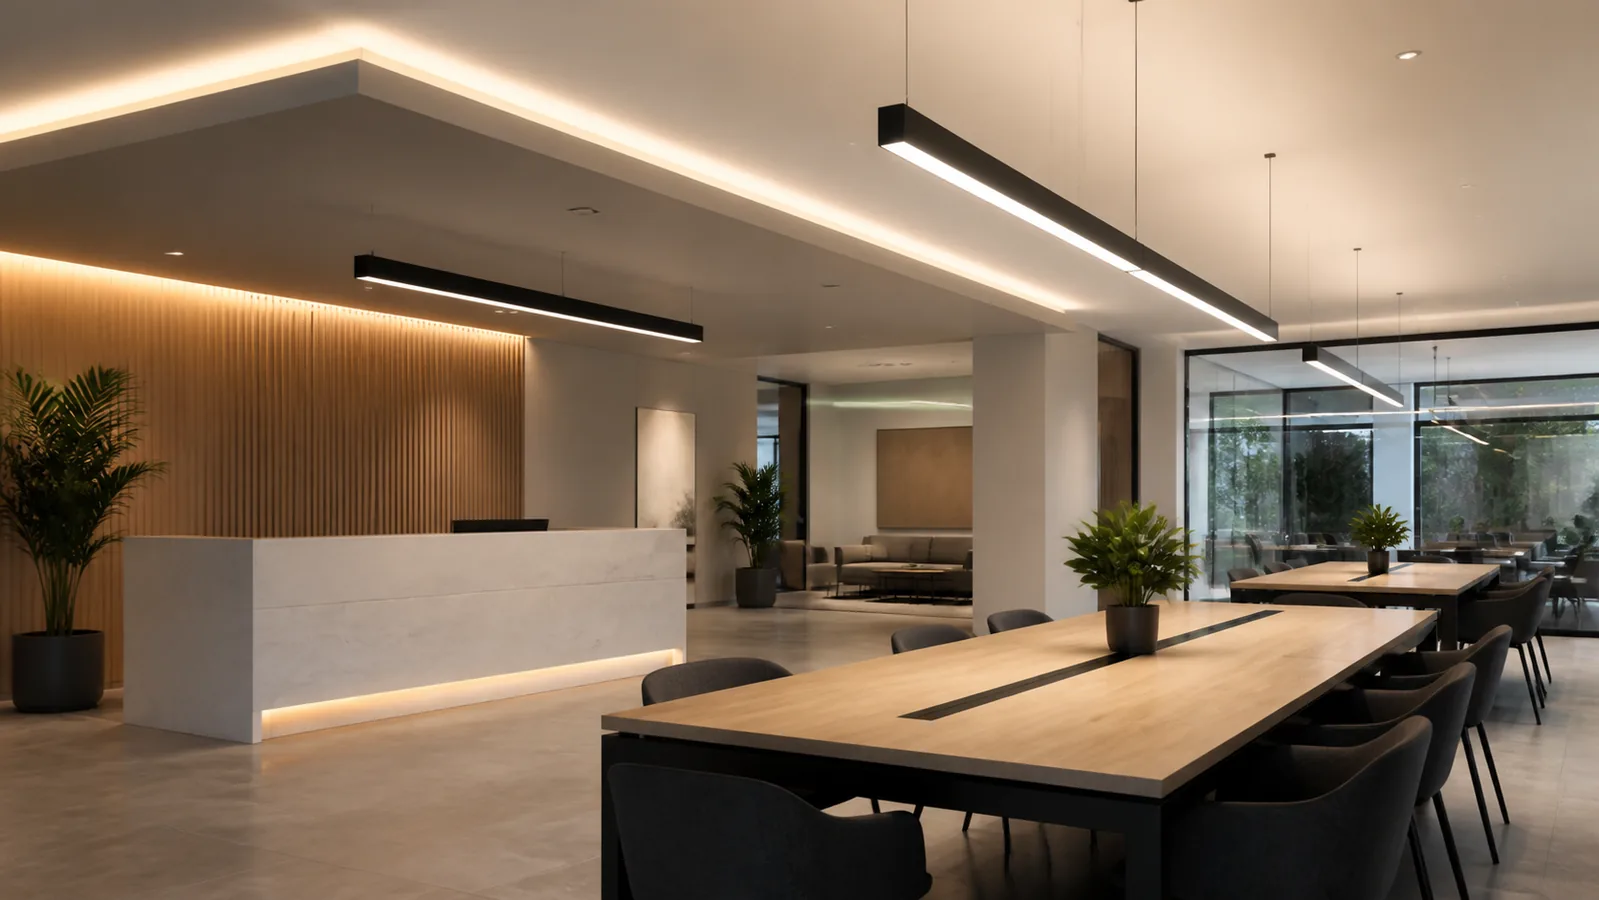
At LCB Light, we view a pendant linear fixture as both a lighting instrument and a visible architectural element. We therefore look beyond lumen output to suspension height, glare, joints, cable appearance and the relationship between the light line and the interior. The following approach reflects how we would discuss a commercial pendant project with a buyer or designer.
An LED linear pendant light fixture can provide task lighting, visual structure and a clear architectural rhythm in commercial interiors. Because the luminaire hangs below the ceiling, its proportion, suspension height and cable routing become part of the design. Good results balance appearance with glare control, uniformity and maintenance.
Direct or direct/indirect distribution?
Direct light sends most output to the work plane and is efficient for task illumination. Direct/indirect pendants add light to the ceiling, softening contrast and making tall rooms feel brighter. The indirect component needs adequate clearance and a reasonably reflective ceiling. Dark or exposed ceilings may absorb much of the uplight.
Set suspension height before spacing
Determine the luminaire height relative to desks, counters and sightlines. Lower mounting can improve task efficiency but may increase glare and visual obstruction. Higher mounting widens the distribution but can require more output. Use photometric calculations for the actual room; generic spacing ratios are only a starting point. See our linear-light spacing guide.
Control glare and visual comfort
Diffusers, microprismatic lenses, louvers and low-glare optics change both appearance and distribution. In offices, consider screen positions and long viewing angles. UGR should be assessed using the room geometry and reflectances in the lighting calculation, not treated as a universal product label.
Coordinate continuous lines and shapes
Long rows, L-shapes and rectangles require accurate shop drawings. Confirm module lengths, luminous and non-luminous connectors, feed locations, suspension positions and expansion tolerances. Small errors are more visible in suspended systems than in individual downlights.
Specify light quality and controls
- Choose CCT to support the interior palette and surrounding daylight.
- Use suitable CRI and color consistency for merchandise, materials and faces.
- Confirm flicker performance for offices, classrooms and camera-heavy spaces.
- Coordinate DALI, 0–10V, sensors or other dimming before selecting the driver.
Our guides to linear-light color temperature and dimming LED linear lights cover these choices in more detail.
Installation checklist
- Confirm ceiling structure and suspension hardware.
- Mark power feeds, control wiring and emergency circuits.
- Approve finish samples and visible cable colors.
- Review alignment, leveling and connector details.
- Provide access for drivers and future maintenance.
Match the pendant to the application
Office pendants often prioritize low glare, direct/indirect distribution and control zoning. Retail pendants may need stronger vertical illumination and finishes that coordinate with the brand environment. Education and public interiors can add impact resistance, simple maintenance and robust suspension requirements. Hospitality spaces may emphasize warm dimming, special colors or decorative proportions.
In every case, compare a full-size sample at the intended suspension height. A fixture that looks balanced in a catalogue image can appear too wide, too bright or visually heavy when repeated across a real ceiling.
Request a coordinated accessory schedule for every LED linear pendant light fixture, including canopies, suspension cables, power cords, connectors and emergency parts. Small accessory differences can be conspicuous across a repeated ceiling layout.
How we translate an interior concept into a fixture schedule
We ask the designer or buyer for reflected ceiling plans, target suspension height, ceiling construction and the visual alignment that matters most. A pendant may need to follow desk rows, counters, circulation routes or architectural bays. We then separate straight fixtures from continuous lines and identify corners, feeds and non-standard lengths. This prevents a beautiful concept from becoming an improvised site assembly.
What we look for in a pendant sample
At LCB Light, we recommend viewing a powered sample from standing and seated positions. Check the brightness of the aperture, diffuser uniformity, end-cap fit, suspension cable, canopy, power cord and finish. Dim the fixture through its expected range and listen for driver noise in a quiet room. If the design uses direct/indirect output, view the ceiling effect at the intended suspension distance.
For continuous lines, include at least one mechanical and optical joint in the sample. A single standalone section cannot show how seams, alignment and light continuity will appear across the finished interior.
Avoid the most common coordination problems
- Power feeds located away from the approved ceiling points
- Suspension cables conflicting with HVAC or acoustic panels
- Different cable colors used across one visible line
- Driver boxes that cannot be accessed after ceiling completion
- Module dimensions that do not align with room references
We recommend issuing a final coordinated drawing before production. When dimensions change, update the complete run schedule rather than editing one note in an email.
Balancing design ambition and budget
Custom lengths, special corners, indirect output and unique finishes can strengthen the interior, but each option adds engineering or production complexity. We help buyers prioritize the features that are most visible or valuable to occupants. In some projects, a standard profile with carefully planned lengths and a custom finish creates the desired effect without new tooling.
How LCB Light can support the selection
If you share the ceiling plan, mounting method, target light level and control protocol, we can discuss a suitable pendant configuration and sample scope. Our commercial goal is to make the final quotation complete: fixture modules, feeds, suspension sets, connectors and control options should be clear before you compare total project cost.
Prepare the inquiry around the finished ceiling
Send the reflected ceiling plan, desired line dimensions, suspension height, output target, direct or indirect preference, controls, finish and quantity. Photos or renderings help us understand the visual intention, while dimensions make the proposal buildable. At LCB Light, we can then separate standard modules from custom requirements and provide a clearer accessory schedule for quotation, sampling and installation coordination.
A useful full-size mock-up process
For a visible commercial interior, we recommend installing more than one pendant section in a representative area. This shows spacing, rhythm, brightness and alignment in a way that a single sample cannot. Use the planned ceiling height, suspension length and control setting. Place typical furniture and view the lights from entrances, desks and circulation paths. If the interior will be photographed or used for video, test it with the intended cameras.
Record comments against specific features: aperture brightness, joint appearance, cable straightness, finish color or dimming level. At LCB Light, this gives us actionable feedback. A comment such as “the line feels too dominant from the reception desk” can lead to a discussion about output, optic, width or mounting height.
Choosing between standard and custom lengths
Custom lengths can create precise alignment, but a layout built entirely from unique modules may cost more and be difficult to replace. We often recommend using standard luminous sections for most of the project and limiting custom pieces to highly visible termination points. Non-luminous blanks or adjusted suspension positions can sometimes solve alignment without new LED-board lengths.
The best choice depends on how strongly the light line must reference walls, furniture or ceiling grids. We help buyers identify where exact alignment creates visible value and where a small dimensional compromise will not be noticed.
Handover and long-term appearance
Before completion, check that every run is level and that joints are closed consistently. Confirm control scenes, emergency operation and driver access. Store the run schedule, product codes, finish reference and spare diffuser or connector information. Cleaning instructions also matter because abrasive methods can change the appearance of diffusers or powder coating.
From a commercial perspective, a pendant project represents the brand of the interior as well as the lighting supplier. We therefore encourage a complete visual inspection before handover. When the system is well coordinated, the buyer receives more than adequate illumination: the repeated lines support the architecture and make the investment visible to occupants and visitors.
Our final design principle
For visible pendant lighting, every technical decision eventually becomes part of the interior. Output affects comfort, module lengths affect rhythm, and accessories affect visual cleanliness. We recommend approving the complete installed appearance—not only the luminaire body. This gives designers, buyers and manufacturers one shared reference for production and handover.
Frequently asked questions
Can pendant linear lights work with exposed ceilings?
Yes. Coordinate suspension, conduit and cable management carefully, and choose a distribution that does not waste light into a very dark ceiling.
How long can a continuous pendant run be?
The limit depends on the mechanical system, electrical feed capacity, driver arrangement and manufacturer instructions. Long runs may require multiple feeds.

