 跳到内容

An integrated-driver track spotlight can give a retail ceiling a tidy appearance because the power electronics are housed within the fixture or its adapter assembly rather than in a visibly separate box. That does not make installation or maintenance automatic. Before choosing one for a rollout, buyers should check the real rail, ceiling clearance, adapter geometry, heat path, service method and replacement-part strategy.
The first question is not “Is the driver integrated?” It is “Can this exact spotlight work safely, visibly and serviceably in this exact track system?” LCB’s internal-driver track spotlight is a product reference; this article is a practical specification guide, not a promise that one configuration fits every rail or market.
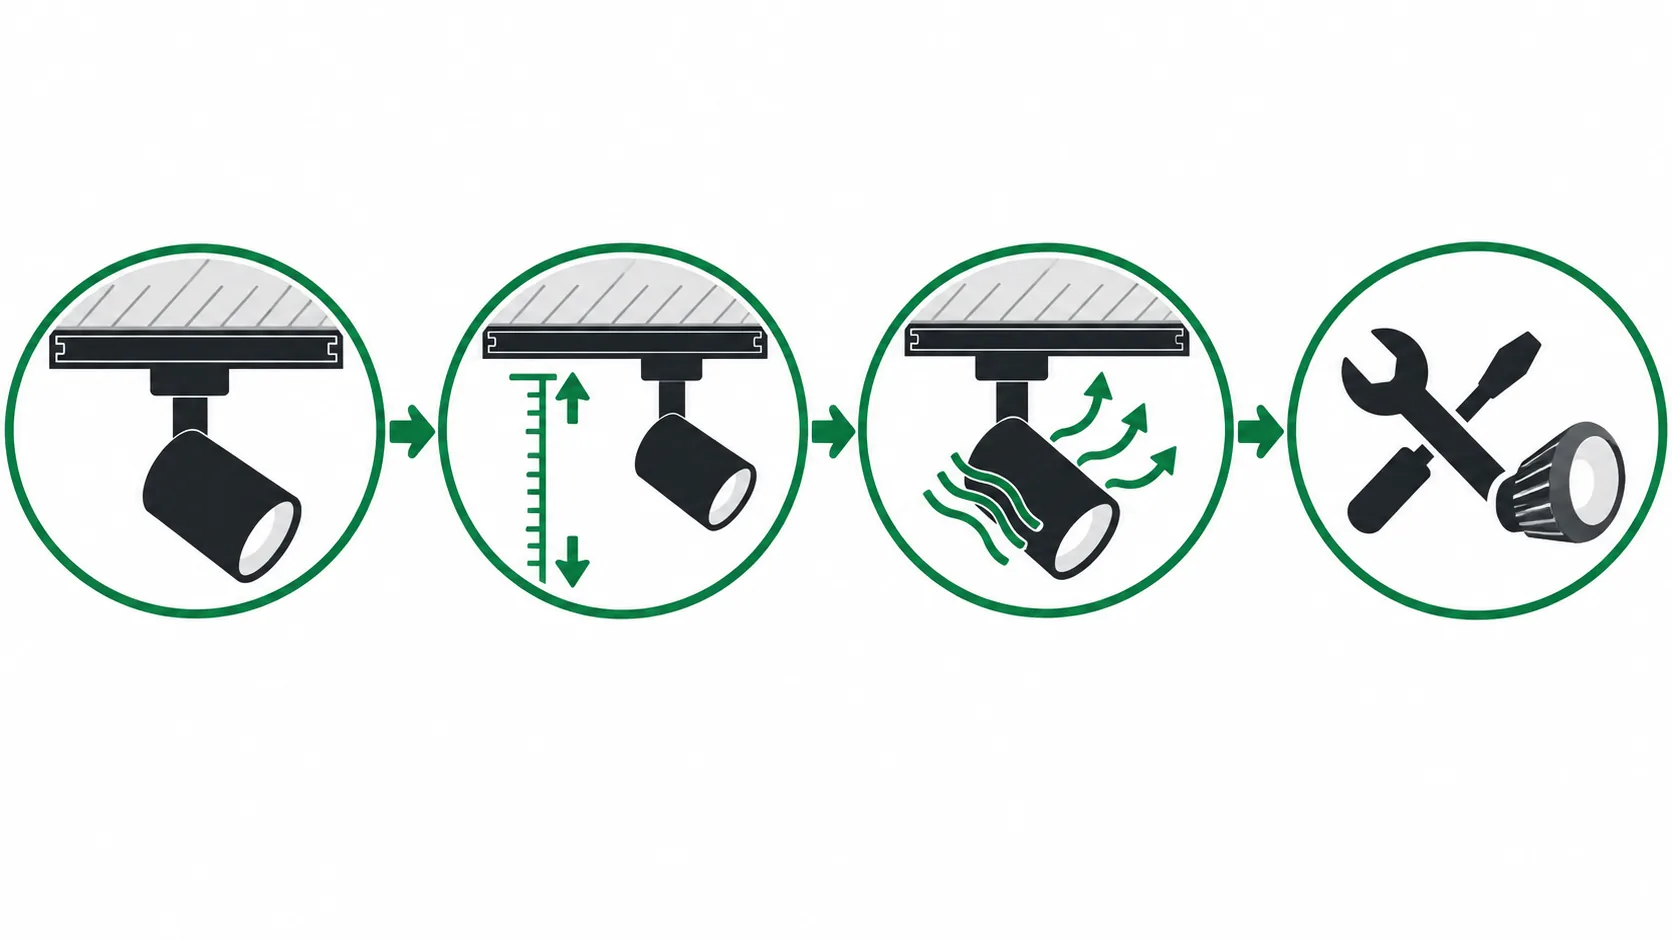
What does “integrated driver” actually mean?
In commercial track lighting, the LED driver may sit in the cylindrical lamp body, in a larger track adapter or partly across both assemblies. Marketing descriptions are not always precise about the physical arrangement. Ask for a current sectional drawing, installation drawing or sample of the quoted version. Note where the driver is located, how the housing opens and whether the service team can replace the driver separately from the complete head.
An integrated arrangement can reduce visual clutter. It may simplify installation when the track and adapter are compatible. But packing electronics into a compact body also makes thermal design, access and spare-part availability more important. A clean ceiling photograph is a useful aesthetic reference, not proof of service life.
Do not confuse “integrated driver” with “driverless.” The LED still needs suitable power conversion and controls. The driver specification should state the input and control arrangement for the target market and the exact model being supplied.
Start with the installed rail
There are several track standards and proprietary variants. Two rails that look similar can differ in mechanical profile, conductor arrangement, circuit selection and adapter locking method. For retrofit projects, collect the rail manufacturer and model where possible, photograph the end and underside, and obtain a short sample rail. A physical fit test is often faster than a long exchange of vague compatibility claims.
Check the adapter in its full operating range. It should engage securely, select the intended circuit when relevant and leave enough room for the spotlight to swivel without colliding with the ceiling, signage or neighboring heads. If the adapter is unusually tall, it may be visually dominant even when the lamp body itself is slim.
For multi-country projects, list the track system by location instead of assuming a single adapter will work everywhere. A compatible adapter can be offered or customized in some cases, but the project should not be ordered until the chosen track/adapter combination has been confirmed in writing and, ideally, tested physically.
Measure the clearance envelope, not just the product length
Catalog dimensions usually show the fixture in a neutral pose. The installed envelope is larger: the adapter projects from the track; the lamp body rotates and tilts; a hand may need space to operate a lock or release. A track close to an exposed beam, soffit, acoustic baffle or wall can restrict adjustment or make servicing awkward.
Draw a simple side and end view of the ceiling condition. Include track height, distance to obstructions, maximum head rotation, sign position and safe access for a technician. For low ceilings, ask whether the desired beam can actually be aimed without the head protruding into a sightline. A smaller body is not necessarily the answer if it sacrifices an appropriate optic or cooling space.
Mock up the fixture in the most constrained location, not the easiest one. A problem discovered in one tight bay can affect hundreds of identical positions in a chain-store rollout.
Thermal behavior is a system issue
LED board and driver temperatures depend on the luminaire’s construction, ambient conditions, operating setting, optics and installation. A compact integrated-driver design should provide a credible thermal path and appropriate test information for the selected configuration. Ask what ambient assumptions underlie the performance claim. Heat from a nearby display, enclosed soffit or warm ceiling void may differ from a laboratory condition.
Do not infer reliability from a heavy housing or from the appearance of fins alone. Request relevant test data and a warranty statement for the exact product variant. If the spotlight is dimmable, verify whether the driver behaves properly at the intended low settings and whether dimming changes any audible noise or flicker characteristics important to the project.
For an apples-to-apples comparison, review the complete luminaire power, delivered output and service method. A lower nominal wattage can still be a poorer choice if the beam misses the merchandise or the optical quality does not meet the visual goal.
Decide what “serviceable” means for this project
A store manager may consider a head serviceable if a replacement unit can be swapped quickly. A facilities team may prefer a separately replaceable driver or LED module. Both are valid strategies when planned, but they have different spare inventories, labor time and waste implications. Ask the supplier which parts are replaceable in the field, what tools are required and whether the unit can be opened without damaging the optic or finish.
Record the driver model, LED board, lens, adapter and finish code in the procurement file. If the whole head is the field-replacement unit, stock the correct complete assembly. If individual components are replaced, request an exploded view and handling instructions. A nominally replaceable driver is not useful if its supply is discontinued or the housing is impractical to reopen.
Think about color matching. A new head installed after several years may have a visibly different tone from its neighbors. A spare policy should therefore cover the light source and optic, not only the electronics. Consider holding a small quantity of matching heads from the approved batch for high-visibility locations.
Optics and aiming still determine the visible result
The integrated-driver decision is about form and service; it does not select the right beam. Define the target—garment rail, display table, wall graphic or mannequin—before choosing an optic. Check the mounting height, aiming angle, target size and adjacent ambient level. A narrow beam can create a striking focal point but leave merchandise between heads dim. A broad beam can cover more product while reducing hierarchy.
Use an IES or LDT file for the exact optic and output, then verify it in a representative store bay. Check glare from customer approach paths and from staff working under the track. A bright aperture seen directly at eye level can undermine an otherwise attractive retail scheme.
For a product family comparison, see the COB LED track spotlight and cylinder track spotlight pages. Compare their exact approved configurations rather than assuming that all cylindrical heads perform alike.
Controls and circuit selection
Document whether the project requires simple switching, multi-circuit selection, phase dimming, DALI or another control method. Not every integrated driver supports every method. The adapter, rail, driver and control system have to work together, and any emergency-lighting requirement needs its own design review. Ask for a wiring and compatibility note for the exact combination being purchased.
Test the complete dimming range with the intended control hardware. Observe how the light starts, fades and behaves near minimum level. If the design uses scenes, record each scene and the intended target areas. Store teams should not have to guess which circuit or control address belongs to which head.
What to ask for in a sample approval
| Check | Evidence or demonstration |
|---|---|
| Rail and adapter compatibility | Physical fit on the installed rail, lock engagement and circuit behavior |
| Clearance and adjustment | Installed envelope with full intended aiming range |
| Visual effect | Exact optic, output, CCT and finish in a representative display |
| Controls | Test with actual control hardware and all required scenes |
| Thermal and documentation | Relevant test information for the selected variant |
| Service | Replacement method, part numbers and spare availability |
Photograph the approved sample from several positions, including a close view of the adapter. Record its complete configuration code and keep a physical sample if the project spans multiple sites. A roll-out purchase order should refer to that approval, not merely to a generic catalog family.
Rollout and maintenance planning
For a chain-store program, test an awkward ceiling bay, a typical display bay and one service procedure before placing the full order. This catches differences in track compatibility, signage clearance, aiming and accessible replacement. Include a small spare allowance and agree how warranty claims will identify the affected variant.
When a location changes its merchandising, re-aim the heads against a documented target plane. Random re-aiming can create patchy light, customer glare or unused fixtures. A short one-page aiming guide with photos is often more useful to store teams than a dense installation manual.
Finally, verify the proposed assembly against local electrical and installation rules in the destination market. Certifications and wiring arrangements vary, and this article does not establish compliance for a specific project. The supplier should identify the evidence relevant to the exact supplied configuration.
A short pre-order site trial
Before approving a large quantity, test the most constrained bay. Bring the actual rail section, the proposed adapter, a representative head and the intended control hardware. Fit the unit, rotate it through the required range, aim it at real merchandise, then remove and reinstall it. This trial should be documented with photos of the adapter lock, ceiling clearance and beam on the target. A short trial can reveal a mechanical incompatibility or a service problem before it becomes a chain-wide issue.
Ask the installer how long the fitting takes to change and whether a replacement requires a special tool or a full circuit shutdown. If a store must remain open, note whether the task can be done safely within a normal maintenance window. The answer may favor a complete spare head even when the electronics are theoretically replaceable.
Put the trial results into the purchase specification. The approved adapter, head, optic and driver should be named as a complete assembly. If the supplier later proposes a substitution, repeat the relevant fit, aim and control checks rather than accepting it on the basis of a similar photograph.
Common mistakes to avoid
- Assuming visual similarity equals rail compatibility. Fit-test the adapter.
- Measuring only the lamp body. Include the adapter, motion envelope and service access.
- Choosing an optic after the ceiling is fixed. Set the merchandise target and aiming geometry first.
- Calling a product serviceable without a spare plan. Identify complete heads or replaceable parts and their codes.
- Approving one sample but ordering a different control version. Carry the exact configuration through the purchase order.
Frequently asked questions
Is an integrated-driver spotlight more reliable than a separate-driver one?
Not automatically. Reliability depends on the complete design, thermal conditions, components and operating environment. Compare evidence and service options for the exact products.
Can I use an integrated-driver head on my existing track?
Only after checking the rail and adapter mechanically and electrically. Request an adapter sample and test it on a representative piece of the actual track.
Does a smaller adapter guarantee a neater ceiling?
No. The lamp body, motion envelope, head spacing and wiring also affect appearance. View an installed sample from normal customer sightlines.
Can the driver be replaced separately?
That varies by product. Ask for the service drawing, part number and replacement instructions for the exact variant. In some programs, the complete head is the intended field replacement.
What should I send for a quotation?
Provide the track model, ceiling conditions, target merchandise, required beam and color, control method, target market, quantities and expected service strategy. A sample approval should resolve any uncertain compatibility.
Practical next step
Start with the existing rail and a representative display bay. Request a sample of the internal-driver track spotlight, the exact adapter and photometric file. Approve the visible result, compatibility and service method together before a large order.
