 跳到内容
跳到内容 
Quick answer: Aim adjustable track lights from the target backward. Mark the shelf, display or work plane; choose a beam that fits it at the real distance; set one fixture or panel at a time; then check direct view, reflections and uniformity from normal customer positions. Do not compensate for poor geometry by increasing wattage. Measure after warm-up and document the approved angle.
Adjustability is often sold as a guarantee of flexibility, but it can also transfer design decisions to the installer. A fixture with a wide movement range can still create severe glare, bright stripes and dark products when it is aimed by eye from a ladder. The project needs a repeatable method.
This guide gives designers, contractors, store operators and buyers a practical aiming and commissioning sequence. It also explains how to handle a dual-panel linear track light, where two independently movable optical surfaces can serve different zones but can also create two separate glare risks.
1. Identify Three Types of Glare
Direct glare
Direct glare occurs when a person sees a bright optical surface within or near the normal field of view. In retail aisles, this often happens when panels are tilted across the walking direction.
Reflected glare
Reflected glare appears when the source is mirrored in glass, polished metal, glossy packaging, screens or work surfaces. The luminaire may be outside the direct line of sight but still obscure the product through reflection.
Excessive luminance contrast
A small extremely bright zone beside a dark surrounding area can feel harsh even when the source itself is shielded. Retail contrast is useful for emphasis, but uncontrolled contrast can cause visual fatigue and make adjacent products disappear.
Include all three in the commissioning checklist. A calculated illuminance result alone cannot describe every reflection or viewing angle.
2. Start With a Section Drawing
Draw the mounting point, panel, target and observer. Mark likely eye positions for customers and staff. If the track runs along an aisle, check both travel directions. If it runs across the aisle, check the approach from entrances and checkouts.
The section should show:
- finished track height;
- distance from track to target;
- upper and lower target limits;
- normal eye height and approach direction;
- glass or glossy surfaces;
- obstructions such as shelf headers and signs;
- provisional panel or fixture tilt.
A simple sketch often reveals that a desired aiming line passes directly through a shopper’s eyes. Move the track or select a more controlled beam before the ceiling is finished whenever possible.
3. Choose the Beam Before Fine Aiming
Beam angle controls footprint and intensity distribution. A narrow beam aimed at a broad shelf can produce hot spots and dark edges. A very wide beam aimed across an aisle can create spill and direct high-angle brightness.
For our adjustable dual-panel track linear light, 60° and 90° options are available. Use 60° as a starting comparison for a more defined or longer-throw target and 90° for broad close-range coverage. The final decision must use the exact IES/LDT file and actual tilt.
Ask for:
- polar curve in both principal planes;
- complete-luminaire lumen output;
- photometric file for the ordered configuration;
- information on shielding and lens depth;
- any accessory losses;
- sample photographs at representative distances.
4. Aim From the Target Backward
Do not begin by pointing every fixture toward the centre of the room. Mark the visual targets first. For a shelf, identify upper, middle and lower zones. For a display table, mark the actual display height. For a wall, decide whether the objective is uniform wash or accent.
Then follow this sequence:
- Switch off or dim adjacent fixtures so you can see one distribution.
- Place the fixture in a neutral reference position.
- Aim the optical axis near the centre of the intended target.
- Check the footprint and adjust the optic, position or tilt.
- Measure representative points on the target.
- Restore adjacent fixtures and review overlap.
- Walk all normal viewer routes and check glare.
- Record the final orientation before moving to the next repeating bay.
Working one source at a time makes it easier to identify which fixture creates a bright stripe or reflection. When all fixtures are on, overlapping light can hide the cause.
5. Aim a Dual-Panel Fixture as Two Lighting Components
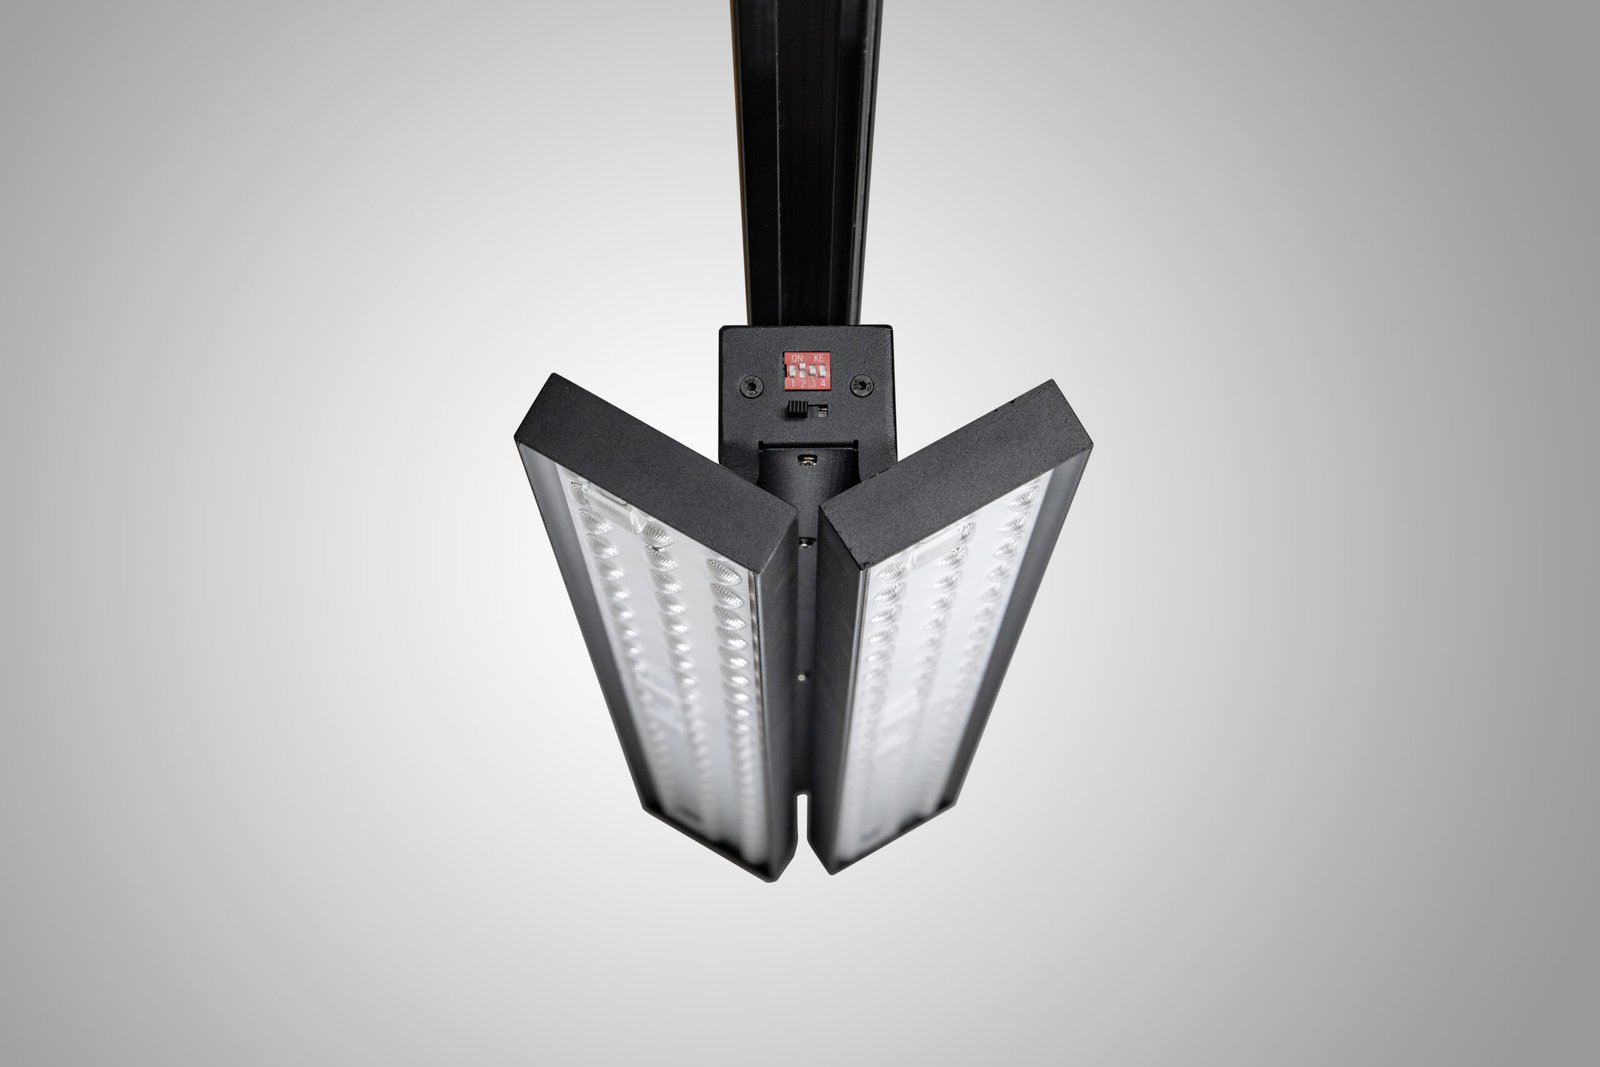
A dual-panel luminaire should not be commissioned as one broad object. Treat panel A and panel B as separate distributions with a shared mounting point.
For a two-sided aisle:
- aim panel A toward the first shelf;
- measure upper, middle and lower shelf levels;
- review direct view from both aisle directions;
- lock or mark the approved panel-A position;
- repeat the process for panel B and the opposite shelf;
- then evaluate the combined floor and shelf result.
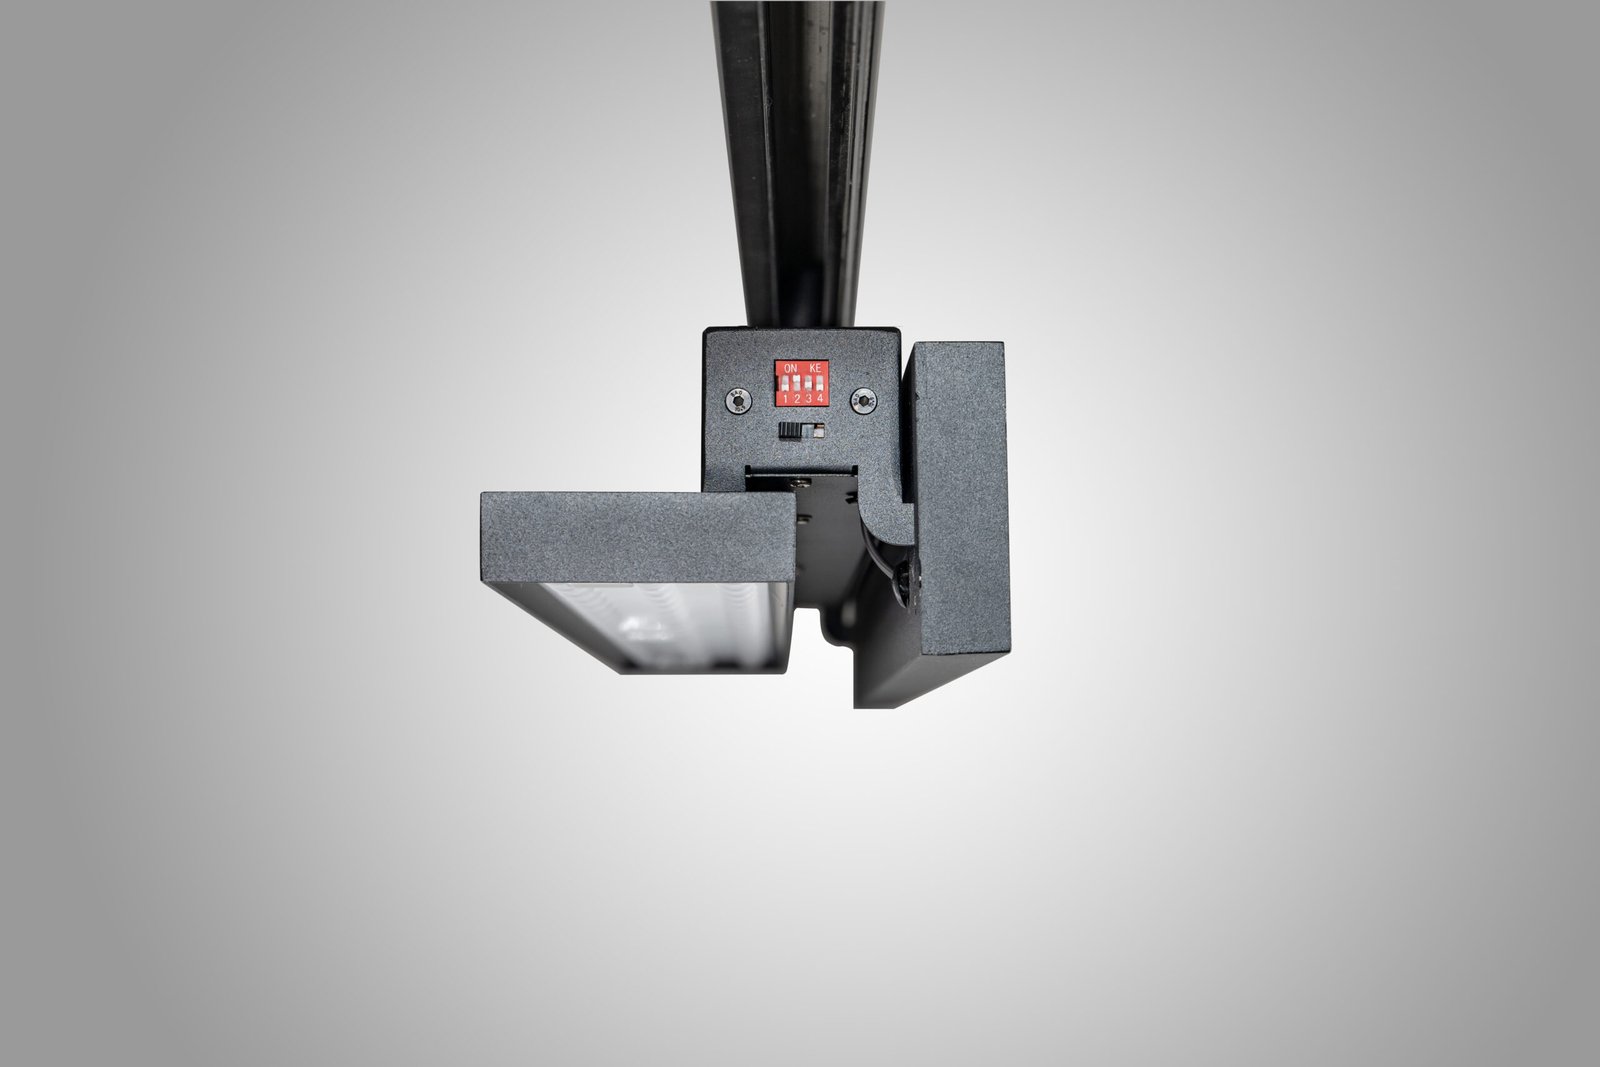
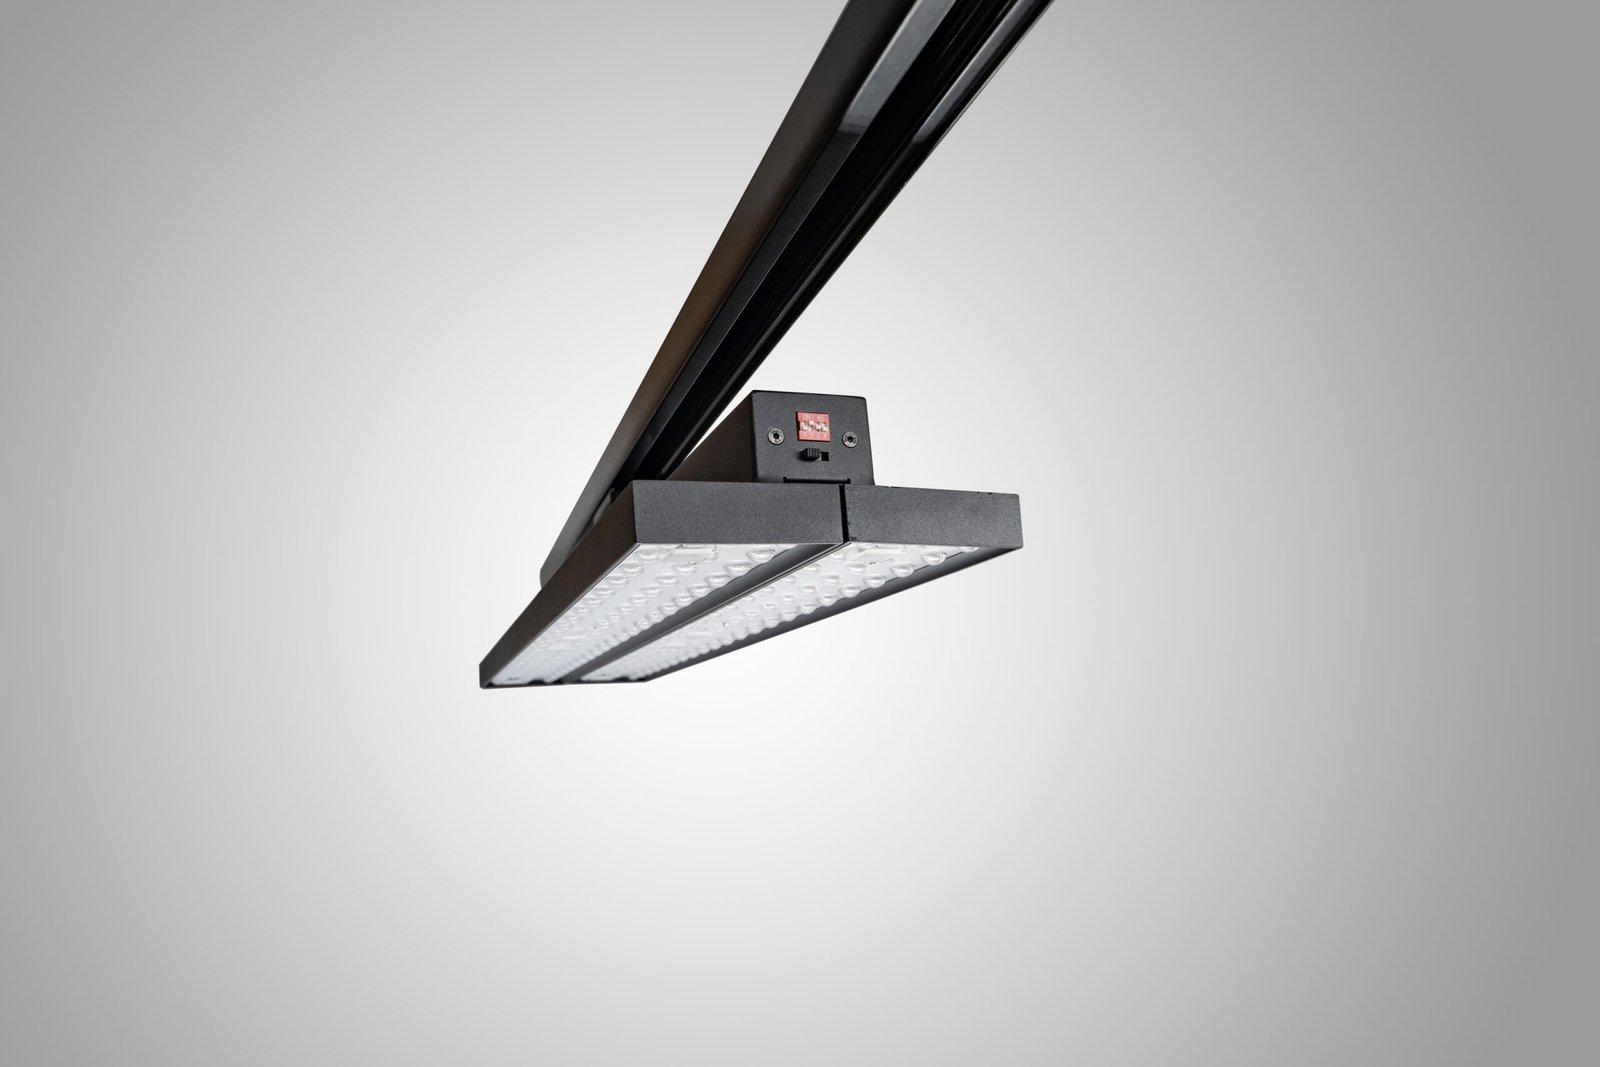
Our LL1615 body rotates up to 350° and each panel tilts independently up to ±90°. Extreme movement shown in a product photograph demonstrates the mechanism; it is not automatically a recommended operating angle. Final aiming depends on target geometry and visibility of the optics.
Review the dual-panel track light model information and request the correct photometric file before the mock-up.
6. Prevent Hot Spots and Dark Bands
Hot spots usually result from excessive concentration, short distance, poor aiming or overlapping beam centres. Dark bands usually result from insufficient overlap, obstruction or a beam that does not reach the complete target.
Use this troubleshooting order:
- Confirm that the correct optic is installed.
- Check mounting distance and target location.
- Adjust aim in small increments.
- Change fixture spacing if repeating bands remain.
- Compare a wider or narrower photometric option.
- Adjust output only after geometry is correct.
For long shelf rows, inspect the ends separately. Middle bays receive overlap from both sides; end bays may not. A small change in the first and last fixture can improve consistency without changing the entire row.
7. Review Reflections With Real Materials
A white calculation model cannot predict every reflection. Use real glass doors, metallic labels, glossy cartons, screens and polished shelves in the mock-up.
Check reflections by:
- standing at the normal product-selection distance;
- moving left, right, closer and farther away;
- viewing high and low shelves;
- testing with doors open and closed;
- checking both bright and dark product packaging;
- reviewing phone-camera and display-screen performance where relevant.
If a reflection hides the product, move the source, change the incidence angle or use a more controlled optic. Reducing output may make the reflection less intense but does not always remove it.
8. Balance Accent and Adaptation
Retail lighting often uses contrast to guide attention. A feature display can be brighter than the surrounding ambient layer, but the ratio should support the brand rather than create discomfort.
Ask:
- Does the promoted product attract attention before the source?
- Can customers move from the bright zone to adjacent aisles comfortably?
- Are faces and signs still readable?
- Will the display location change next month?
- Can staff reproduce the approved aiming after a change?
If the store changes frequently, provide a simple operating guide with permitted aiming zones. Flexibility works best when staff understand the design intent.
9. Use Output and Controls Carefully
Higher wattage is not a glare-control strategy. The LL1615 family includes 27 W, 40 W, 50 W and 60 W versions. Select the lowest configuration that meets maintained target values after the beam and position are correct.
If dimming or multi-level operation is required, specify the actual driver and control protocol. Confirm low-level behaviour, flicker, power quality and compatibility with the installed system. Do not assume that a visible switch or an “optional dimming” note provides the control function in every order code.
10. Check Track Compatibility and Stability
Aiming involves physical force. The rail, adapter and ceiling fixing must remain stable when the panels are moved. Confirm the permitted load and locking method. For retrofit projects, inspect old tracks for wear or loose connections.
During sample approval:
- install the luminaire on the exact rail;
- rotate and tilt it through the required working range;
- confirm that the adapter locks securely;
- check that panels hold their position after warm-up;
- inspect cable or component movement where visible;
- repeat adjustment several times to assess practical use.
If the fixture slowly moves after aiming, the lighting result cannot be maintained even if the photometrics are excellent.
11. Create a Repeatable Commissioning Record
For each repeating layout type, record:
- fixture model and order code;
- beam angle and power;
- track circuit or control address;
- body orientation;
- panel A and panel B direction;
- target served by each panel;
- measured values and operating level;
- photographs from a fixed reference point.
You can use angle marks, a simple diagram or a commissioning template. The goal is not laboratory precision; it is consistency across teams and future maintenance.
12. Common Aiming Mistakes
Aiming from the ladder
The installer cannot judge the shopper’s view from directly beside the luminaire. Always step down and review from the target area.
Turning on every light at once
Overlapping beams hide which source causes a problem. Commission one fixture or panel at a time.
Using floor readings for shelf lighting
Add vertical measurement grids at the merchandise face.
Solving dark zones with more power
Correct distribution, spacing and obstruction before output.
Ignoring end bays
Row ends receive different overlap. Measure them separately.
No record of final aim
Without documentation, cleaning or merchandising changes can erase the approved result.
13. A Practical Site Checklist
- Confirm fixture, beam and driver against the schedule.
- Verify track adapter engagement and circuit selection.
- Warm up the luminaires before final measurements.
- Set the intended control level.
- Aim one panel or head at a time.
- Measure horizontal and vertical target planes.
- Walk all customer approach directions.
- Inspect reflective materials and screens.
- Check end-of-row uniformity.
- Record positions, readings and photos.
- Brief store staff on future adjustment.
For a wider approval process, adapt our lighting RFQ and sample checklist.
Frequently Asked Questions
What aiming angle should a track light use?
There is no universal angle. It depends on track position, target height, beam, viewer location and reflection risk. Use a section drawing, calculation and mock-up.
Should both panels be symmetrical?
Only when the two targets and geometry are symmetrical. Different shelf heights or distances may require different panel positions.
Can a wide beam eliminate hot spots?
It may soften coverage, but poor spacing or short distance can still produce unevenness and glare. Verify the exact distribution.
How often should track lights be re-aimed?
Review them after merchandising changes, maintenance or accidental movement. Use the documented reference positions to restore the design.
What is the fastest way to find a glare source?
Switch off adjacent luminaires, activate one source or panel, and walk the relevant sightlines with real reflective materials in place.
Final Recommendation
Aim adjustable track lighting as a measured design task. Choose the beam from the target, correct geometry before power, commission one distribution at a time and review the result from the customer’s perspective. For dual-panel luminaires, treat each panel independently and document both positions.
If you provide your track position, section drawing and target planes, we can help you prepare a photometric and commissioning comparison before the site team begins aiming.

