
Choosing a commercial track light by wattage alone is one of the easiest ways to overlight the floor and underlight the merchandise. Watts tell you how much electrical power a luminaire uses; they do not tell you where its light will arrive, how evenly it will cover the shelves or whether customers will experience glare. Even a lumen figure is incomplete until you connect it to beam angle, mounting height, aiming, surface reflectance and the task you want people to see.
This guide is for buyers, designers and project teams comparing adjustable dual-panel track lights. We explain how to turn a vague request such as “send us a bright 60 W model” into a specification that protects your project. You can use the process with our product or with any responsible supplier.
Begin with the target surface
First decide where useful light must land. In a retail aisle, the most valuable target may be the vertical shelf face from approximately eye level down to the lower merchandise. In a showroom, it may be the front and top of a large product. In a gallery-style retail space, colour, texture and visual hierarchy may matter more than maximum average illuminance.
Mark target width, target height, distance from the track and the normal viewing direction. Record mounting height and possible aiming angles. If one luminaire must address two surfaces—for example, the shelf on the left and the shelf on the right—treat them as separate targets even when both panels share one adapter. This prevents the combined lumen figure from hiding weak performance on one side.
Understand the five numbers buyers often confuse
1. Input power in watts
Input power indicates electrical demand under stated operating conditions. It helps with circuit loading, energy estimates and comparing configurations, but it is not a brightness guarantee. Driver efficiency, LED efficacy, thermal design and optical losses all affect the usable output produced by that power.
2. Luminaire lumens
Luminaire lumens describe the total light leaving the complete product, after the LED, lens, diffuser or reflector and housing have influenced it. Ask whether a quoted number is for the complete luminaire or only for the bare LED source. Compare data measured or calculated under equivalent conditions. Nominal catalogue values are helpful for shortlisting, while project approval should use the exact configuration.
3. Beam angle
Beam angle describes the spread of the main beam, but it does not by itself show the complete intensity distribution or spill light. A narrower optic concentrates more light within a smaller area; a wider optic spreads output across a larger zone. At the same lumens, the narrower version will usually create higher illuminance near the beam centre, while the wider one can improve coverage and spacing tolerance.
4. Illuminance in lux
Lux is light arriving on a surface. It changes with distance, angle and overlap between luminaires. A lux value is meaningful only when its measurement location and orientation are stated. “500 lux” on a horizontal floor cannot substitute for a vertical measurement on packaging.
5. Luminance and perceived brightness
Luminance relates to light leaving or reflecting from a surface toward the viewer. Dark matte products and pale glossy products can look very different under the same measured lux. The visible brightness of the LED aperture also affects comfort. This is why calculations should be followed by a mock-up with representative materials.
Use a model family as a range, not a ladder
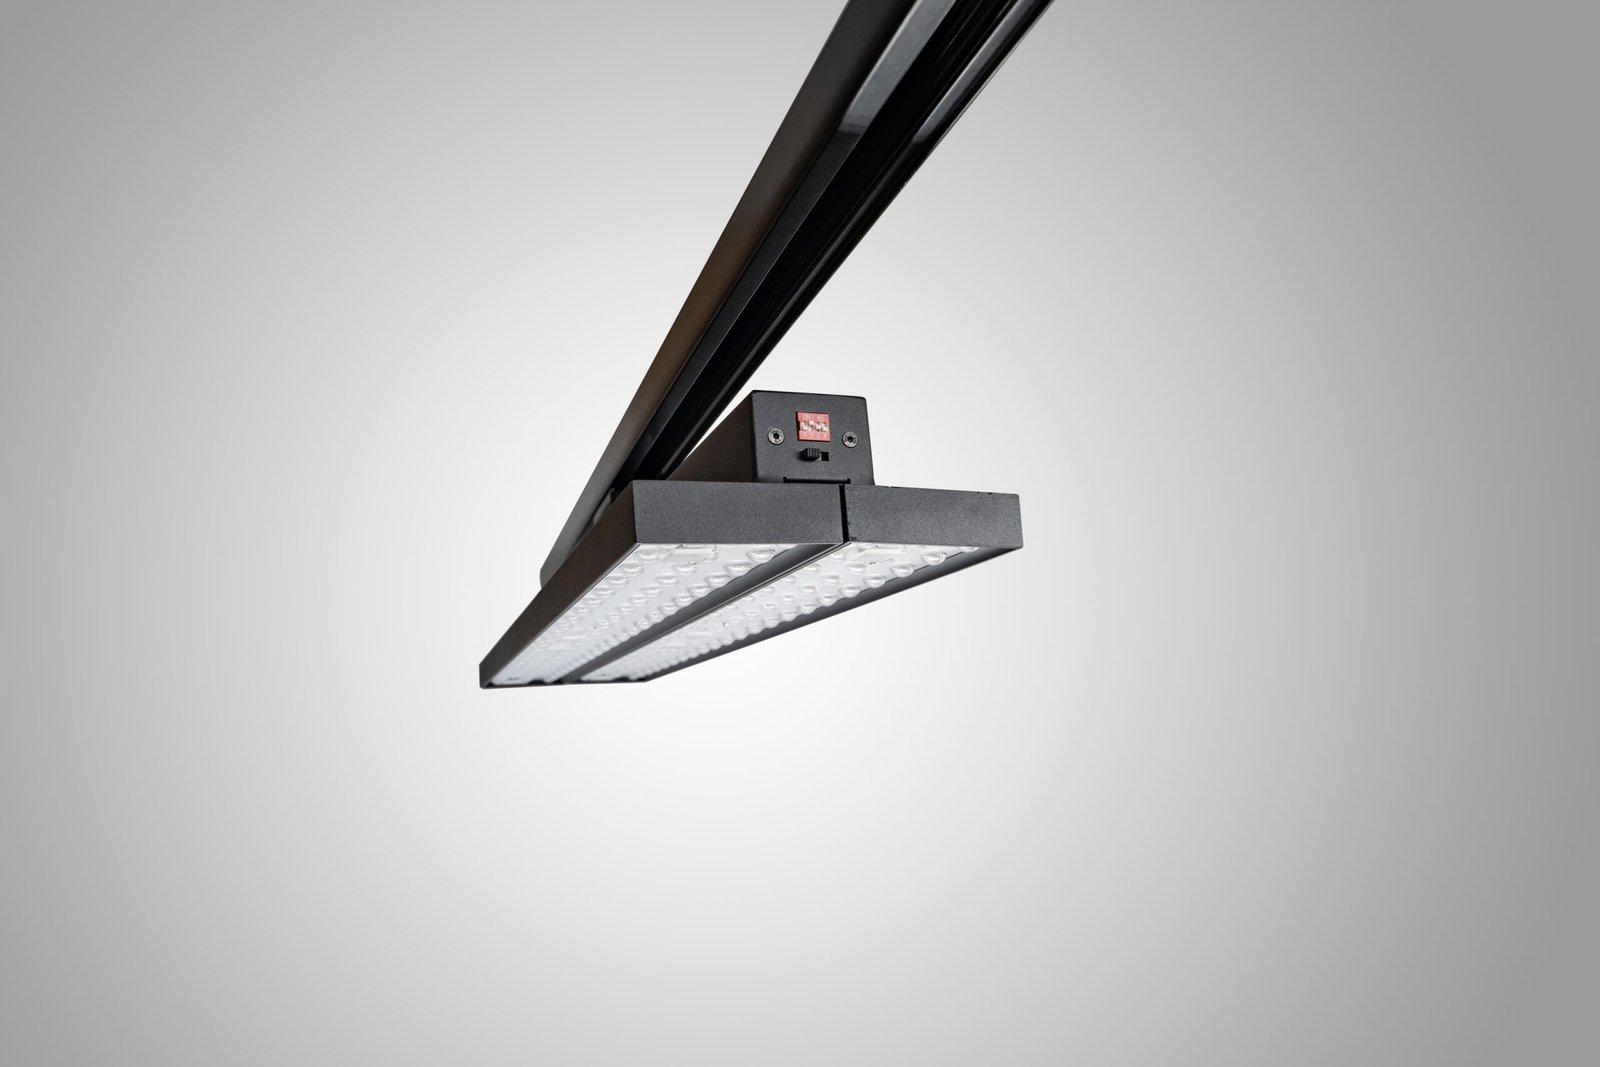
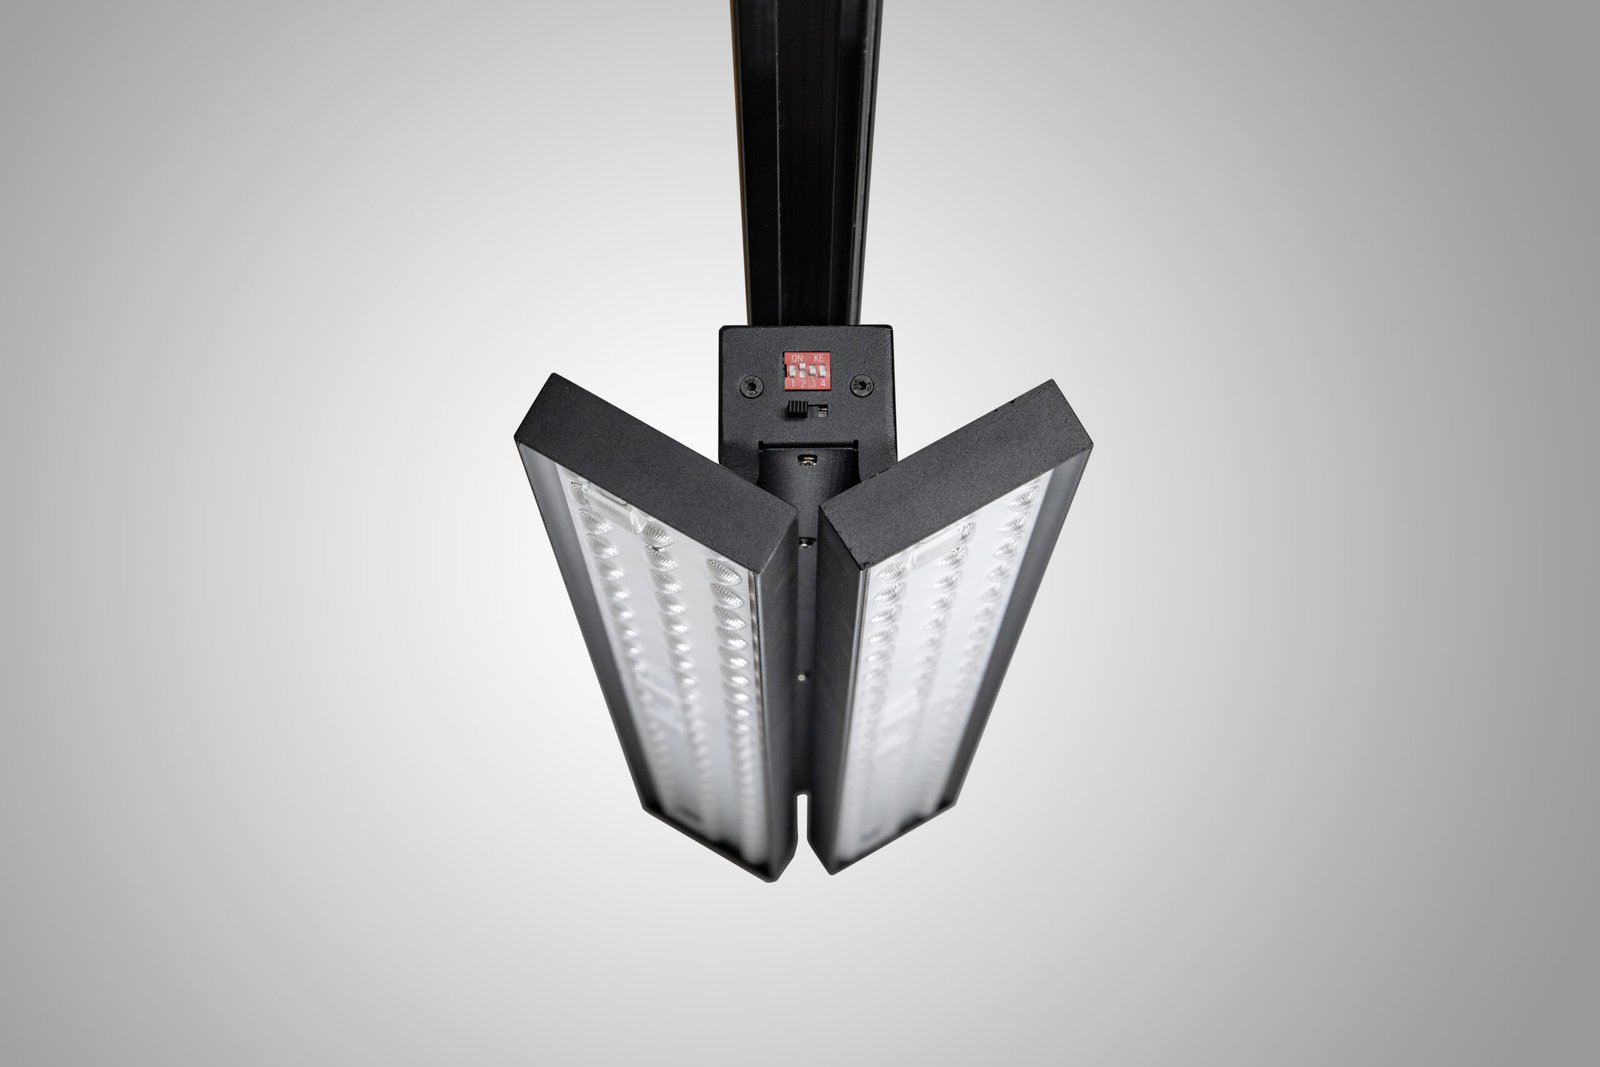
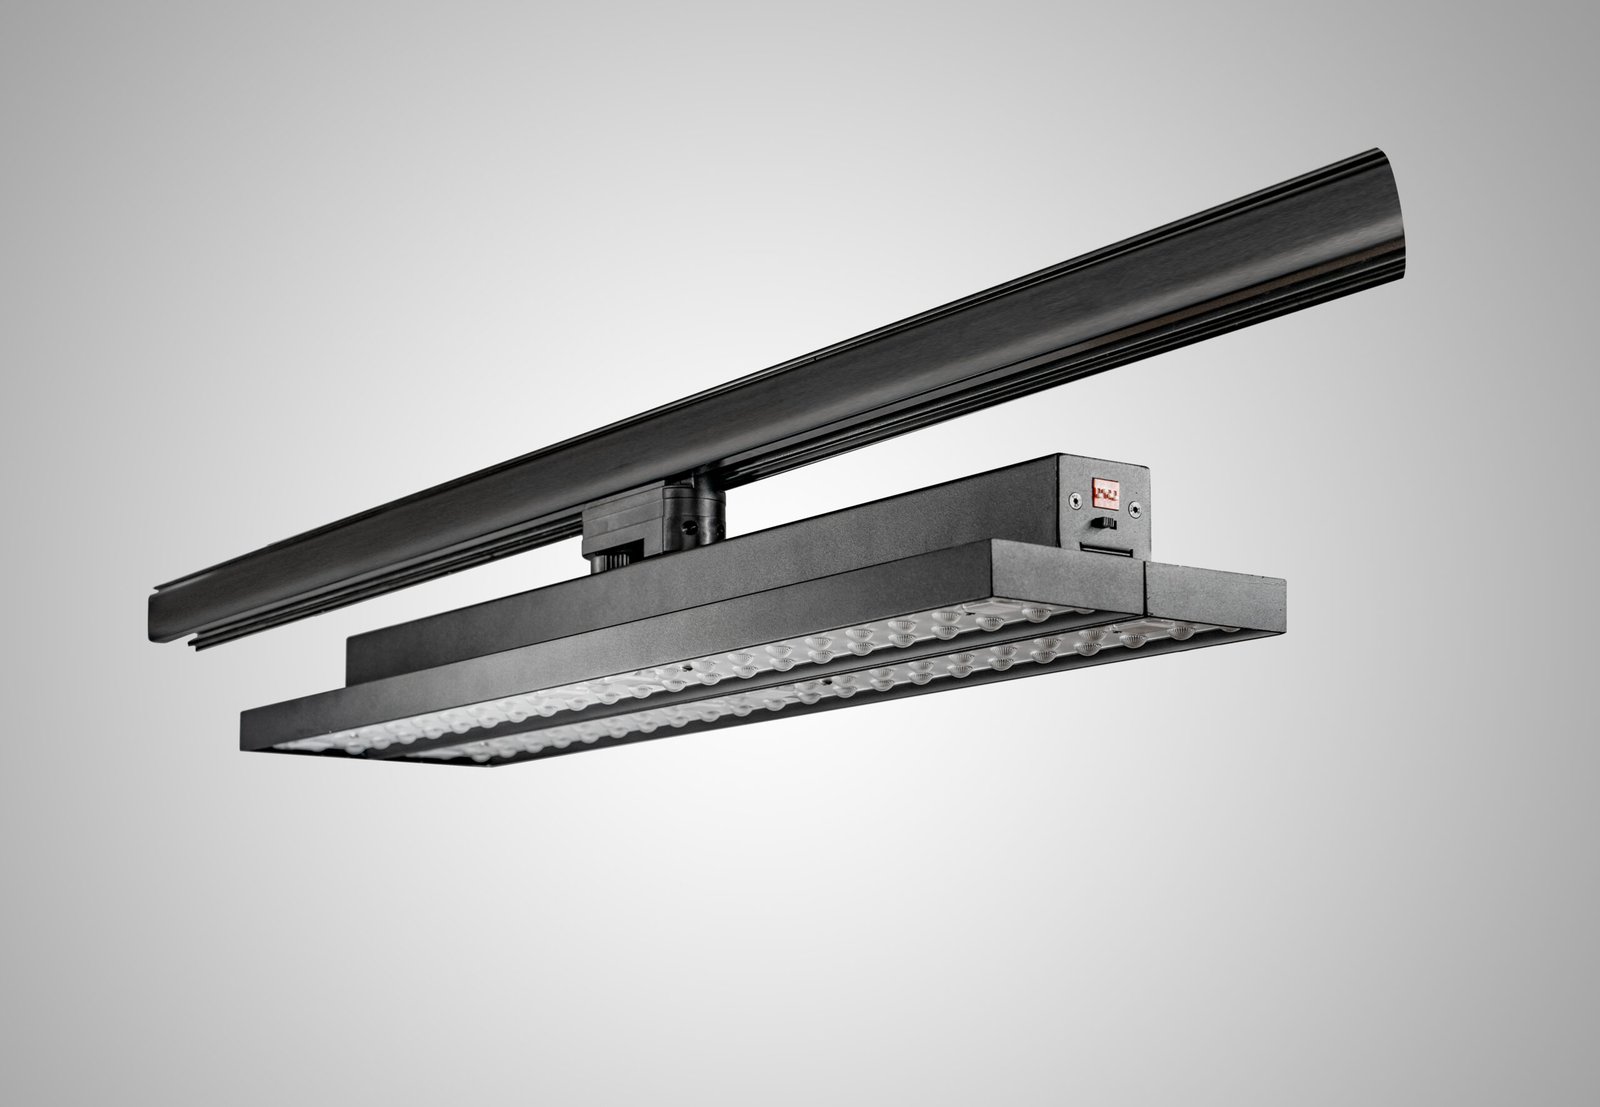
The LCB adjustable dual-panel LED track linear light is offered in 27 W, 40 W, 50 W and 60 W versions. Published nominal complete-luminaire outputs are approximately 4,393 lm, 6,200 lm, 7,680 lm and 9,079 lm respectively, depending on the selected configuration. Beam choices include 60° and 90°, with CRI above 80 or 90. The body can rotate up to 350°, and each panel can tilt through ±90°.
Those options are not four quality levels. They are tools for different geometry and visual tasks. A lower-power, well-aimed configuration may serve a modest-height aisle more comfortably than a 60 W unit. A higher-output model may be appropriate where mounting is high, surfaces are dark, spacing is wide or a broad distribution must cover a large zone. The answer should emerge from a lighting layout and sample, not from choosing the largest number.
A seven-step selection method
Step 1: write the visual objective
Describe the job in plain language: “show product labels clearly across both shelf faces,” “make the feature wall dominant without uncomfortable glare,” or “maintain flexible illumination when displays move.” Then define the surfaces and measurement points that prove the objective. This makes later supplier comparisons fair.
Step 2: record the geometry
Provide ceiling and track height, track-to-target horizontal distance, aisle width, shelf height and depth, luminaire spacing and any obstructions. Include a section drawing whenever possible. A small change in offset or aiming distance can matter more than a small change in lumens.
Step 3: choose a tentative beam distribution
Consider 60° where greater control, reach or separation from adjacent zones is needed. Consider 90° where the target is broad, mounting is closer, or smoother coverage is more important than intensity. These are starting points, not rules. Obtain photometric files for the exact optic and test the coverage at realistic spacing.
Step 4: estimate the required output
Use a lighting calculation that includes the room, target planes, reflectances, mounting and aiming. Add a reasonable maintenance factor appropriate to the environment and maintenance plan instead of assuming the day-one result will remain unchanged. Review minimums and uniformity as well as the average. If the calculation reports only floor lux, add vertical grids for shelves and walls.
Step 5: review colour and visual quality
Specify colour temperature and colour rendering for the merchandise and brand environment. CRI above 90 may be valuable where colour discrimination is important, while other applications may accept CRI above 80. Do not quietly substitute a different colour-quality option during sample or mass production, because it can change both appearance and output.
Step 6: check glare and spill
View the proposed aiming from entrances, aisle ends and normal eye positions. A high-output luminaire that is frequently visible can feel more aggressive than a lower-output unit with better shielding and positioning. Check reflections in refrigerated doors, mirrors, polished packaging and screens. Redirecting one independent panel may solve a problem without moving the whole fixture.
Step 7: approve a real sample
Install the exact wattage, optic, colour temperature, CRI, driver, adapter and finish proposed for production. Test it with actual shelves and merchandise. Record measurements, photographs and final adjustment angles. A sample of the wrong optic or driver cannot validate the final order.
Questions that improve a supplier’s recommendation
- Are the lumen values for the complete luminaire or the LED source?
- Which wattage, optic, CCT and CRI were used for the quoted photometric file?
- What input tolerance and operating conditions apply?
- Is output quoted at initial conditions, and what maintenance assumptions should the designer use?
- What are the fixture dimensions and weight for the selected version?
- Which driver, dimming protocol and track adapter are included?
- Can the supplier provide IES or LDT data for each shortlisted optic?
- Do compliance documents cover the exact product configuration and destination market?
- What production tests and tolerances are used to keep batches consistent?
These questions do more than collect paperwork. They reveal whether two offers are genuinely comparable. A low price paired with source lumens, a different CRI, an unconfirmed adapter or no usable photometric data may be more expensive once the project is on site.
Common selection mistakes and how to avoid them
“More watts gives us more flexibility”
Excess output can sometimes be reduced with dimming, but only if the specified driver, controls and commissioning plan support it. Otherwise, the project may pay for unused power while creating glare and uneven contrast. Select a sensible operating range and verify the actual control behaviour.
“The lumen figure is close, so the products are equal”
Two luminaires with similar total lumens can distribute light very differently. Compare intensity distribution, cut-off, beam quality, uniformity and performance on the target. For a twin-panel product, also check how output is divided and how the panels influence one another at different angles.
“One beam angle works throughout the store”
A perimeter wall, narrow aisle, island display and checkout have different geometry. Standardisation is valuable, but forcing one optic into every zone can increase fixture count or reduce visual quality. A small, controlled set of configurations is often easier to maintain than one compromise used everywhere.
“A higher average lux means a better result”
Average values can hide dark lower shelves and bright hot spots. Review minimum illuminance, uniformity, vertical planes and customer sightlines. Include images and visual acceptance criteria with the numbers.
How to compare 27 W, 40 W, 50 W and 60 W responsibly
Create a comparison sheet with one row for each exact configuration. Include input power, luminaire lumens, beam, CCT, CRI, driver, control, adapter, size, weight, unit price and photometric file revision. Add calculated results for the same layout: average, minimum, maximum and uniformity on every important target plane. Estimate annual energy using the same operating hours and quantity.
Then shortlist two options for a pilot rather than four. For example, test a lower-output narrower optic against a moderate-output wider optic when both meet the calculation. The pilot should answer comfort, coverage, merchandise appearance and commissioning questions. It is not a showroom brightness contest.
Connected load is a system calculation
Multiply the measured or rated input power of the selected configuration by the actual quantity, then account for circuits, controls and any relevant project design allowances. Review peak connected load as well as annual energy. If different zones use different wattages, keep them clearly labelled in the luminaire schedule and purchase order.
Energy comparison should not ignore fixture count. A flexible distribution can sometimes allow one well-positioned dual-panel luminaire to perform work that otherwise requires two separate aiming directions, but this must be demonstrated in the layout. Never assume a two-panel body automatically replaces two fixtures at every spacing.
Create an approval specification that cannot drift
Once the sample is accepted, define a configuration code that locks wattage, lumen basis, optic, CCT, CRI, LED and driver option, control method, adapter, body finish and labelling. Attach the approved drawing and photometric-file revision. Record the approved sample’s measurements and photographs as a golden reference, while recognising agreed production tolerances.
For more detail on documents and sample control, use our LED linear-lighting RFQ and sample-approval guide. Clear approval data protects both buyer and manufacturer because it removes assumptions before production.
A concise RFQ template
- Application and target surfaces
- Country, supply voltage and frequency
- Track brand, model, conductor and circuit arrangement
- Mounting height, aisle width, shelf dimensions and fixture spacing
- Required wattage range or performance target
- Complete-luminaire lumen requirement and photometric data format
- 60° or 90° optic to be evaluated
- CCT, CRI and colour-tolerance requirement
- Dimming or control requirement
- Quantity, project schedule, sample quantity and destination
- Required compliance documents for the exact model
- Acceptance tests and agreed production tolerances
Final recommendation
Do not ask only, “Which wattage is brightest?” Ask, “Which exact configuration gives the required light on our target surfaces with acceptable comfort, energy use and maintainability?” That question leads to a more reliable project and a more useful supplier response.
If you share your layout, mounting height, shelf dimensions, track information and visual priorities, we can help narrow the 27 W, 40 W, 50 W and 60 W options before a sample is produced. Our preferred process is calculation, sample-fit, real merchandise mock-up and recorded approval. It helps you spend the project budget on useful light rather than nominal numbers.
