 跳到内容

Quick answer: Floor lux tells you how much light reaches the walking surface; it does not tell you whether customers can read labels or see colours on vertical shelves. For retail shelf lighting, add vertical calculation and measurement grids at the actual merchandise faces, review minimum and maximum values across upper, middle and lower shelves, and check glare and reflections from the shopper’s viewpoint.
A store can pass a horizontal illuminance test and still look poorly lit. The floor may be bright while product fronts appear dull. Top shelves may glow and lower shelves disappear. Glossy packaging may reflect a bright source instead of showing the printed label. These are not unusual product failures—they are often measurement-plane failures.
We prepared this guide to help lighting designers, retail operators, contractors and buyers specify what matters. It explains how to include vertical illuminance in the brief, how to use adjustable track lighting responsibly and what to verify before approving a large order.
1. Understand Horizontal and Vertical Illuminance
Illuminance is the amount of light arriving on a surface, measured in lux. The orientation of that surface matters.
- Horizontal illuminance is measured on a horizontal plane such as the floor, checkout counter or display table.
- Vertical illuminance is measured on an upright plane such as a shelf face, wall display, sign or person’s face.
Most retail goods are seen on vertical or inclined planes. A floor grid is useful for circulation and general-light assessment, but it cannot replace a shelf-face grid. If your tender says only “500 lux” without naming the plane, height, averaging area and maintenance condition, suppliers can interpret the same target differently.
2. Define the Real Shelf Target
Do not place one generic vertical plane in front of the whole aisle and assume the result represents every product. Record:
- shelf height and total display height;
- depth of shelf lips, price rails and canopies;
- distance between the calculation plane and product face;
- open shelving versus glass-door cases;
- product density and typical package size;
- light and dark merchandise reflectance;
- critical labels, signs or brand colours;
- positions where staff restock or customers compare products.
For early design, divide the shelf face into upper, middle and lower zones. For final verification, use a calculation grid with enough points to reveal scallops and dark bands. A single centre reading can hide poor uniformity.
3. Specify More Than an Average
Average vertical illuminance is useful, but it can be misleading by itself. A few very bright points can raise the average while other parts remain weak.
Ask the report to show:
- average illuminance;
- minimum and maximum illuminance;
- minimum-to-average uniformity;
- false-colour or isolux plot;
- calculation-grid location and spacing;
- maintenance factor;
- fixture aiming and photometric-file name.
Do not set a universal number without considering merchandise, brand concept and local project requirements. A luxury display often relies on contrast, while a supermarket shelf may prioritise broad readability and consistency. The right brief describes the visual task and the accepted range.
4. Why Downward Light Can Miss the Merchandise
A broad downward luminaire directs much of its output to the floor and top horizontal surfaces. Vertical shelves receive light from the side of the distribution, where intensity may be lower. Shelf edges and products also create shadows.
Increasing wattage may brighten the floor more than the shelf. A better response may be to:
- move the track relative to the shelf;
- tilt an optical panel toward the vertical target;
- choose a distribution with suitable lateral control;
- reduce spacing so beams overlap correctly;
- add a separate shelf-lighting layer;
- change the target height or display arrangement.
Correct geometry before power. This protects visual comfort and energy use.
5. Use a Section Drawing to Check Incidence Angle
Draw the track, fixture, customer eye line and shelf in section. Show rays from the luminaire toward upper, middle and lower shelf zones. An extremely steep angle may create a bright upper band and weak lower shelves. An extremely shallow angle can increase reflected glare and shadowing.
Track position also affects whether customers see the source directly. A design may appear safe when viewed from the aisle centre but become uncomfortable as shoppers turn toward the product. Check several approach directions.
The Canadian Conservation Institute’s guidance for track-lighting position discusses how distance and incidence angle influence glare and reflections. Retail targets differ from museum objects, but the geometric lesson is useful: aiming must be tested from the observer’s actual position.
6. Where a Dual-Panel Track Light Helps
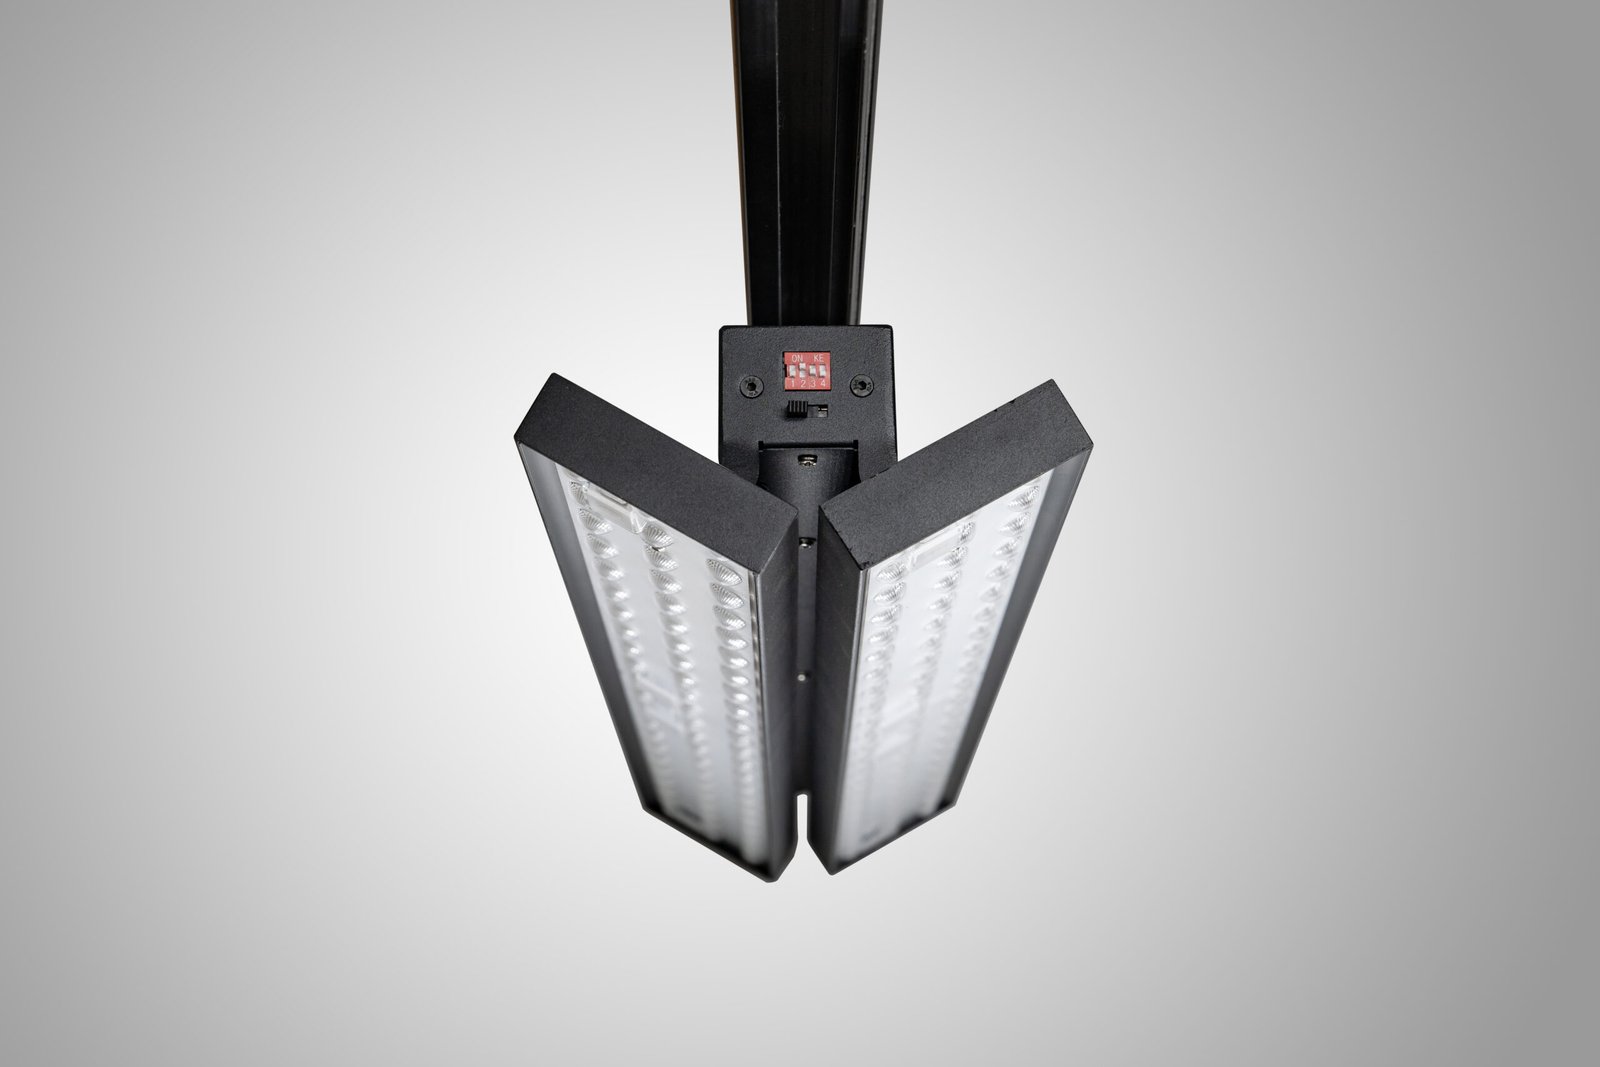
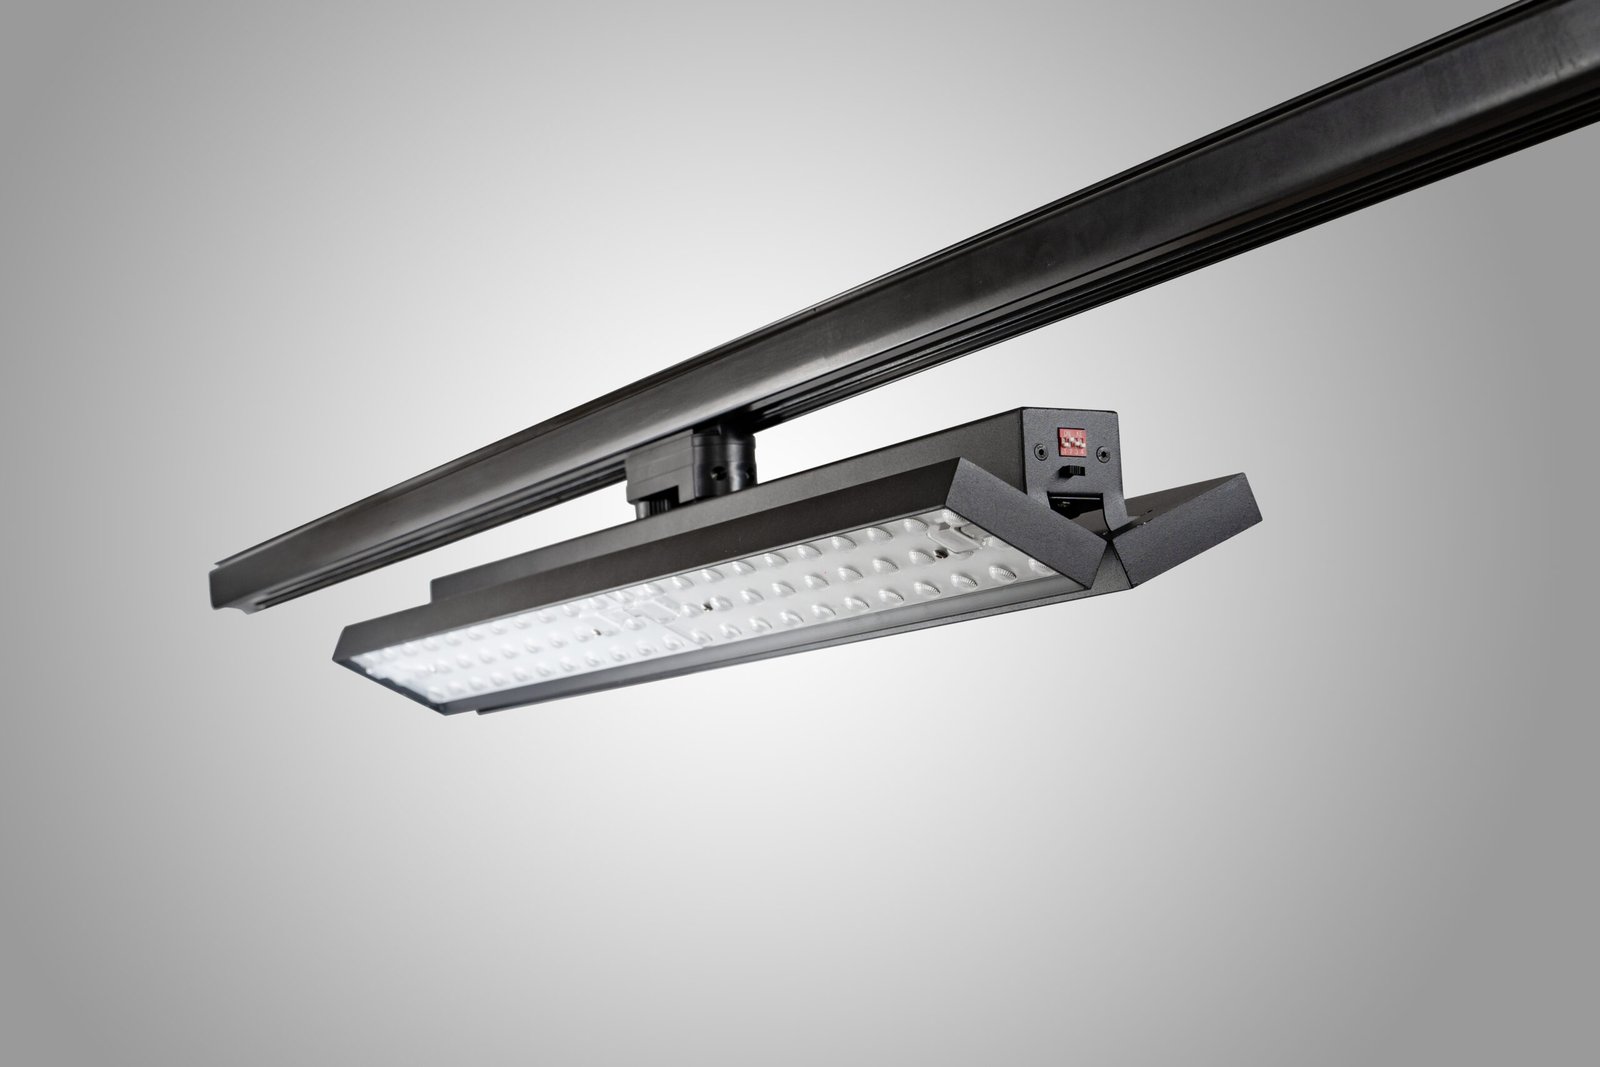
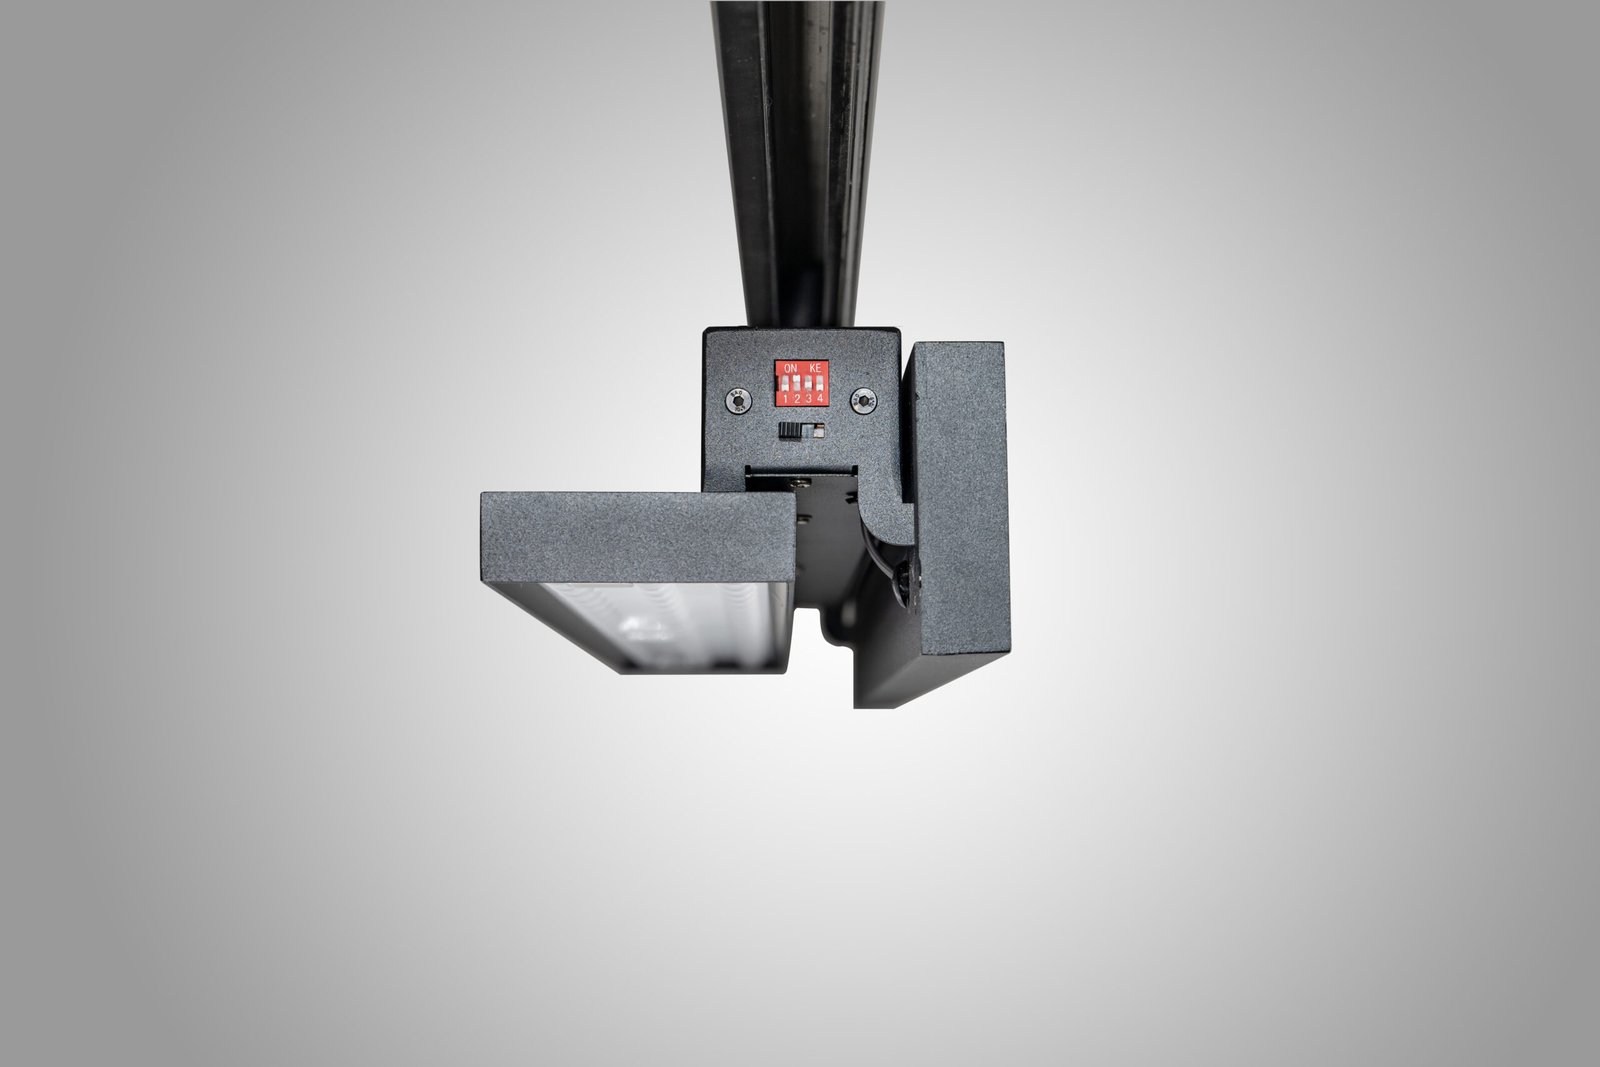
A two-sided aisle creates two vertical targets. One fixed linear beam normally favours the floor or one shelf face. A dual-panel fixture allows each panel to tilt toward a separate zone while sharing one track adapter.
Our LL1615 adjustable dual-panel LED track linear light provides independent panel tilt up to ±90° and body rotation up to 350°. It is available in 60° and 90° beam options, 27 W to 60 W versions and CRI choices above 80 or 90. Use those options to develop a scheme, then verify the exact version with an IES/LDT file.
The product may be useful when:
- two opposing shelf faces are reachable from one rail position;
- one panel must serve a shelf and the other a floor or table;
- seasonal changes require re-aiming;
- the ceiling should avoid a dense group of separate heads.
It may not be the right choice for small high-contrast accents, targets that require different rail positions or projects needing separate electrical control of each beam. Review the current dual-panel track light specifications and confirm the project configuration in writing.
7. Choose 60° or 90° From the Shelf Geometry
A 60° beam generally provides more concentrated coverage, while a 90° beam generally spreads light across a broader close target. For vertical shelves, panel tilt changes the footprint into an elongated shape. That is why a circular beam diagram is not enough.
| Condition | Useful starting comparison | Main risk to check |
|---|---|---|
| Longer throw to a defined shelf bay | Test 60° | Bright scallops and insufficient overlap |
| Low mounting and broad nearby shelf | Test 90° | Spill light and visible high-angle brightness |
| Unequal targets on two sides | Model each panel separately | Assuming symmetry when geometry differs |
| Changing merchandise layout | Test worst-case display conditions | Approved aim no longer serving the new target |
Compare vertical results at the same maintained power and fixture quantity. If the software changes several variables at once, you cannot see why one scheme performs better.
8. Account for Shelf Obstruction
Upper products, shelf lips and price channels can shade lower rows. In deep shelves, the front face may be bright while products set back remain dark. A calculation model should include major obstructions when they materially affect the result.
During a mock-up:
- use realistic shelf hardware;
- place products at typical depth and density;
- test both light and dark packaging;
- measure the front and any important recessed plane;
- review shadows caused by signs and promotional headers.
Do not approve an empty white-shelf mock-up if the real store will contain dense dark products and glossy doors.
9. Include Colour and Contrast
Illuminance is only one part of visibility. Merchandise appearance also depends on spectrum, CRI, CCT, colour consistency and surrounding contrast.
Ask for the exact CRI option and test important colours under the sample. Keep batch-to-batch colour consistency in the purchasing specification. If ambient lighting is very bright, adding more shelf light may produce little visual emphasis; reducing the ambient layer or changing the distribution may be more effective.
For camera-heavy retail—social content, electronic price labels or self-checkout screens—also review flicker and reflections. A comfortable result for the eye should not create banding or distracting highlights on common devices.
10. Measure Correctly on Site
Use a calibrated lux meter suitable for the task. Mark consistent measurement points and hold the sensor against the intended plane without shadowing it. Record the operating condition, fixture warm-up, dimming level and surrounding lights.
Suggested shelf measurement pattern
- upper, middle and lower levels;
- left, centre and right positions within a repeating bay;
- middle-of-row and end-of-row bays;
- both opposing shelves;
- special displays or glass-door sections.
Measure horizontal planes separately. Store the readings with photos and the final aiming schedule so future maintenance can reproduce the approved result.
11. Review Glare and Reflections Alongside Lux
A higher vertical reading is not automatically better. If shoppers see the optical surface directly, or if glossy packaging reflects it into their eyes, the lighting can reduce visibility.
Walk the aisle in both directions and review:
- direct view of each panel;
- reflections in refrigerator and display-case glass;
- specular highlights on metallic and plastic packages;
- bright stripes on shelf labels;
- contrast between adjacent aisles and end caps;
- comfort at child and staff working heights where relevant.
Correct aiming, setback, optic and power before adding shields that may reduce output unpredictably. If an accessory is required, obtain photometric data for the final assembly.
12. Write Vertical Illuminance Into the RFQ
Give suppliers the actual shelf elevation and target grid. Include:
- mounting height and track position;
- shelf dimensions and reflectance;
- vertical target values and uniformity;
- horizontal targets for circulation;
- optic, CCT, CRI and control preferences;
- required IES/LDT and calculation support;
- sample and mock-up approval process;
- destination certification and documentation.
Our RFQ and sample approval checklist can help you organise those requirements.
13. Common Reporting Mistakes
Only one calculation plane
Add separate planes for each visual task. Floor, shelf, sign and table results should not be combined into one average.
Grid placed in the wrong position
State whether the shelf grid is at the product face, shelf front or wall. A small offset can change the result.
Generic photometric file
Use the file for the ordered wattage, lens, CCT and CRI. Record the revision.
No aiming data
A file without panel tilt and fixture orientation cannot be repeated on site.
No visual validation
Measurements cannot fully predict colour preference, reflections or how people experience the space. Complete a mock-up.
Frequently Asked Questions
What vertical lux level should a retail shelf have?
There is no single value for every store. Set the target from the merchandise, brand concept, contrast strategy, local requirements and visual task. Define the plane and uniformity as well as the number.
Can floor lux be used as a shortcut?
No. It is useful for circulation but does not prove that vertical products are visible. Add shelf-face calculation and measurement grids.
Does a wider beam improve vertical uniformity?
Sometimes, especially at short distance, but it can also increase spill and glare. Compare exact photometric files and aiming.
How can one fixture light both sides of an aisle?
A dual-panel track light can aim one panel at each side when geometry permits. Verify both targets independently and check track loading.
What should be recorded after commissioning?
Record measurements, fixture codes, optics, circuit, dimming level, panel orientation, photos and the approved sample reference.
Final Recommendation
Measure what customers actually look at. Keep the floor grid, but add vertical shelf planes and evaluate uniformity, colour and glare. Use adjustable dual-panel lighting when two broad targets benefit from independent direction from one rail position, then document the final aim so the result can be repeated.
If you send us your plan, shelf elevation and target requirements, we can help you prepare the photometric comparison and sample-approval checklist before ordering.
