 跳到内容
跳到内容 
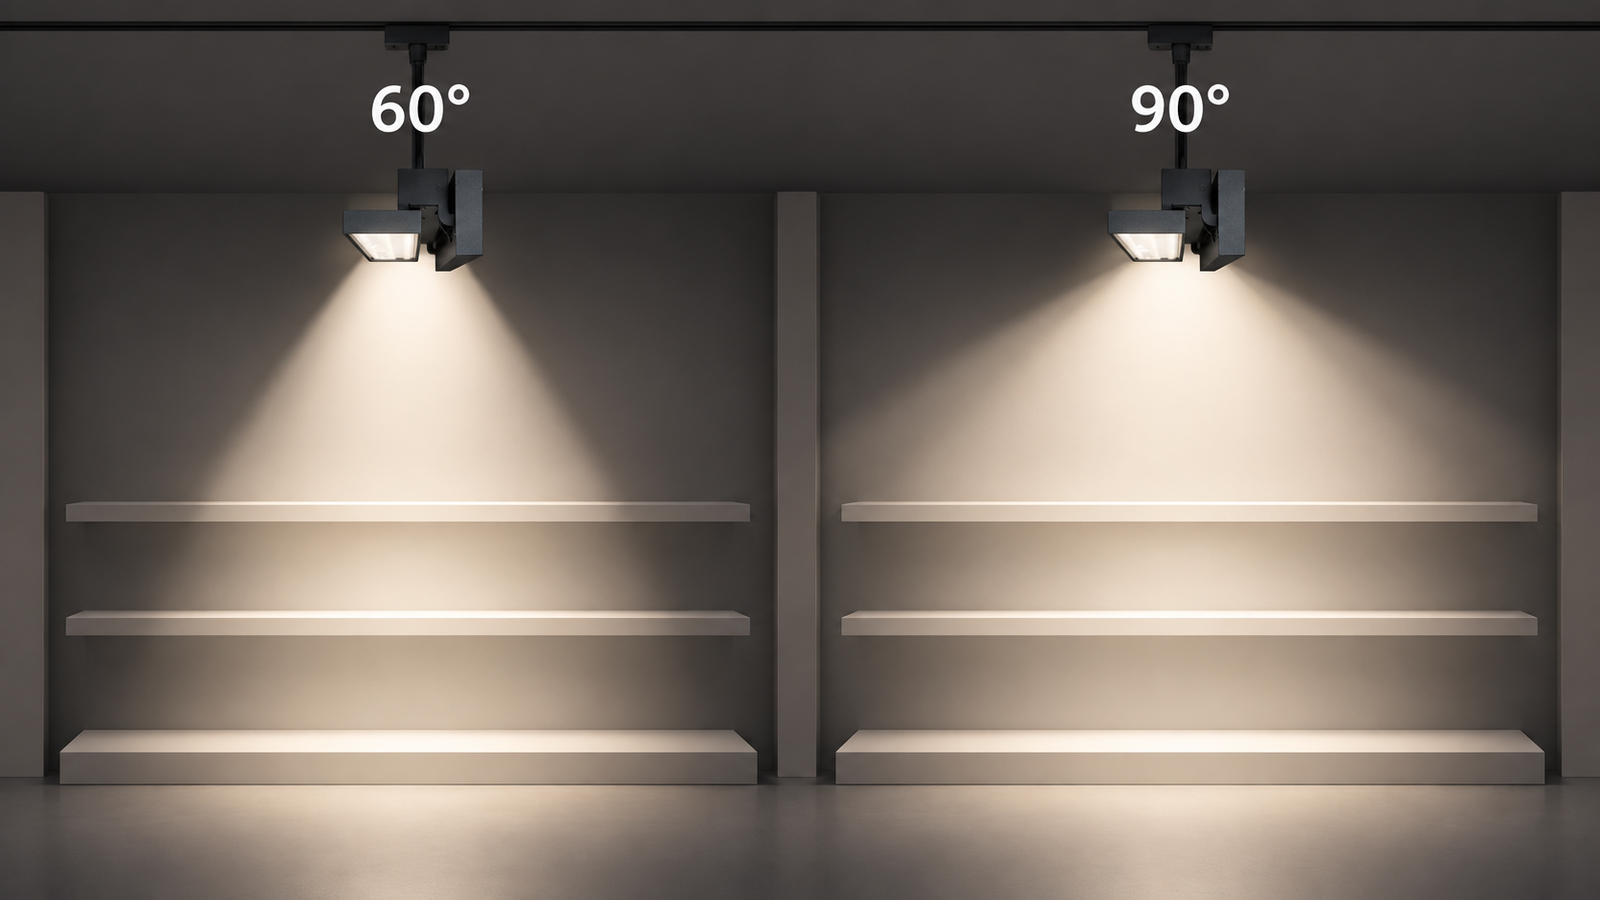
Quick answer: Choose a 60° beam when you need more concentration, longer reach or tighter control on a defined merchandise zone. Choose a 90° beam when the fixture is close to a broad target and you need wider, softer coverage. Do not approve either option from the angle alone: compare the actual photometric file at your mounting distance, check vertical as well as horizontal illuminance, and complete a glare review from normal viewing positions.
Beam angle is one of the first numbers buyers see on a linear track light datasheet, but it is also one of the easiest numbers to misuse. A wider beam does not automatically mean better uniformity. A narrower beam does not automatically mean more efficient lighting. The result depends on where the luminaire is mounted, what surface must be illuminated, how fixtures overlap and how much of the optical surface is visible to people.
We prepared this guide for retail designers, electrical contractors, distributors and project buyers who need to choose between 60° and 90° optics without relying on guesswork. It gives you a practical comparison method and shows where an independently adjustable dual-panel track light can help when one space contains more than one target.
1. What the Beam-Angle Number Actually Describes
Beam angle is commonly defined around the portion of the beam where intensity remains at least half of the maximum centre intensity. That means the printed angle does not describe every lumen leaving the luminaire. Light continues outside the nominal beam, and the transition at the edge can be soft or sharp depending on the optic.
Two products marked 60° can therefore look different on a wall. One may have a smooth central field and gentle edge; another may show a bright centre or visible lens pattern. A 90° optic may distribute light broadly but still produce high-angle brightness that causes discomfort. Always ask for more than the headline angle.
Request these optical documents
- IES or LDT file for the exact wattage, CCT, CRI and lens;
- polar intensity diagram in both principal planes;
- isolux or false-colour plots at the proposed mounting height;
- complete luminaire lumen output and tolerance;
- UGR or glare information where relevant to the application;
- photographs of a representative installation or mock-up.
A supplier should also state whether the same housing accepts different optics and whether the quoted lumen output changes when the lens changes. That information protects you from approving one configuration and receiving photometric data for another.
2. Use Geometry for a First Estimate
For a fixture aimed perpendicular to a flat surface, you can make a simplified beam-diameter estimate:
Approximate beam diameter = 2 × distance × tan (beam angle ÷ 2)
This is not a lighting calculation. It only gives you a useful scale for initial planning. At a 2 m perpendicular distance, a theoretical 60° cone is approximately 2.3 m in diameter, while a 90° cone is approximately 4.0 m. At 3 m, those diameters become roughly 3.5 m and 6.0 m.
| Perpendicular distance | Approx. 60° diameter | Approx. 90° diameter |
|---|---|---|
| 1.5 m | 1.7 m | 3.0 m |
| 2.0 m | 2.3 m | 4.0 m |
| 2.5 m | 2.9 m | 5.0 m |
| 3.0 m | 3.5 m | 6.0 m |
Once the panel tilts toward a wall or shelf, the footprint becomes elongated and intensity varies across the surface. Shelves interrupt the beam, glossy products reflect it and adjacent luminaires overlap. Use the table only to eliminate obviously unsuitable choices before running an IES/LDT-based model.
3. When a 60° Beam Is Usually the Better Starting Point
A 60° beam gives a more concentrated distribution than a 90° beam. It can be useful when the light travels farther, when the target is narrower than the available 90° footprint or when spill light must be limited.
Consider 60° when:
- the track is relatively high or set back from the shelf;
- you need to direct more useful light onto a defined vertical zone;
- adjacent zones should retain contrast;
- the aisle contains signs, promotional bays or feature displays;
- a very wide beam would enter a customer’s eyes or spill beyond the merchandise;
- fixture spacing allows controlled overlap without obvious gaps.
The risk is unevenness. If 60° fixtures are spaced too far apart, the shelf may show bright bands separated by dark areas. If they are aimed too steeply, upper shelves can be much brighter than lower shelves. Model spacing and tilt together, then measure at several shelf heights during commissioning.
4. When a 90° Beam Is Usually the Better Starting Point
A 90° beam is useful when the luminaire sits close to a large target or must provide broad general coverage. It may reduce the number of narrow bright zones and create a more forgiving visual field when displays change.
Consider 90° when:
- mounting height is low and the target begins close to the fixture;
- a broad wall, wide aisle or large table needs soft coverage;
- you prefer lower contrast and smoother overlap;
- the project layout changes frequently;
- the fixture is intended to contribute to ambient as well as merchandise lighting.
The main risks are spill light and glare. A wide distribution may send substantial output outside the intended target. It may also make the lens visible at high angles. Do not assume that “wide” means comfortable. Check the shielding, lens depth, panel tilt and the viewer’s approach direction.
5. Compare Illuminance, Uniformity and Glare Together
Project teams sometimes choose the optic that gives the highest average lux. That can hide three problems:
- Poor uniformity: a high average may include very bright peaks and weak areas.
- Wrong measurement plane: floor values do not show whether vertical merchandise is well lit.
- Discomfort: adequate illuminance does not guarantee that shoppers will avoid direct or reflected glare.
Ask for a calculation that reports at least average, minimum and maximum illuminance on the relevant planes. For shelves, create vertical calculation grids at the actual shelf faces. For a central table, use a horizontal grid at display height. Add observer views or glare checks where the software and project brief support them.
When comparing 60° and 90°, keep lumen output and aiming assumptions clear. If the simulation silently changes wattage or fixture quantity, you are no longer comparing only the optic.
6. Use Beam Overlap Deliberately
Uniform lighting is normally created by overlapping adjacent distributions. Too little overlap produces scallops and dark gaps. Too much overlap can waste light, flatten visual hierarchy and increase connected load.
A practical workflow is:
- Place fixtures from aisle geometry, not a generic spacing rule.
- Select a provisional optic from the required footprint.
- Model the row at the exact mounting height and tilt.
- Review vertical uniformity at upper, middle and lower shelves.
- Move the fixtures or change the optic before increasing wattage.
- Check the result after applying realistic maintenance factors.
If the store has repeating bays, model one representative section plus the ends. End-of-row conditions often receive less overlap than the middle, so they may require a different aiming position or an additional fixture.
7. Why a Dual-Panel Track Light Changes the Decision
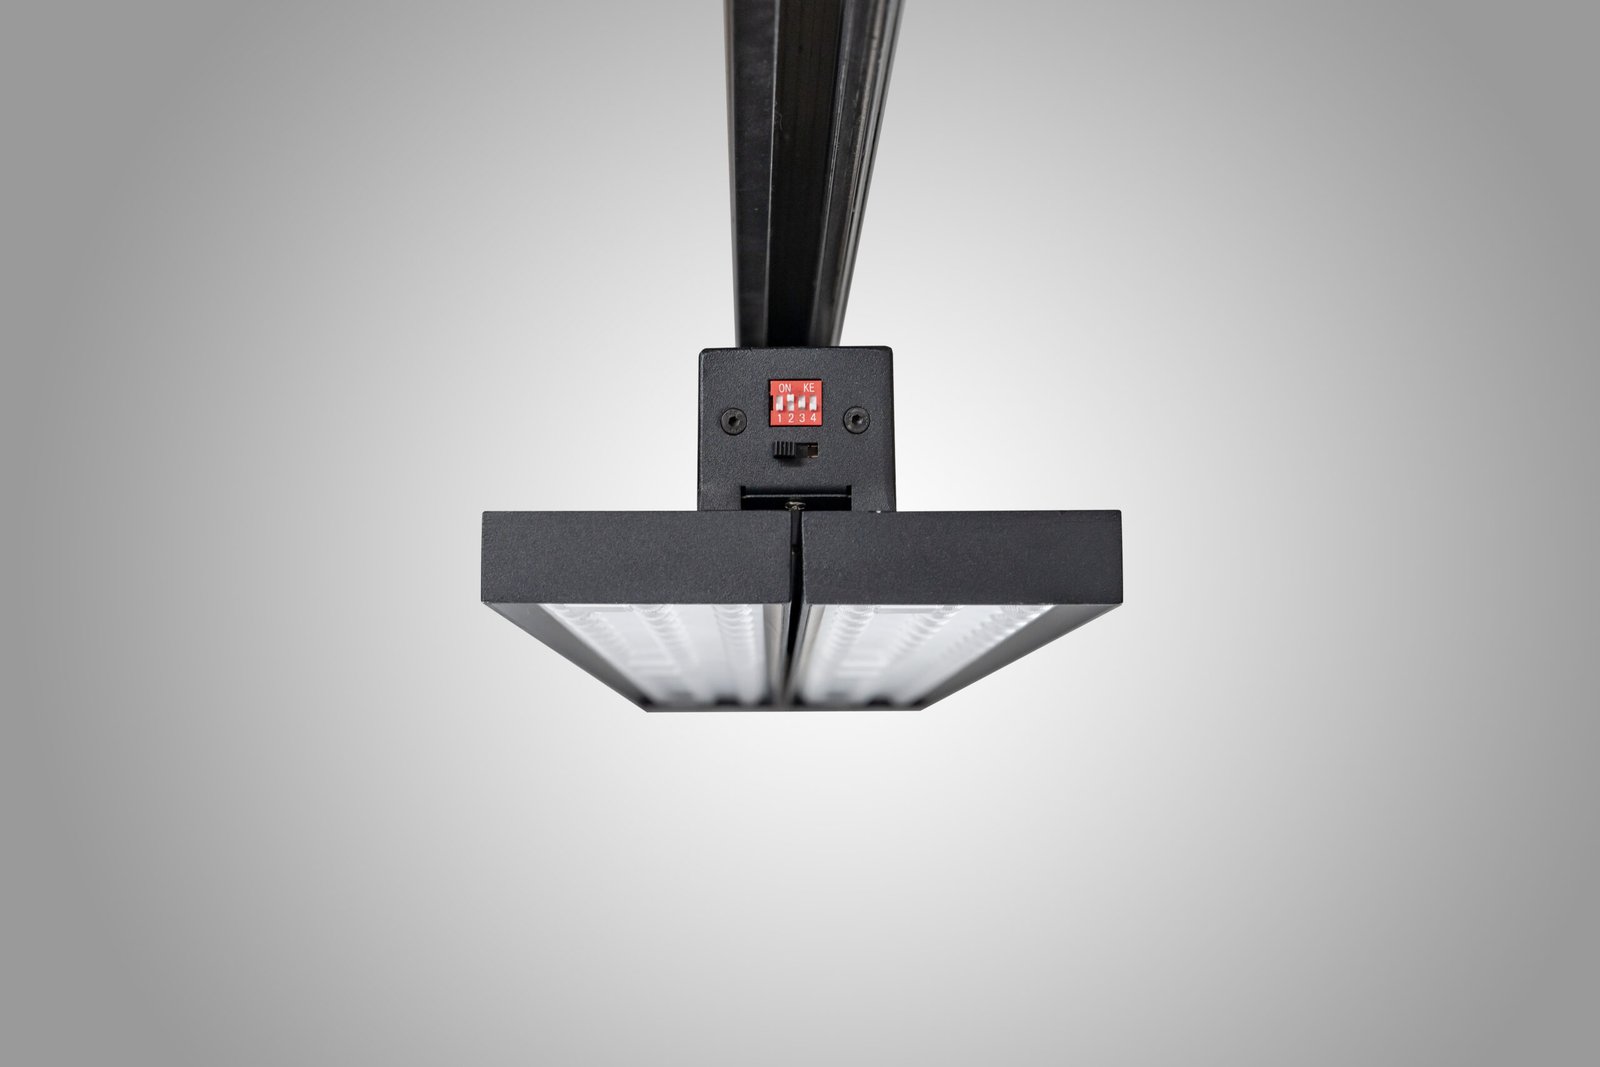
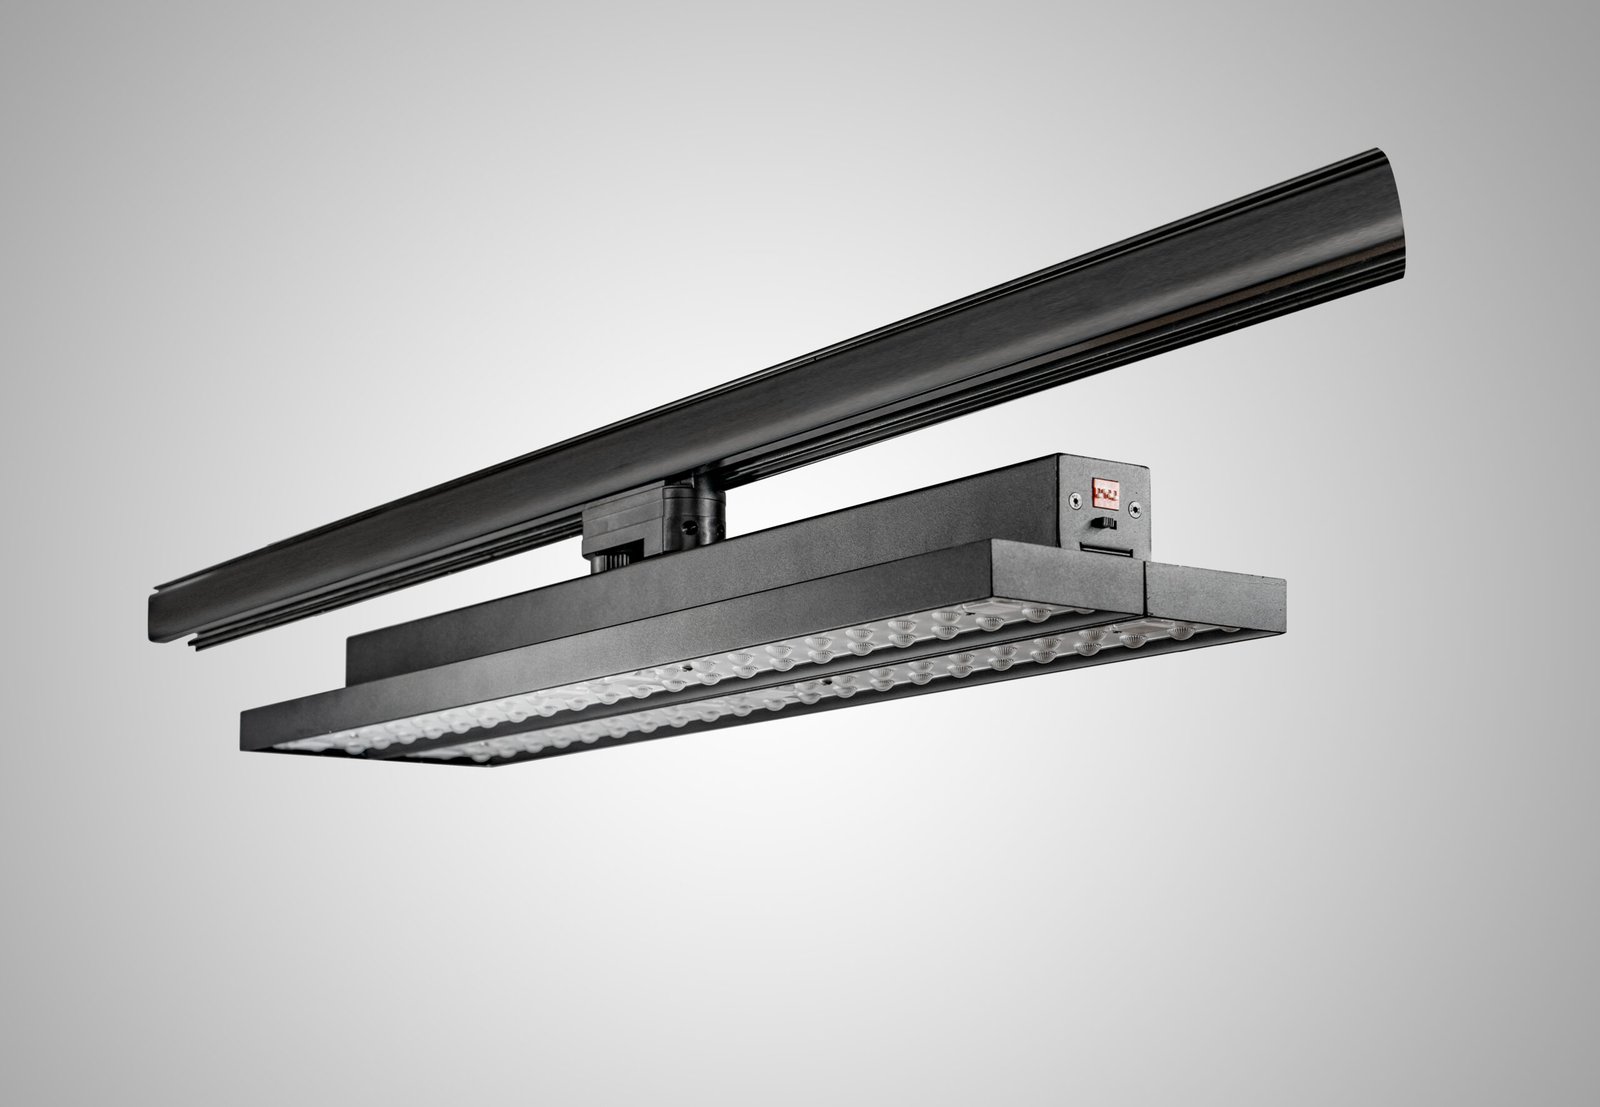
A single fixed linear beam makes you choose one principal direction. A dual-panel fixture gives each side its own tilt, so the left and right targets can be treated separately while sharing one track position. Our LL1615 family offers 60° or 90° optics, independent panel tilt up to ±90° and body rotation up to 350°. Available power packages are 27 W, 40 W, 50 W and 60 W, with nominal outputs published for each model.
Those adjustment ranges are useful, but they do not remove the need for design. A project may use both panels toward one broad surface, split them toward two opposing shelves, or aim one at a display and the other toward circulation. Model the chosen configuration rather than assuming that total lumens divide equally between every target after tilt and obstruction.
Review the current product details on our adjustable dual-panel track linear light page, then request the file for the exact option you intend to order.
8. Can You Mix 60° and 90° on One Project?
Yes, provided the specification and ordering system make the difference unambiguous. A long retail project may use 60° where the throw is greater and 90° where the target is closer or broader. The risk is installation confusion, especially when optics look similar after the luminaire is installed.
If you mix beams:
- give each optic a clear order code;
- label cartons and luminaires;
- show the optic on the reflected ceiling plan;
- include a commissioning schedule;
- keep approved samples for comparison;
- verify replacement-stock labelling with the maintenance team.
For a dual-panel product, also confirm whether both panels use the same lens in the ordered configuration or whether a mixed optical assembly is available. Do not assume that two different beams can be combined unless the supplier confirms production and photometric data.
9. Avoid These Five Specification Mistakes
Mistake 1: Selecting from ceiling height alone
Ceiling height is important, but target distance and angle matter more. A shelf beside the track and a table directly below it can have different throws even in the same room.
Mistake 2: Using only floor lux
Retail products are often vertical. Add shelf-face grids and evaluate label readability and colour appearance.
Mistake 3: Assuming the widest beam is safest
A 90° beam can create spill and direct view of the source. Use it when the target needs that width, not as a substitute for a layout.
Mistake 4: Increasing wattage before correcting geometry
Moving or tilting the luminaire may solve a weak zone more effectively than adding power. Correct the beam direction first.
Mistake 5: Approving a generic photometric file
The file must match the ordered wattage, optic, CCT and CRI. Record the filename and revision in the submittal.
10. A Buyer-Friendly Approval Process
Use a simple three-stage approval:
- Desktop review: confirm geometry, calculation grids, photometric files and order codes.
- Sample test: inspect colour, beam shape, glare, dimming, mechanical adjustment and track fit.
- Site mock-up: test a representative bay with real surfaces and merchandise, then document the approved aiming.
This process helps both buyer and supplier. It finds issues while changes are still inexpensive and creates a clear reference for mass production. Our RFQ and sample approval checklist provides a structure you can adapt.
Frequently Asked Questions
Is 60° always brighter than 90°?
At the same lumen output, a narrower beam generally concentrates more intensity, but the perceived and measured result depends on the complete distribution and target distance. Compare photometric calculations.
Is 90° better for low ceilings?
It is often a useful starting point because the target is close, but shielding and glare can become more critical. Verify visibility of the optical surface from normal positions.
Can I use 60° for one shelf and 90° for the opposite shelf?
Potentially, but only if the product can be ordered with mixed optics and the supplier provides matching photometric data. Confirm this before specifying it.
How do I choose without a DIALux model?
Use geometry to shortlist an option, then request a supplier calculation or conduct a physical mock-up. For a substantial project, skipping both steps creates avoidable risk.
What should be measured during commissioning?
Measure vertical illuminance at several shelf heights, horizontal illuminance where tasks occur, uniformity across repeating bays and any project-specific glare metric. Also perform a visual review with representative products.
Final Recommendation
Choose 60° when control and reach are the priority; choose 90° when broad close-range coverage is the priority. Then challenge that provisional choice with the actual photometric file, vertical calculation grids and a viewer-level glare check. The best beam is not the widest or narrowest—it is the one that delivers useful light to the intended surface with acceptable comfort and energy use.
If you send us your mounting height, section drawing, target size and required illuminance, we can help you compare the 60° and 90° configurations before you approve a sample.

