 跳到内容

A wall-washer downlight is often specified when a commercial interior needs a vertical surface to read evenly, rather than a series of obvious pools on the floor. The target might be a retail brand wall, a hotel corridor, a textured feature surface or a gallery-style display. The visible result depends on the whole installation: wall height, fixture setback, spacing, ceiling height, optics, surface finish and surrounding ambient light. Selecting a fixture because its label says “wall washer” is not enough.
This guide is for buyers and project teams reviewing recessed wall-washer COB downlights. It focuses on the decisions that can be checked before a large order and on the evidence that should accompany a sample. It does not assign one universal setback or spacing ratio, because those values vary with the exact photometric distribution and site geometry. Use the project drawing and a representative mock-up for final placement.
Decide what the wall is meant to do
First describe the visual job in plain language. Does the wall carry merchandise that must be easy to read, a decorative finish that should show texture, a sign that needs high contrast, or a quiet background that should appear consistent? These goals are not interchangeable. Grazing light can emphasize texture but also reveal defects. Broad wash can make a wall feel even but may reduce dramatic contrast. A display wall with shelves and objects requires a different evaluation from a flat painted wall.
Mark the actual target zone on an elevation. Include the lowest and highest surfaces that matter. A luminaire may illuminate the upper wall attractively while leaving the lower product area weak. Conversely, a fixture aimed low may create a bright band and a dull ceiling line. Ask the lighting designer to judge the relevant vertical surfaces, not only a floor-plan calculation. Consider daylight and other electric light that will be present when the wall is viewed.
The material matters too. A matte painted wall generally reveals nonuniformity differently from polished stone, glossy tile, mirrors or a metallic display. Those reflective surfaces can create images of the source or uncomfortable brightness from particular viewpoints. Record the intended viewing positions, including entrances, seating and the main circulation route. The sample must be viewed from those positions, not only from directly under the luminaire.
Understand the recessed product format
A recessed wall-washer downlight is designed to send more useful light toward a vertical surface than a conventional symmetric downlight of comparable appearance. Its optic, reflector or asymmetric element shapes the beam; the ceiling trim and recess determine how the aperture looks to occupants. Exact mechanical and photometric behavior varies by model. Ask for the fixture drawing and photometric file for the specific configuration, including the chosen CCT, power and optical version where those options change the result.
A COB source is a light-engine format, not proof of uniform wash or low glare. The finished distribution depends on the optical system. Likewise, a dark baffle or deep recess may help control the apparent brightness of the aperture from some angles but cannot guarantee comfort everywhere. Evaluate the installed sample with the actual wall finish and viewing geometry. Keep the product photo as an identification aid, not as lighting-performance evidence.
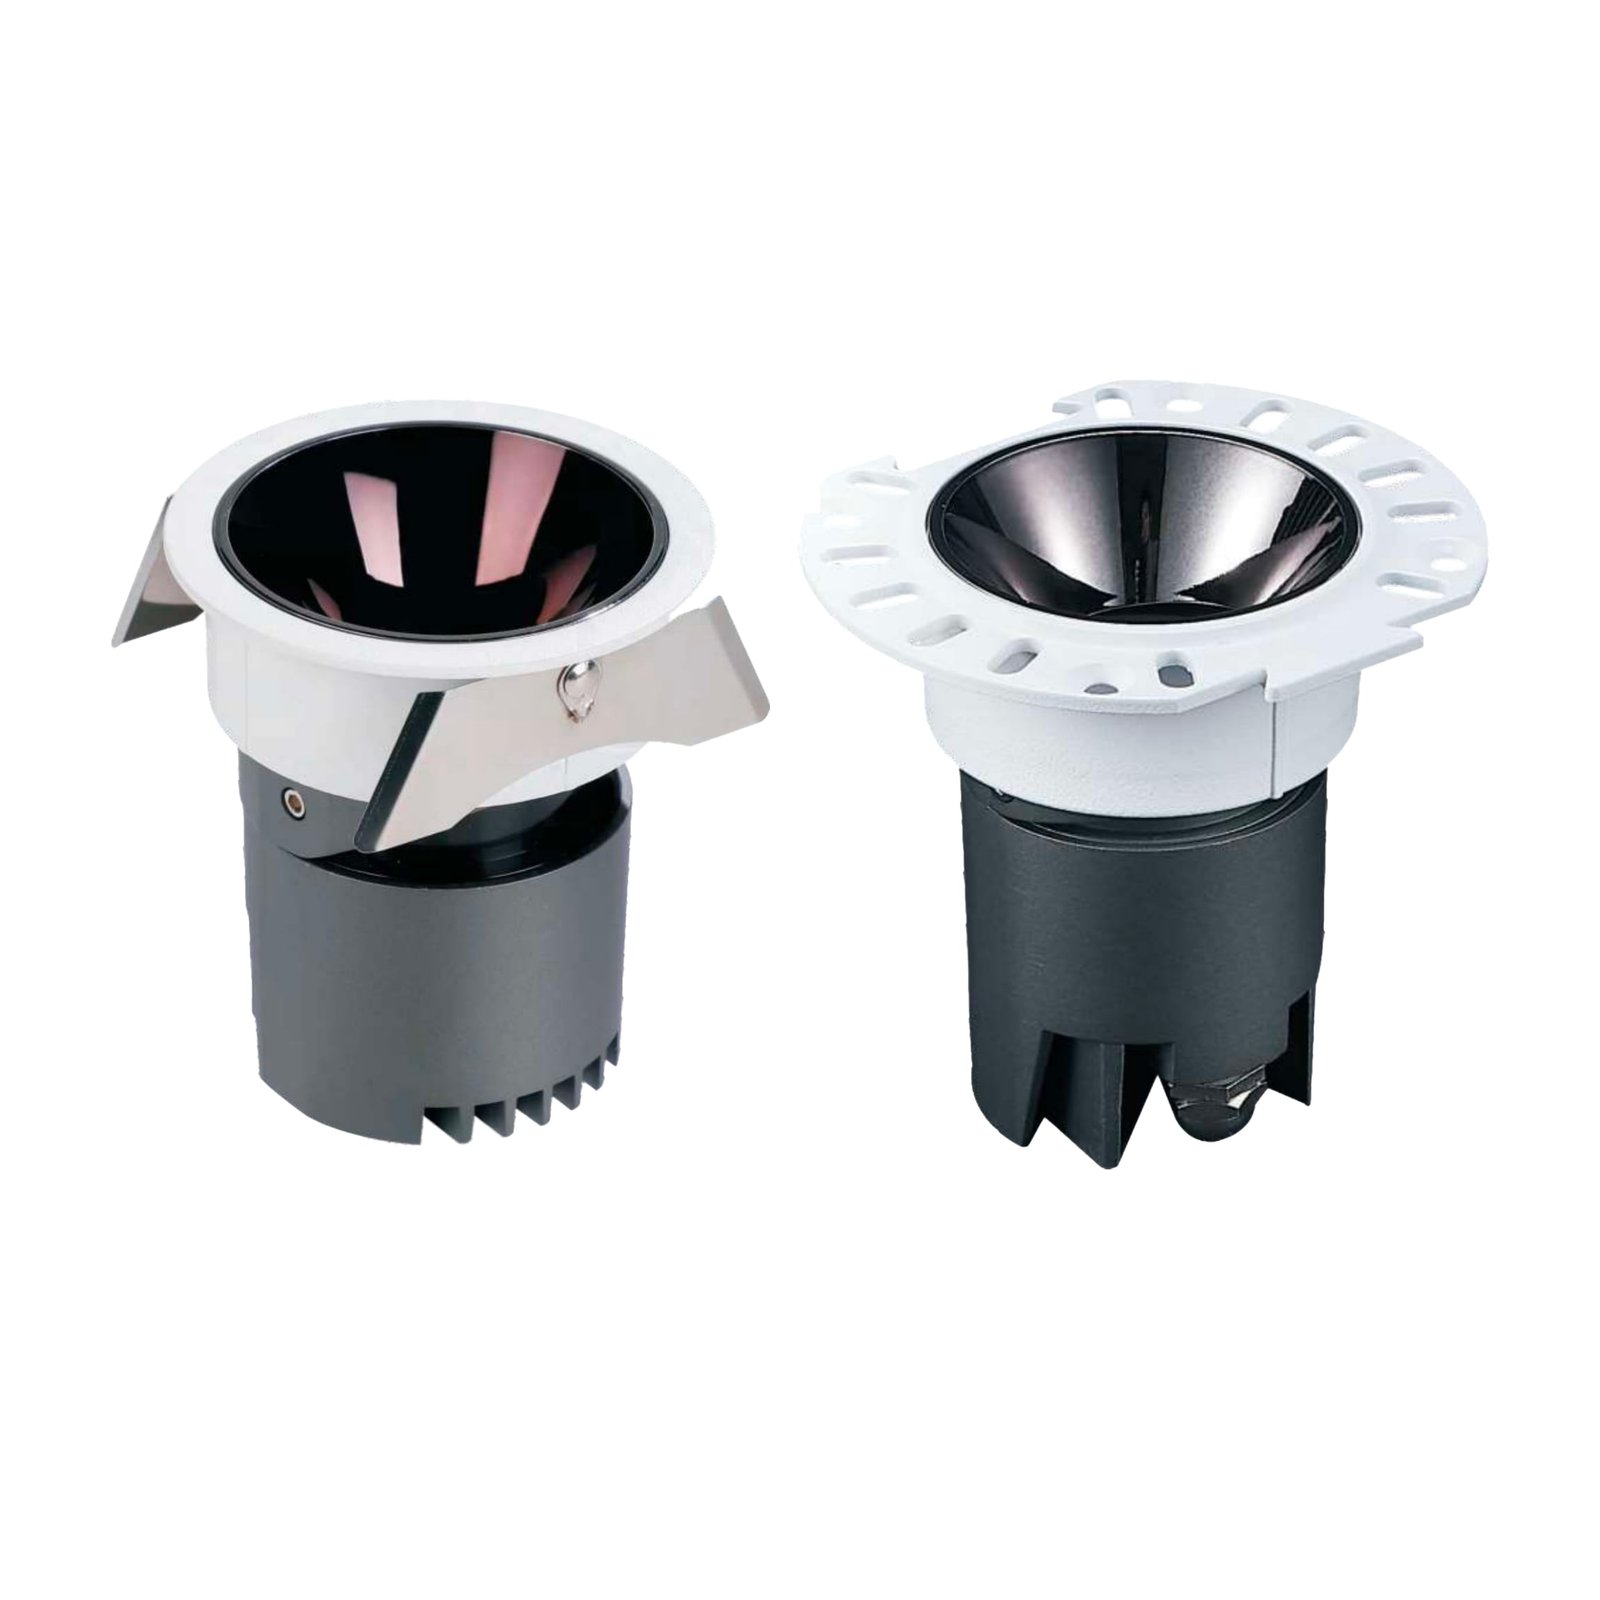
The product image is useful for checking the housing and trim family. It cannot tell you how the wall will look after installation, so combine it with project-specific photometric review and a mock-up.
Coordinate setback and spacing before cutting the ceiling
The distance from the luminaire to the wall changes where the beam lands and how the vertical surface reads. Fixtures too close to a wall can create a harsh upper band or accentuate uneven texture, depending on the optic. Fixtures placed farther away may spread light more softly but can send more light into circulation or create shadows from occupants and display elements. This is why the correct setback is a project decision, not a slogan on a catalogue page.
Spacing along the wall affects the overlap between adjacent distributions. Too much distance between luminaires can leave a repeating pattern; too little can overlight sections and increase installed cost. A corner, column, doorway or change in wall material interrupts the pattern. Draw the intended fixture centers on an elevation and mark these interruptions. The lighting designer can then test the proposed positions against the chosen photometric file and adjust the sequence before ceiling trades commit to openings.
Do not evaluate only the center of a long wall. Check the first and last fixtures, return walls and corners. A repeated product placed at a fixed modular ceiling spacing may not suit the actual wall length. Sometimes a slightly different endpoint arrangement produces a cleaner result than rigidly following the ceiling grid. If the wall contains artwork or a brand sign, its location may deserve special treatment rather than forcing everything into one spacing rule.
Plan around obstructions and real architecture
Ceiling void depth, structural members, sprinklers, diffusers, access panels and cable routes can all change where a recessed unit can be installed. Confirm the frame, cutout, mounting method, heat-sink clearance and driver location for the exact sample. A rendered ceiling view seldom shows these constraints. Ask the installer to verify the first opening and a complete fixture/driver assembly before repeating the detail across the space.
The wall itself may have cornices, shelving, graphics, rails or projecting products that block the wash. Assess the shadow they create. In retail, stock changes frequently; an attractive wash on an empty wall can become a poor merchandise light once fixtures and shelves are installed. If the target arrangement is expected to move, consider whether a track-mounted wall-washer spotlight or adjustable accent fixture would be more flexible. The alternatives serve different purposes: recessed downlights make a quieter ceiling, while track units may be easier to reposition and re-aim.
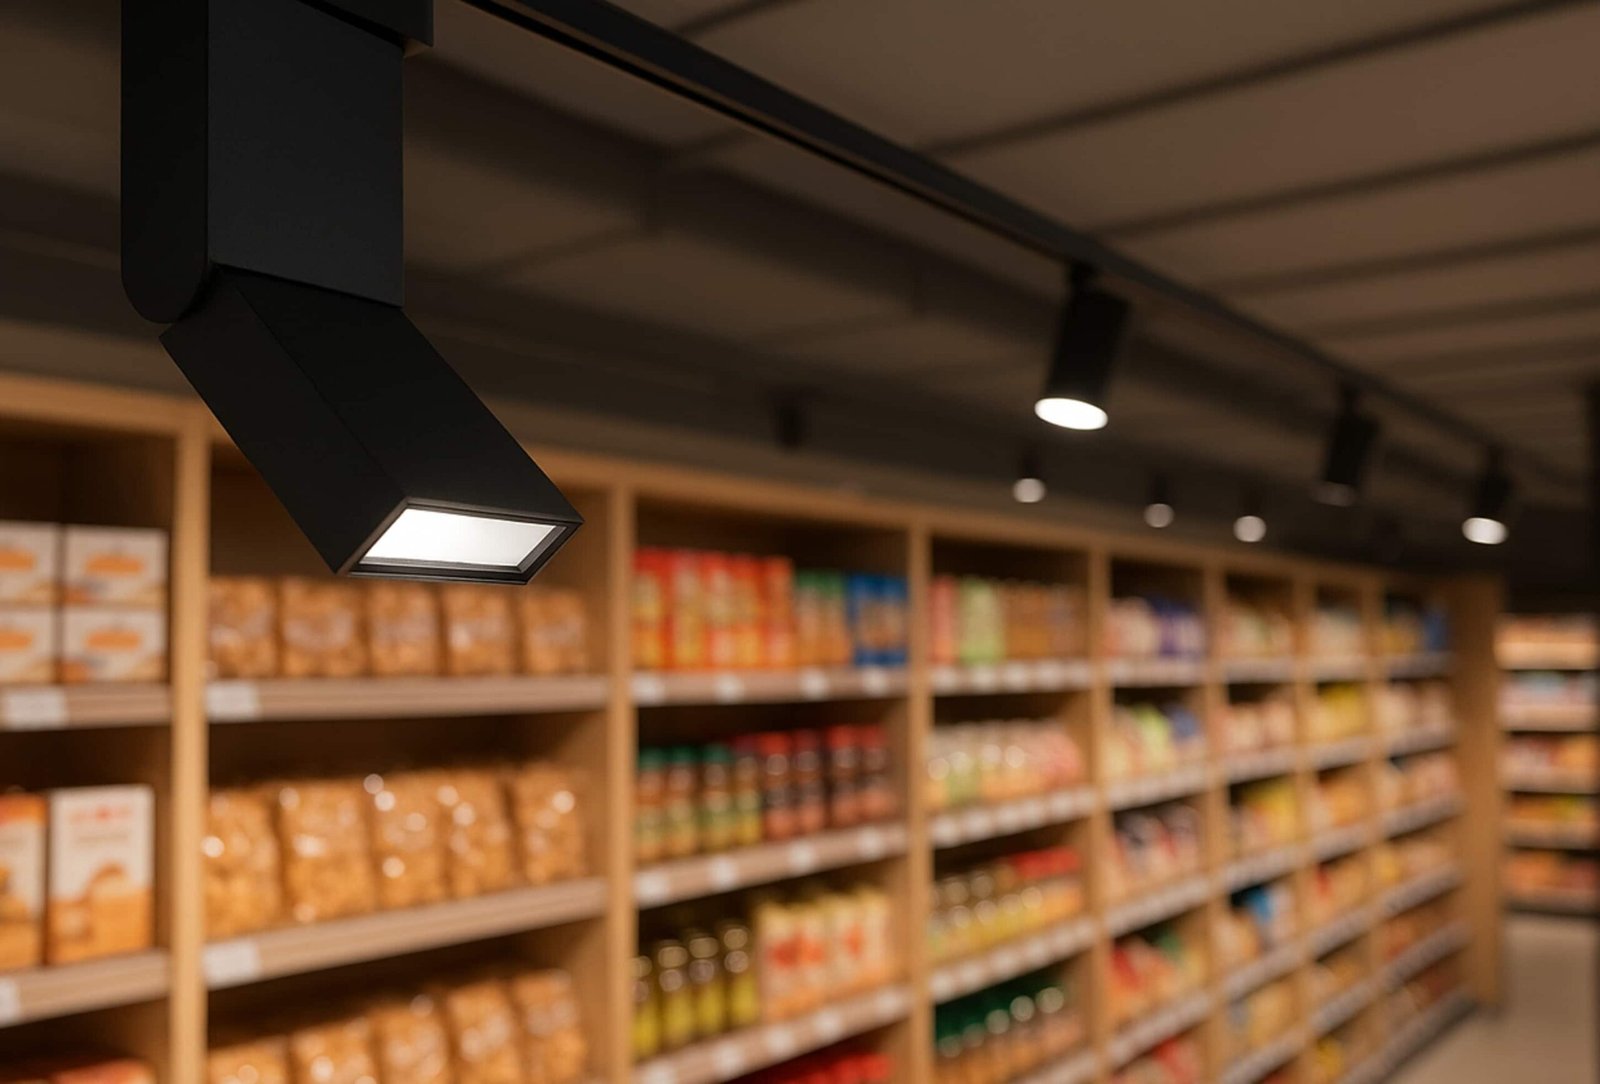
This track-light application photo illustrates an alternative format, not the output of the recessed product. Specify the solution around how often the display changes and what the ceiling can support.
Review the photometric information carefully
Request a photometric file or report for the exact proposed wall-washer configuration. Check that the optic, driver setting and product revision match the sample and quotation. A generic file for a different member of the range can mislead the spacing study. Ask the designer to show vertical illumination across the target area and to identify any hotspots or dark zones. The numerical plan is a starting point; the mock-up should confirm that the perceived wall appearance is acceptable.
When comparing two products, compare like-for-like conditions. The same fixture count, mounting position, wall reflectance and operating state should be used. Total lumens alone cannot describe where the light goes. A product with lower total lumens can still place useful light more effectively on a specified wall; the opposite may also be true. Review glare from normal viewing positions, because a bright aperture can undermine a visually strong wall wash.
Photometric files should be treated as specification evidence, not a promise of the final room appearance. Real wall texture, installation tolerances, aiming, dimming settings and other light sources influence the result. Document the assumptions used in any simulation. If the project is large or visually critical, mock up a representative section with the actual material, or at least a close substitute, before approving the order.
Agree on color and control behavior
Choose the correlated color temperature and color-rendering requirements with the merchandise and finishes present. A color choice that looks attractive on white plaster may not flatter timber, textiles, artwork or branded colors. View the sample next to the actual materials whenever possible. If several fixtures will line one wall, compare their color appearance together. A single visibly different unit can interrupt what should be a continuous wash.
Dimming is often useful for balancing the wall against ambient lighting, but it must be tested as a system. Confirm the driver and control interface, low-end behavior, switching and any scene requirements with the actual controller. Check that all fixtures in a group respond consistently. A simple on/off sample does not prove dimming compatibility. Ask how a replacement unit will be set to match the commissioned group after maintenance.
If the wall is part of a mixed scheme, decide which light should carry the visual priority. Adding a wall wash to an already bright area might flatten contrast. In a lobby, wall brightness can help make the space feel open; in a feature display, controlled contrast may be more important. The project designer should decide this balance and record a commissioning scene. Do not let a factory quotation silently substitute a different driver or optic after that scene is approved.
Specify maintenance and replacement details
A recessed unit may look clean after installation but still needs practical service access. Ask whether the light engine, driver and optical parts can be reached from below or require access above the ceiling. Decide where remote drivers will sit and how they will be labeled. A replacement with the correct cutout but a different beam, CCT or trim can create an obvious patch on a carefully washed wall. Keep the approved sample and a concise fixture schedule for the facilities team.
For chain stores or repeated projects, record the wall type, fixture centerline, model/revision, optic, finish, driver, control setting and commissioning photographs. These records matter more than a vague instruction to “use the same wall washer.” If a model is updated, test the replacement in a representative installation before accepting a whole batch. Buyers should also ask what spare parts are available and whether the supplier can identify their revisions over the expected maintenance period.
Run a useful on-site sample review
Build a mock-up with at least enough wall length to show fixture overlap, not just one isolated pool of light. Install the luminaire at the proposed setback and height, with the proposed wall material and adjacent lighting. Inspect the result in the day and at the intended evening scene if both matter. View the entire target zone, particularly the upper and lower wall, fixture-to-fixture transitions, corners and any graphics or merchandise. Photograph each view, but also write observations; a phone camera can change exposure automatically and hide the differences the eye sees.
Make adjustments one variable at a time. If the wash is uneven, determine whether the cause is fixture position, optic selection, dimming, wall geometry or an obstruction. Do not solve every problem by increasing wattage. When the result is accepted, record the final layout, operating setting and sample model. Require the bulk order to match that record. A small investment in this review is usually easier than moving a ceiling line after the finishes are complete.
A useful buyer checklist is: exact product and optic; dimensioned drawing; photometric file; installation location; driver and control sample; wall finish; mock-up observations; approved color appearance; spare-part plan; and the person responsible for signing off the final configuration. Lowcarbon’s product center provides the broader commercial lighting range, while the commercial downlight retrofit checklist explains why ceiling details must be verified before a replacement project proceeds.
Common mistakes to avoid
- Choosing a recessed wall washer from a beauty image without the matching photometric file.
- Using a fixed spacing rule without checking wall height, material or endpoints.
- Judging the result only on the floor instead of the vertical target.
- Approving one fixture in isolation, with no review of beam overlap.
- Calling a dark trim “low glare” without checking normal viewing positions.
- Ignoring the shadow of shelves, graphics or architectural projections.
- Ordering a different optic or driver after the mock-up was accepted.
- Leaving maintenance staff without the approved configuration and replacement reference.
Frequently asked questions
Is a recessed wall-washer downlight the same as a track wall washer?
No. Both may be designed to light a vertical surface, but the mounting, visual appearance and adjustment options differ. Track units can be easier to move when displays change; recessed units can give a quieter ceiling. Compare the exact photometric options and site constraints.
What is the correct distance from the wall?
There is no universal distance for every product and wall. Use the exact luminaire distribution, mounting height, target zone and material in a design study, then confirm the placement with a representative mock-up.
Can a normal symmetric downlight wash a wall?
It can spill light onto a wall, but it may not provide the distribution or consistency desired for an intentional wall wash. Compare photometric files and a real sample before treating it as equivalent.
Will a deeper recess remove all glare?
No. Recess depth can affect source visibility, but discomfort still depends on optical design and where people view the luminaire. Check the installed fixture from entrances, seats and circulation routes.
What should be retained after the sample is approved?
Keep the product and revision, optic, driver, controls, cutout drawing, layout, wall material, operating settings and photographs of the accepted result. These records help suppliers and maintenance teams reproduce it.
Final recommendation
Treat wall washing as a vertical-surface design task, not a product-label selection. Define the wall’s purpose, test the exact recessed unit in the proposed geometry and document the approved appearance. A manufacturer can then quote and repeat a clearly specified configuration instead of guessing what “even wall light” means for your project.
