 跳到内容

Surface-mounted downlights solve a practical problem: the project needs a compact ceiling luminaire, but a recessed cutout is undesirable or impossible. This can happen beneath concrete slabs, exposed ceilings, shallow service zones, heritage surfaces or fit-outs where the landlord limits ceiling changes. A surface-mounted body avoids a large recess, but it does not eliminate electrical coordination, structural checks or glare review. The visible housing becomes part of the interior design, and its installation detail deserves the same attention as its light output.
This guide helps importers, designers and contractors specify a commercial surface-mounted downlight before ordering. Product families differ in mounting hardware, driver arrangement, body size and optical options, so verify every project-specific value against the proposed model drawing and sample. The aim is a repeatable installation that looks intentional, performs the required lighting task and can be maintained without damaging the ceiling.
Start with the ceiling condition
Describe what the ceiling is made from and what work is permitted. A concrete slab, metal deck, exposed timber, plasterboard soffit and acoustic panel are not interchangeable fixing surfaces. Ask the qualified installer or engineer to approve the fixing method and load path. A fixture can be surface mounted while its power feed still needs a compliant route and an accessible connection. “No cutout” must not be mistaken for “no planning.”
Record the ceiling height, slope, finish and available space around services. On an exposed ceiling, conduits and brackets are visible; their arrangement should look deliberate. On a smooth finished ceiling, a rough cable exit can undermine the clean appearance of the fitting. The mounting plate may need enough area to cover an existing box or penetrations. Ask for a rear and side view of the actual product, including its cable-entry location, before approving the ceiling detail.
If the project is a retrofit, inspect several representative bays. One photograph of a typical room rarely captures every obstruction or substrate. Determine whether the existing electrical point lines up with the desired luminaire center and whether the wiring can be safely rerouted. A surface-mounted downlight can reduce disturbance compared with cutting a new recessed opening, but it may introduce visible conduit or an extra junction box. Compare the total installed result rather than the bare fixture price.
Define the task and beam before choosing the housing
What should the downlight illuminate? A circulation zone, reception counter, table, retail display and wall feature have different target surfaces. Mark the working plane and vertical faces that matter. Then review the optic and beam option for the exact mounting height. A compact housing can produce a narrow accent, a broader pool or a different distribution depending on the chosen system. Do not infer the beam from the outside shape alone.
Ceiling-mounted luminaires can be conspicuous in low rooms. Review the apparent brightness of the aperture from entrances, seating and normal walking routes. A dark inner trim or deeper optic may help in some geometries, but neither guarantees visual comfort. Also consider the room’s reflective materials: a glossy table or polished floor can show unwanted images of the source. Test a sample at the intended height, with the intended operating level, before repeating it across the site.
A suspended linear luminaire, track spotlight or recessed downlight might meet the same broad lighting need but with a different architectural effect. Surface-mounted downlights are especially useful when the client wants a compact, repeated ceiling language and the mounting surface is available. Track spotlights suit frequently changing targets; suspended systems can help at high ceilings or where a continuous line is wanted. The best choice comes from the application, not from a generic claim that one format is “easier.”
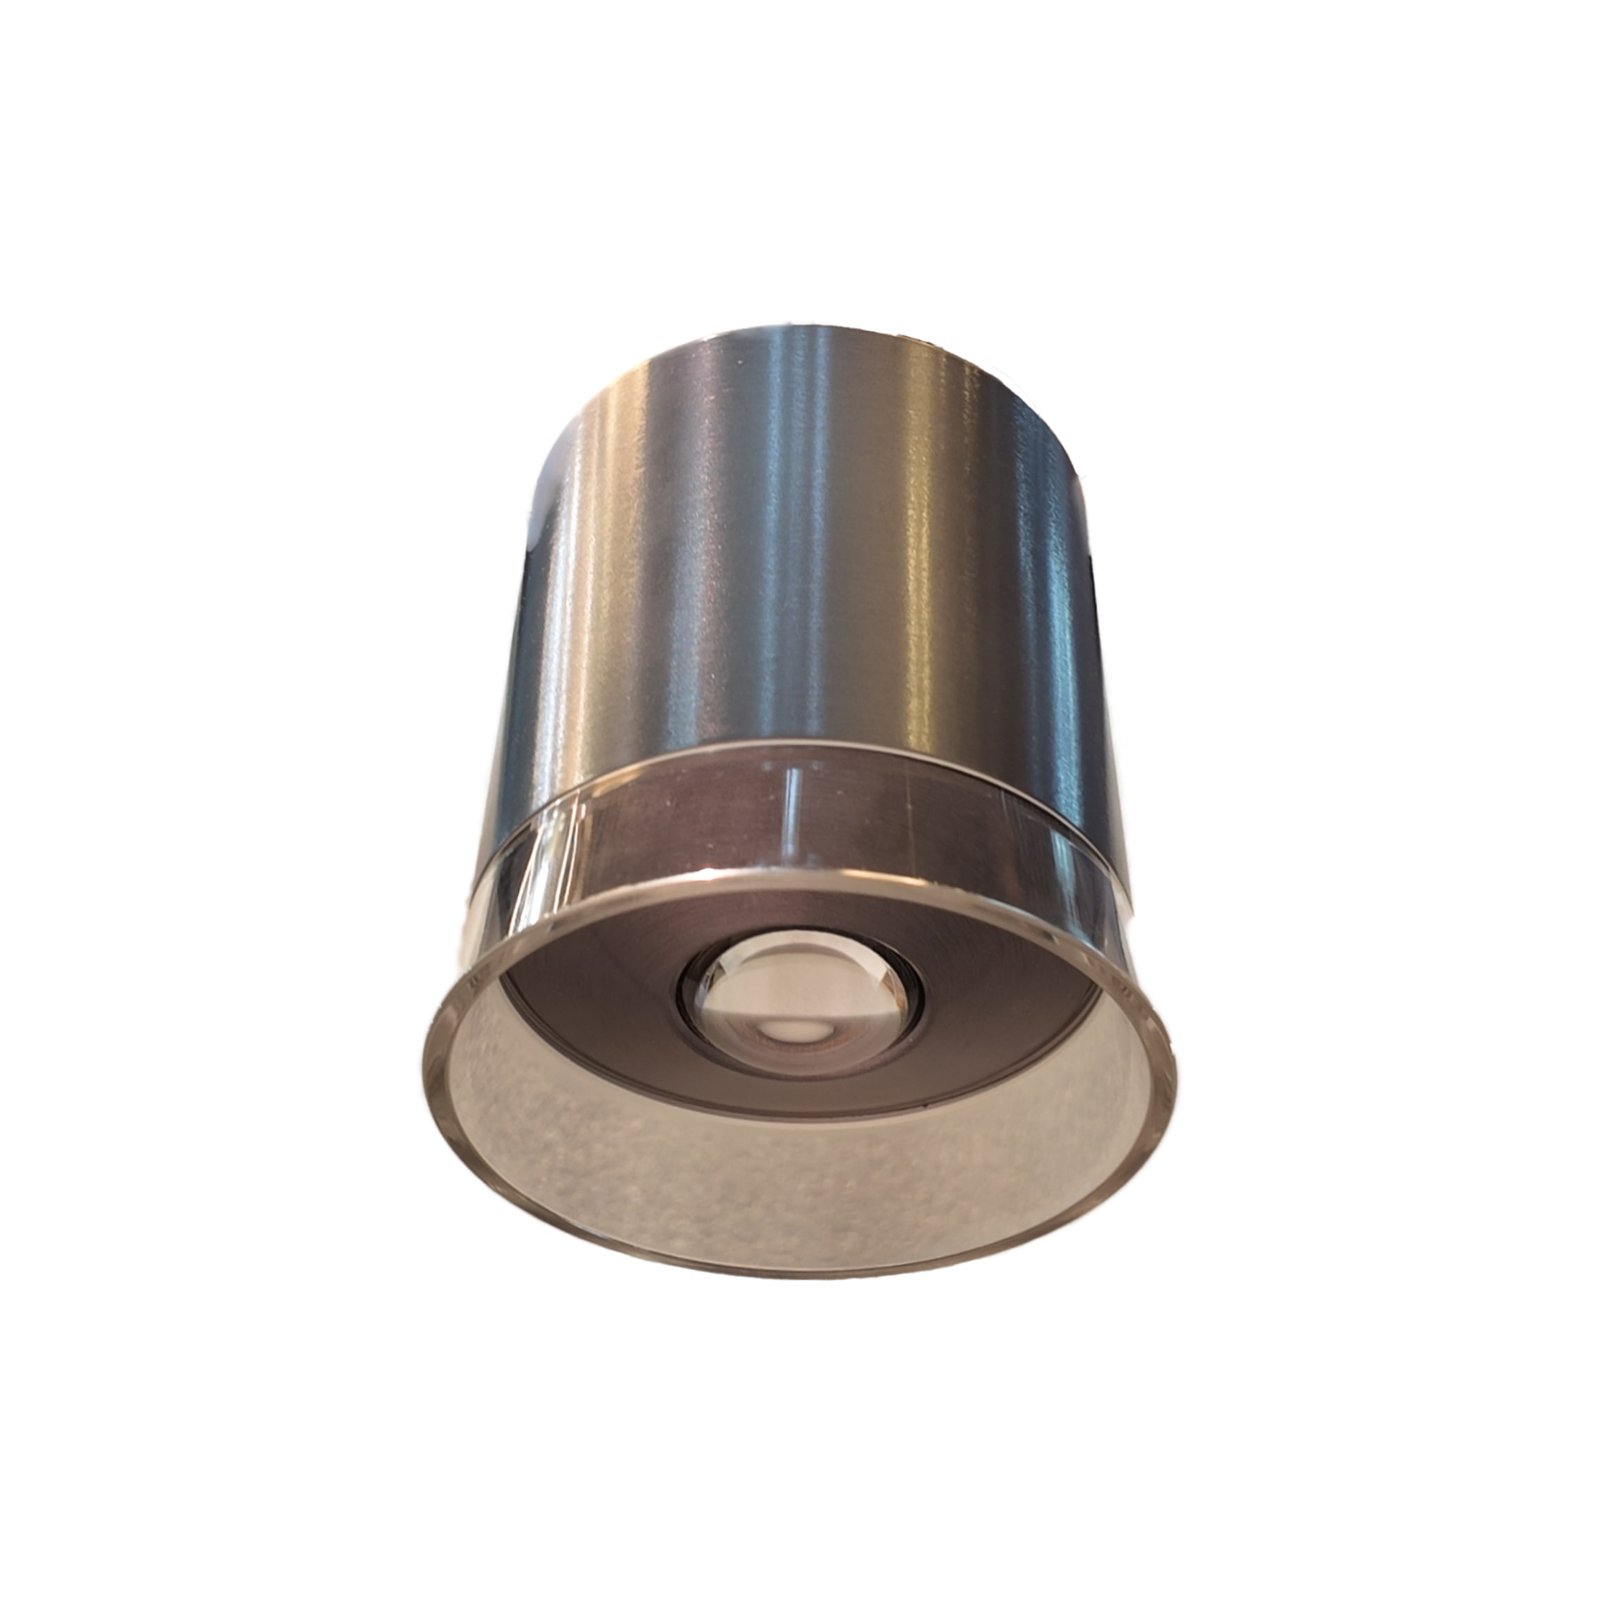
The product image helps the team judge visible body proportions. Confirm the actual size, finish and fixing detail with a dimensioned drawing and physical sample.
Coordinate the electrical connection and driver
Ask whether the proposed model has an integrated driver or a separate driver, and where any serviceable component will sit. Check input voltage, power setting, dimming method and required operating environment against the project electrical design. A small ceiling body does not automatically provide space for a large control module. If a separate driver is necessary, decide where it can be fixed and later reached. Record cable length and connection method instead of assuming the factory’s standard lead will fit the installation.
The cable entry is both a technical and visual detail. A rear entry can be neat when it aligns with a prepared electrical point. A side entry may be practical on an exposed slab but requires an agreed conduit route. The installer must follow local electrical and fire rules; a product page cannot approve a wiring method for a particular building. Request installation instructions for the exact fixture and review them before a procurement decision fixes the ceiling layout.
Where dimming or scene control is required, test the proposed driver with the actual controller. Check switching, low-end behavior and consistency across a group. A sample that switches on at full power proves very little about dimming compatibility. If the site has several room types, write a simple schedule showing model, optic, CCT, driver and control setting for each. A clear schedule reduces substitutions and helps future maintenance.
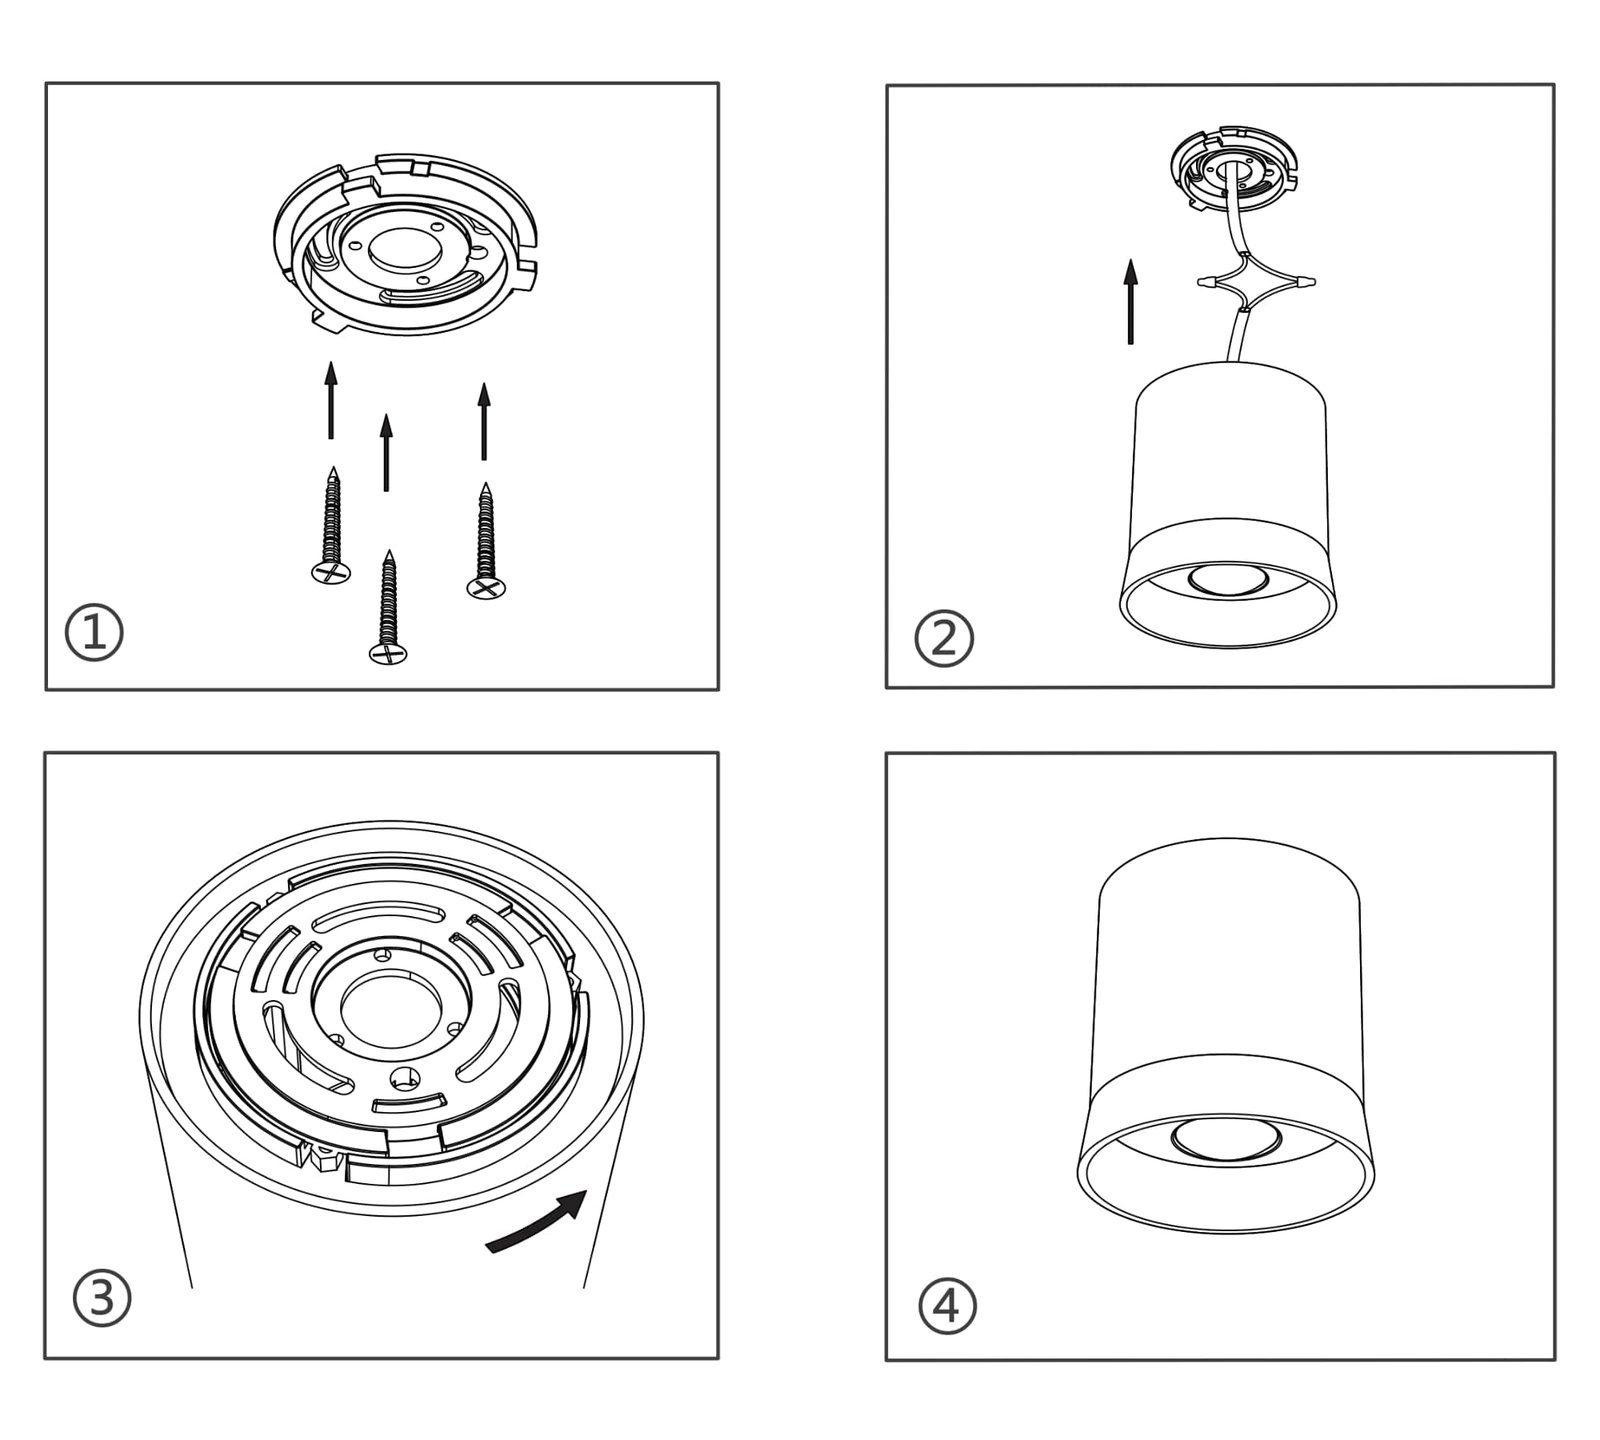
Treat this illustration as a prompt for questions, not a substitute for the current model’s installation sheet or a qualified installer’s site-specific method.
Plan the visible arrangement
A surface-mounted body projects below the ceiling, so its spacing and alignment are easy to notice. Lay out centers against the architecture rather than simply repeating a fixed number on the drawing. Columns, beams, ceiling joints, sprinkler heads and HVAC services may shift the ideal locations. Check how the housings read from the main entrance and long corridor views. In some rooms a slightly smaller group of well-aligned fixtures can look better than a dense field that works only on paper.
When a fixture sits near a wall, check the shape of the light on that wall and any shadows caused by shelves or signs. For spaces with artwork or display targets, an adjustable model may be needed; do not assume every surface-mounted downlight allows aiming. Ask for the mechanical range and confirm it on a real sample. For a fixed-axis fitting, ceiling position does more of the work. If changes to merchandise are expected, compare a track solution before finalizing a fixed ceiling grid.
Review color and finish under the actual room lighting. White, black and other body colors can either blend with the ceiling or become a deliberate feature. A catalogue render may not show the texture and edge detail accurately. Ask for a physical finish sample where appearance is important. If the project needs custom finish, obtain a signed-off reference and check lead time, minimum order quantities and spare-part consistency before assuming it is a routine option.
Check thermal and maintenance access
A surface-mounted luminaire has an exposed body, but that does not mean it can be installed tight against any surface or covered by insulation or décor. Follow the product’s current installation instructions and site electrical requirements. Ask what clearances and environmental conditions are permitted. The installer should confirm that the fixing remains secure in the actual substrate and that cleaning or other trades will not easily damage the luminaire.
Plan how a failed driver or light engine can be serviced. Can the front or housing be opened without removing the whole mounting plate? Does a replacement require access above the ceiling? How is the fixture isolated safely? If an exposed conduit enters the side, can the body be removed without disturbing that connection? Record the answers in the fixture schedule. Buyers often focus on first installation while forgetting that the same ceiling must remain workable years later.
For multi-site rollouts, record model and revision, finish, beam, CCT, control interface and any site-specific mounting kit. Keep one approved sample and photographs of the installed detail. When a component changes, compare the replacement under the same conditions. A physically similar housing with a different beam or color can break the visual consistency of a repeated ceiling pattern.
Compare complete installed cost
The economic case for surface mounting is strongest when it solves a real site constraint. Estimate the mounting hardware, safe electrical feed, visible conduit or box, controls, aiming and commissioning, not only the luminaire. Include ceiling making-good if a previous fixture is being removed. A surface-mounted fitting may avoid a large cutout yet need more visible coordination than a recessed fitting installed into a new ceiling. In another project it may be significantly simpler. The answer depends on the building, trades and desired appearance.
Ask the contractor to install a representative sample and time the process. Verify the required fixing points, cable route, level, alignment and final finish. This pilot shows whether the quotation and method match site reality. It also exposes conflicts with lighting controls or other services before hundreds of fittings are ordered. An accurate pilot is more useful than a generic claim of “quick installation.”
A practical sample-approval workflow
Select one typical bay and one difficult bay. The typical bay shows how the fitting will repeat; the difficult bay tests the edge cases such as beams, a sloped surface or an existing connection. Install the exact product configuration with the planned driver and mounting kit. Inspect it switched on and off. Check the visible body, cable exit, fixing, beam, glare from normal positions and the light on the target surface. Test the intended dimming or control behavior if relevant.
Record the cut sheet, drawing, optic, color temperature, finish, driver label, control response and photographs of both installations. Write down what was accepted and what requires a change. If a component is substituted later, repeat the relevant parts of the review. For customers comparing multiple families, Lowcarbon’s product center provides a starting overview; the commercial downlight retrofit checklist covers related questions about ceiling and driver access.
A responsible factory quotation should identify the exact product configuration instead of relying on a marketing name. Ask for a sample of the production-intent assembly. Confirm what documentation accompanies the order and how substitutions will be approved. If the contractor and supplier both have the same accepted sample reference, the installation has a better chance of remaining consistent across a long project.
Common mistakes to avoid
- Assuming a surface-mounted fixture needs no ceiling or electrical coordination.
- Choosing a housing by appearance before defining the target and beam.
- Omitting the actual cable-entry and mounting-plate details from the drawing.
- Treating a full-power sample as proof of dimming compatibility.
- Ignoring long-view alignment and visible conduit on an exposed ceiling.
- Failing to check the real fixing substrate and load path.
- Specifying custom finish without a physical approval and spare-parts plan.
- Comparing only luminaire prices instead of complete installed cost.
Frequently asked questions
Does a surface-mounted downlight require a ceiling cutout?
It generally avoids the large recessed opening needed by an in-ceiling body, but a compliant electrical feed and fixing points still have to be planned. The exact method depends on the product and ceiling substrate.
Is a surface-mounted downlight always faster to install?
No. It may be simpler when a recess is impossible or disruptive, but visible conduit, substrate fixing or control wiring can add work. Compare a pilot installation, not just fixture formats.
Can every surface-mounted downlight be aimed?
No. Some are fixed and others provide adjustment. Obtain the exact mechanical drawing and test the proposed model at the planned ceiling height.
Where should the driver be located?
That depends on whether the product has an integrated or separate driver and on the building’s service-access requirements. Agree the location and cable route with the qualified installer before ordering.
What should a buyer retain for later replacement?
Keep the approved model and revision, drawing, mounting kit, optic, finish, CCT, driver and control setting, plus photographs of the accepted installation. A visually similar replacement may not perform the same way.
Final recommendation
Choose surface-mounted downlights when their mounting format genuinely suits the ceiling and visual brief. Define the lighting target, confirm the substrate and electrical route, test the exact fixture and record an installed approval. That turns a seemingly simple “no recess” product into a dependable commercial detail.
