 跳到内容

A retail lighting mock-up is not a showroom photograph or a single attractive spotlight over one product. It is a small, controlled test of the actual fixture configuration in conditions close enough to the future store that a buyer can make a confident decision. Done well, it reveals uneven shelves, distracting glare, poor aiming access and color differences before a multi-site order is released.
Mock-ups are especially useful for track panels, COB spotlights and mixed general/accent schemes. The goal is not to find one “perfect” number. It is to approve a repeatable visual result, record the settings that produced it and identify what must not change during production and installation.
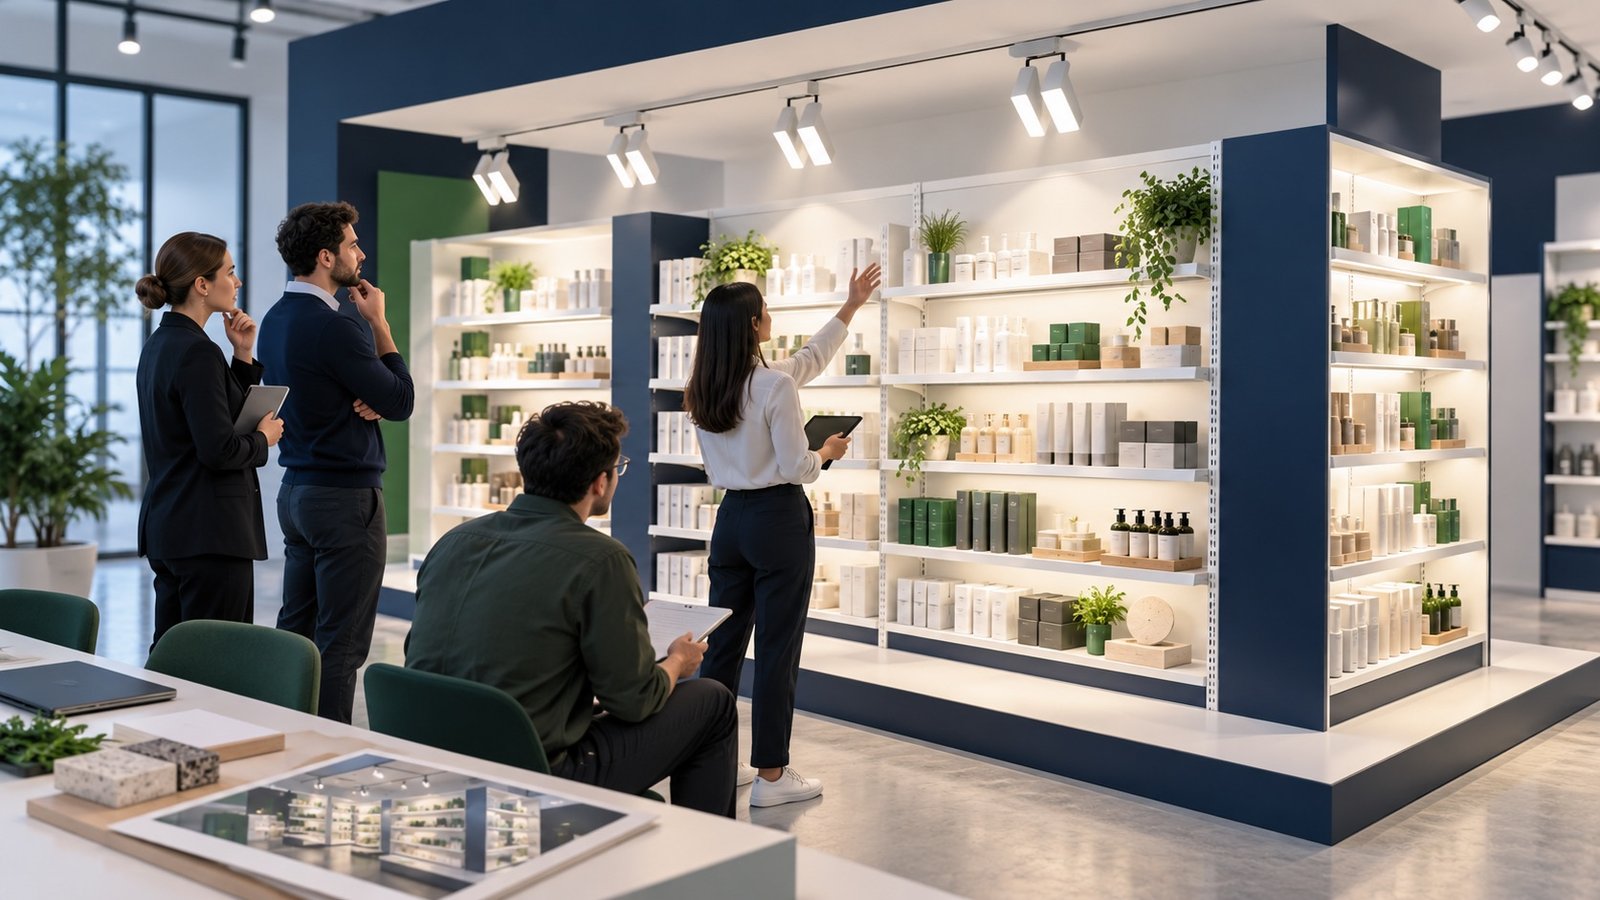
Choose a representative test bay
Select a bay that reflects the real geometry: aisle width, shelf height and depth, ceiling height, track position, merchandise type and finishes. An empty white wall is easier to light than dark packaging on a deep shelf. A bright mock-up with no adjacent luminaires can hide overlap and glare problems that appear in a complete aisle. If the rollout includes several store formats, choose at least the most demanding or most common arrangement rather than a convenient but atypical corner.
Document the surface colors and reflectances where known. Include the actual shelf headers, signage and gondola tops, because these can cast shadows or reflect bright points. If the fixture will be viewed from a customer’s normal approach, assess it from that position as well as from the designer’s standing point.
Define what approval means before switching on
List the questions the mock-up must answer. Typical items include vertical shelf visibility, aisle floor illumination, display contrast, glare at eye level, visual uniformity, product color, dimming behavior and ease of aiming. For measurable criteria, agree the target plane, measurement grid, light meter and operating state. Do not choose a single lux reading after seeing the result and then call the mock-up a pass.
Separate mandatory acceptance criteria from preferences. A target illuminance may be contractual; “warm but not yellow” is subjective unless a color reference and viewing setup are agreed. Both matter, but they should be recorded differently. Decide who has approval authority—retail design, operations, lighting consultant and supplier may all have a role.
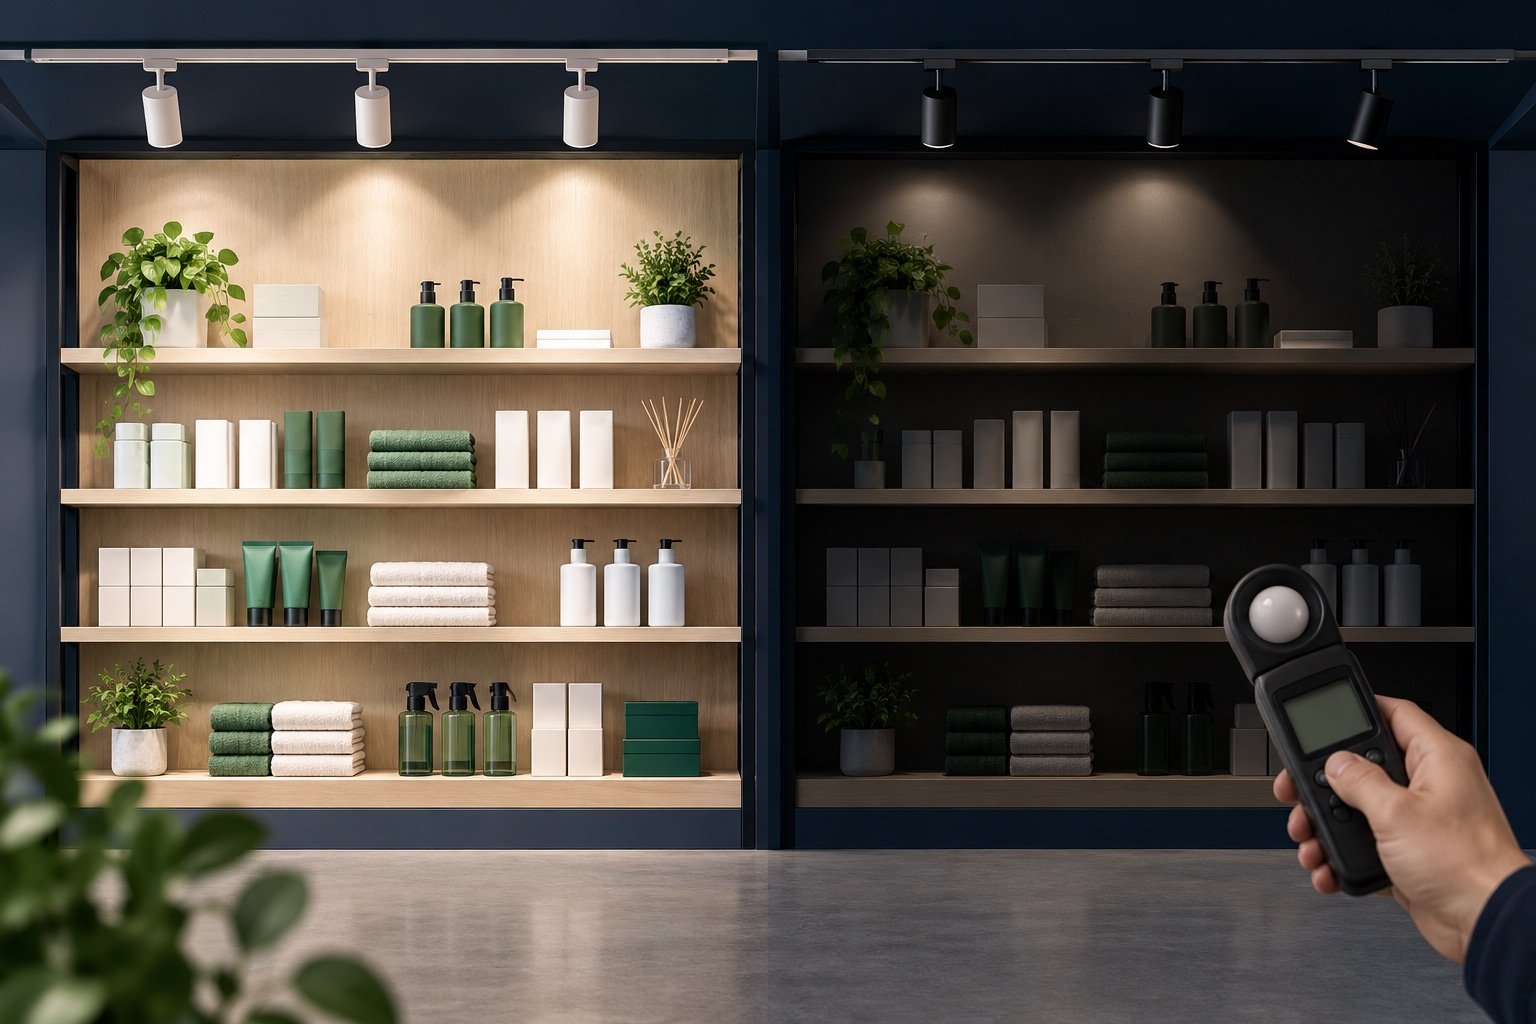
Install the actual product and controls
Use the specified rail, adapter, optic, driver, output setting and control method. A prototype with a different diffuser or LED bin may not represent production. Confirm the model and settings on a written sheet before testing. For a dual-panel track light, record each panel angle separately. For a selectable downlight, document switch positions. For a linkable linear run, include a joint and end condition if those will be visible in the final site.
Give the luminaire time to reach a stable operating condition according to the test plan. Dimming levels should be specified, not estimated by eye. If daylight affects the location, test at a consistent time or control the daylight so comparisons are fair.
Measure the surfaces that matter
Retail value often lies on vertical shelves, product faces and signage, not only on the floor. Measure or photograph these surfaces consistently. A strong floor reading does not guarantee visible labels on lower shelves. Likewise, a dramatic accent spot can create a bright hotspot surrounded by dull stock. Review uniformity and contrast in the context of the merchandising objective.
For a two-sided aisle, test both sides and the center walkway. Move a few products or introduce dark packaging to see how robust the scheme is. Check the beam at shelf edges and end caps, where spill and shadows become obvious. A simulation can guide the layout, but the mock-up shows what the actual optic does to actual materials.
Check glare from real viewpoints
Walk toward and along the bay. Look from customer eye height, from a child’s lower viewpoint if relevant and from the cashier or staff position. A fixture can look comfortable from the aisle center but produce direct view of LEDs from a cross-aisle or a neighboring mirror. Aim adjustable heads through their usable range and identify positions that should be avoided during installation.
Photographs are helpful, but camera exposure can hide glare or exaggerate brightness. Record camera settings when using before-and-after comparisons, and rely on in-person review for final visual approval. If a complaint arises later, the agreed viewing positions and reference photographs will make it easier to investigate.
Test color and controls as a system
Evaluate merchandise colors under the proposed CCT and optic. Skin tones, food, textiles and cosmetics may reveal weaknesses differently. If the store combines track spots with linear ambient light, view them together; two acceptable products can still look mismatched side by side. Check dimming at normal trading levels and any scene settings used outside business hours.
Record flicker or camera artifacts if the environment uses video, self-checkout cameras or product photography, and ask the supplier for relevant performance data. Controls should recover predictably after power interruption and operate as intended across all zones. These operational details are easier to fix before a rollout than after several stores are open.
Turn approval into a repeatable installation instruction
When the team agrees on a scheme, capture fixture labels, optic codes, mounting positions, aiming angles, dimming levels and photographs of the approved bay. Mark which dimensions are fixed and which may vary by store. If the ceiling height changes significantly, require a new calculation or pilot rather than copying the same aiming rule without review.
Attach the record to the purchase order and installer brief. Require a production sample to be compared with the approved unit when critical components change. The mock-up is only valuable if its configuration survives purchasing, manufacturing and installation.
Explore Lowcarbon’s track and linear product platforms, then send a shelf elevation, aisle width, ceiling plan and target market through the project inquiry form. The manufacturing overview outlines the sample-approval stage that should precede a larger order.
Build a scorecard that can travel between stores
A useful mock-up scorecard combines numbers and observations. Record fixture model and settings, room geometry, measurement points, illuminance results, photographs, glare observations, merchandise color comments and installation notes. Leave a column for decisions: approve, approve with change, or retest. A simple consistent form is more valuable than a polished report that cannot be repeated at the next site.
When several configurations are tested, change one variable at a time where possible. If the team changes the beam, CCT, aiming and dimming simultaneously, it becomes hard to know which change improved the result. Label every photograph and measurement set with the configuration used. Keep rejected options in an archive so they are not accidentally reintroduced during procurement.
Compare day, evening and maintenance scenes
Stores do not operate under one lighting state all day. Daylight through a shopfront can wash out a display that looks excellent at night. A cleaning scene may use full output while trading uses dimmed levels. Review the important modes and identify which one governs fixture selection. If a product looks comfortable only when heavily dimmed, check whether the intended task light is still sufficient and whether the controls can reproduce the level consistently.
Consider maintenance access during the mock-up. Can staff clean the optic and aim the fixture without disturbing the track? Can a failed unit be removed without damaging signage? Is the intended driver or connector reachable? A mock-up that considers only visual performance may approve a layout that is difficult to maintain across dozens of stores.
Use one pilot to improve the rollout specification
After approval, ask the pilot installer what was difficult or ambiguous. Perhaps the track was offset from the drawing, the power feed landed at the wrong end, or the aiming marks were unclear. Update the installation guide before repeating the work. Include an annotated shelf elevation and a few approved photos with fixed exposure settings. Mark acceptable adjustment ranges rather than forcing every store to copy an angle that only worked in the pilot geometry.
Plan an acceptance check for the first full store. The pilot tests a bay; the full store reveals interactions among bays, decorative lights and circulation routes. Inspect representative locations, then use the same scorecard to catch drift. For later sites, a concise checklist may be enough if the layout remains within the approved design envelope.
What to ask the supplier before rollout
Confirm that the production fixture matches the approved sample in optic, driver, LED selection, housing and adapter. Ask how changes will be notified. Request the photometric file used for the final layout and a spare-part plan. If several stores open months apart, discuss color consistency and batch identification before the first purchase. These questions connect a successful visual pilot to a repeatable supply program.
Failure signs to watch during the pilot
Look for a strong hotspot on top shelves while lower shelves remain dull, unusually bright patches on glossy packaging, dark gaps between fixture beams and direct views of the LED source from cross-aisles. Check whether signage casts a shadow on the merchandise it is supposed to promote. If staff cannot re-aim the fixture without losing its position or stressing the track, note that operational issue as well.
When a problem appears, test a controlled change: one aiming adjustment, one optic or one spacing change. Record the result and any downside. A wider beam may soften a hotspot but lose contrast; a lower output may reduce glare but leave the bottom shelf underlit. This disciplined approach avoids approving a new configuration that merely moves the problem elsewhere.
Frequently asked questions
How many fixtures should a mock-up include?
Enough to show beam overlap, end conditions and normal viewing positions. One isolated fixture may be insufficient for an aisle or continuous run.
Can a render replace a mock-up?
No. A render is useful for planning, but a mock-up checks the real product, merchandise, materials and controls.
Should I measure only floor illuminance?
No. Retail shelves and product faces are often the primary visual targets; define measurements on the surfaces that matter.
Who should sign off?
The project team should name decision-makers in advance, typically including design and operations representatives plus the lighting specialist.
What if a later store has different geometry?
Review the variation against the approved range. A major height, aisle or surface change may justify a new model or local pilot.
