 跳到内容

An LED downlight may feel cooler at its beam than an older lamp, yet its LEDs and driver still generate heat. That heat must move through the luminaire and into the surrounding environment within the product’s approved operating limits. In a commercial ceiling, insulation, shallow voids, nearby services and sealed cavities can change the thermal situation from the one assumed in a product photograph.
For buyers and specifiers, the key question is not “do LEDs get hot?” but “is this exact downlight suitable for this exact ceiling construction and setting?” This guide organizes the checks. It does not supply universal clearance values or authorize insulation contact. Follow the selected product’s installation instructions, applicable local requirements and a qualified installer’s assessment.
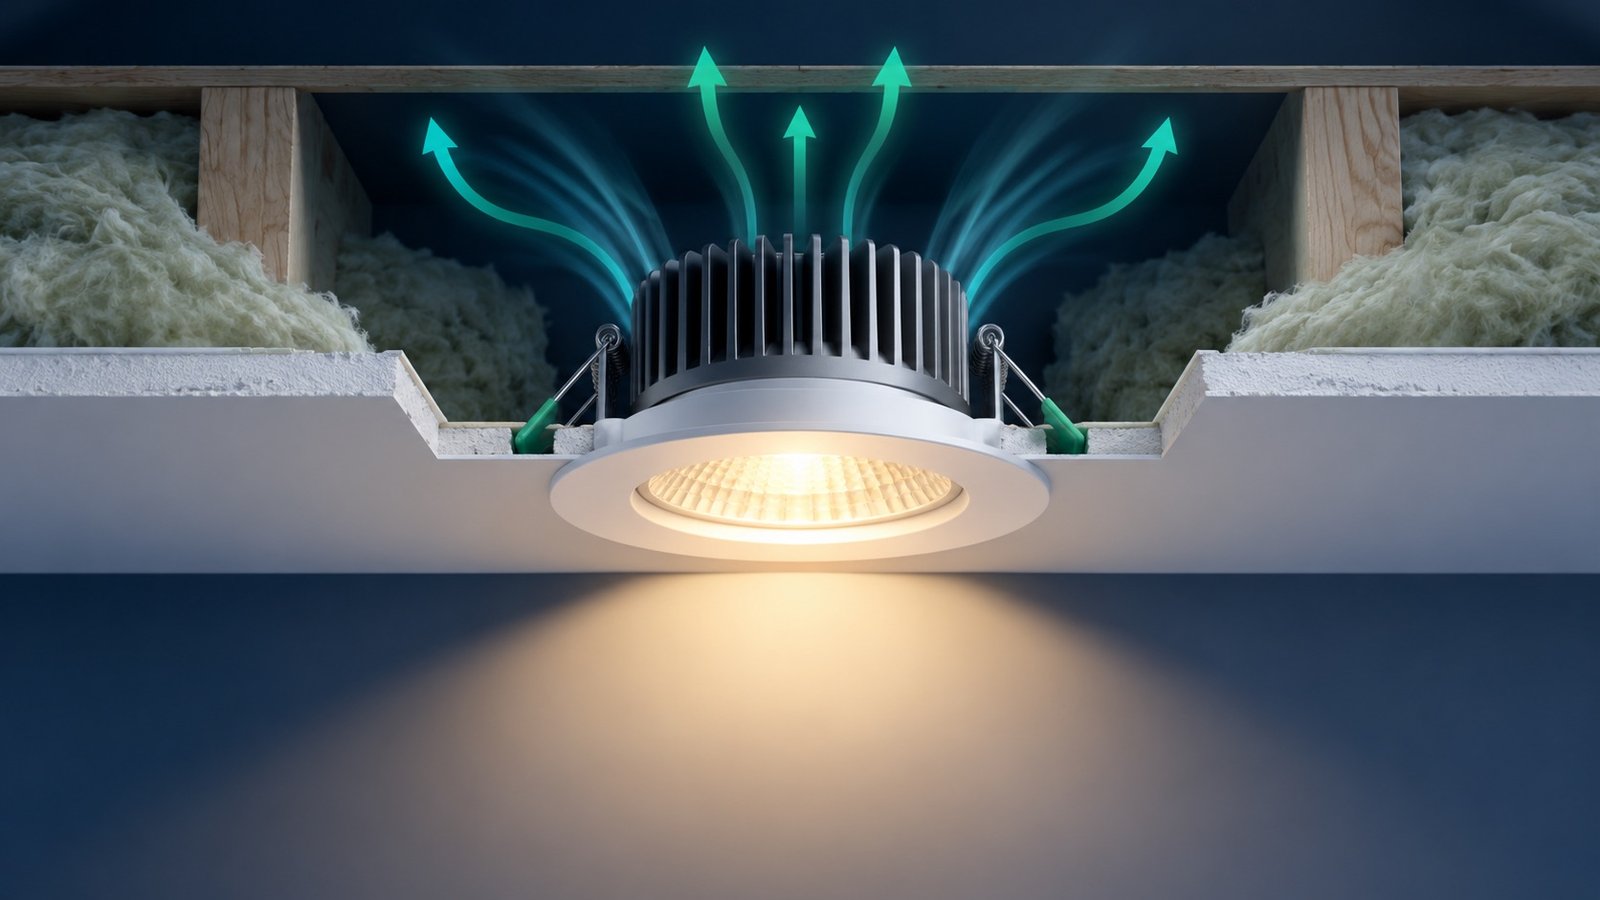
Understand the thermal path
A COB LED concentrates light generation in a compact source. Heat moves from the LED package into its mounting surface, through the heatsink or housing, and then into the air or adjacent structure. The driver produces its own heat and has operating limits. If a critical part runs above its specified condition, light output, color, driver life and reliability may be affected. A reflective front trim is not the same thing as the rear heatsink that manages the LED.
Look at the actual luminaire assembly. Is the driver integrated, attached to the rear or remote? Where are the heat-dissipating surfaces? What are the manufacturer’s permitted ambient-temperature and mounting conditions? Ask for the installation drawing rather than inferring requirements from a cutaway marketing image.
Survey the ceiling before choosing the model
Record ceiling type, cutout, panel thickness, cavity depth and what sits above the opening. Note insulation, acoustic materials, vapour barriers, ducts, cable trays and fire-related construction. Some ceilings have very little usable void even when the room height looks generous. A fixture that physically enters the hole may still be unsuitable if its heatsink or driver cannot be installed as instructed.
Identify the access route for installation and future service. If the driver must remain accessible, plan the opening or hatch. Check whether the spring clips are designed for the actual ceiling thickness and material. A downlight mounted in a fragile panel or unsupported decorative finish may need a different mechanical detail independent of the thermal question.
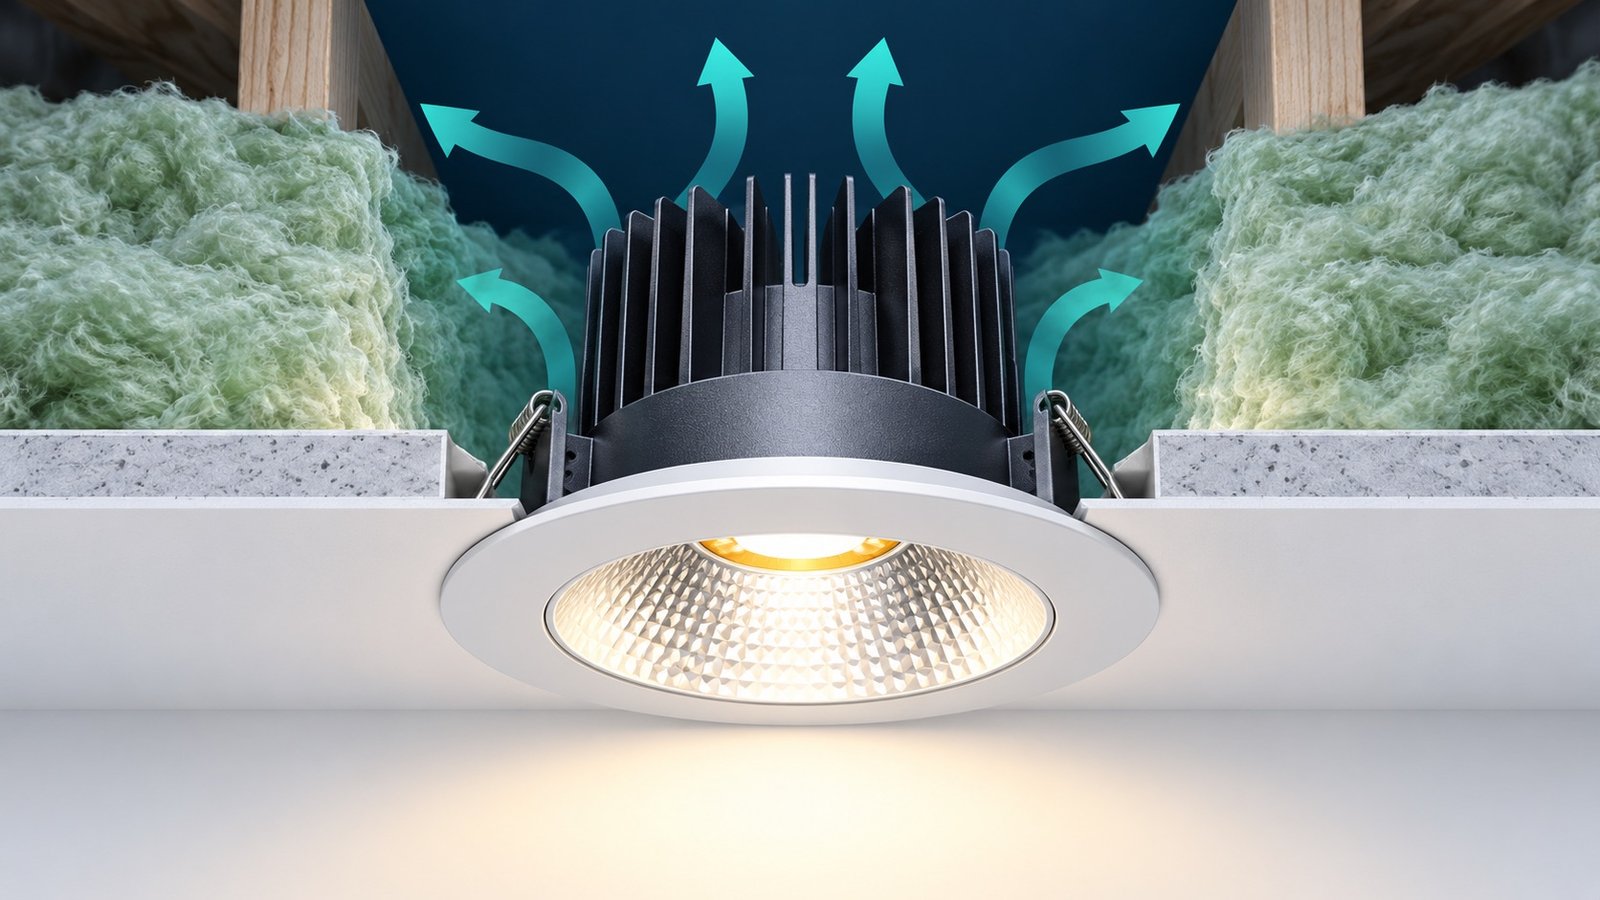
Do not assume insulation contact is allowed
Insulation near a downlight can change heat flow. Whether contact is permitted depends on the exact luminaire, its markings, test evidence and jurisdiction. A generic LED label, low wattage or metal housing does not establish suitability. Read the manufacturer’s instructions for the specific SKU and installation orientation. If they require separation from insulation or other materials, the ceiling detail must provide it.
Likewise, do not improvise a cover or enclosure around the luminaire without checking whether it is approved for that use. A cover that solves one ceiling issue may trap heat. If the ceiling is part of a rated construction, consult the responsible building professional for the appropriate tested assembly. Fire, acoustic and thermal requirements should be coordinated rather than solved in isolation.
Selectable wattage needs an approved operating state
Commercial downlights may offer several wattage and CCT switch positions. Verify which positions the product is rated to use in the proposed ceiling environment. Document the approved switch setting on the submittal and installation record. A pilot operated at its lowest output cannot demonstrate the thermal condition at a higher production setting.
Where the project allows installers to change settings later, define who may do so and what ceiling checks must be repeated. A switch can simplify inventory, but it does not remove the need to match output and thermal conditions to the application. The same caution applies when a driver is replaced with a different current setting.
Driver placement and serviceability
A remote driver may offer placement flexibility if the manufacturer permits it, but its cable length, mounting surface and ambient conditions still matter. It should not disappear under insulation or above an inaccessible ceiling. An integral driver may be easier to track as part of one fixture but may be harder to replace. Ask how the driver can be accessed without damaging the ceiling and whether a replacement part is available.
Keep electrical junctions, connectors and control interfaces in the approved location. The installer must follow local electrical rules and the manufacturer’s wiring diagrams. A product from a different supplier with the same hole diameter is not necessarily an equivalent replacement if the driver and thermal arrangement differ.
Validate in a representative ceiling
A bench test in open air does not reproduce a crowded ceiling void. For large projects, a representative mock-up can help confirm fit, access, appearance and operating conditions. Use the final trim, diffuser, driver and selected output. Observe the fixture over a realistic period and, where required, let a qualified professional assess temperatures using a documented method. Do not touch or modify energized equipment casually to “see if it is hot.”
The mock-up should also confirm cutout tolerance, clip engagement, ceiling finish and removal procedure. A thermally suitable fixture that damages the ceiling every time it is serviced is still a poor project choice.
Buyer’s pre-order checklist
- Exact downlight model, driver and switch setting identified.
- Cutout, ceiling thickness and usable void checked.
- Insulation and nearby services shown on the ceiling detail.
- Manufacturer’s thermal and mounting instructions reviewed.
- Driver access and future replacement route documented.
- Rated ceiling or fire-related conditions reviewed by the responsible professional.
- Representative sample approved before a large order.
Lowcarbon’s commercial downlight range includes selectable configurations. To narrow a model, send the ceiling section, cutout, void depth, insulation details, output target and market through the project inquiry form. The site overview explains the broader commercial lighting and OEM/ODM support.
Common ceiling conditions that deserve a closer look
A suspended tile ceiling often offers apparent space, but other services may occupy the same void. Check whether the driver can sit safely without resting on the tile or contacting a pipe. A plasterboard ceiling can look tidy from below while giving no service access after installation. A tight decorative bulkhead may have limited air movement and unusual surface materials. None of these conditions automatically rules out an LED downlight; each needs a product-specific detail.
In a hotel or office retrofit, old cutouts may vary in size or shape. An adapter ring can conceal a larger opening, but it does not resolve a rear clearance or support problem. Confirm the clip range and the thickness of the finished ceiling. If the downlight is installed near an air-conditioning outlet, ask whether unusually cold or warm airflow affects the luminaire or condensation risk under local conditions.
Separate photometric and thermal choices
A higher-output setting may help achieve a target illuminance, but it also changes electrical and thermal operating conditions. A wider beam may improve spacing yet increase perceived glare. The designer should calculate the needed light first, then the product team should confirm that the chosen configuration is approved for the ceiling. Do not select the highest available wattage as a default simply because it provides flexibility.
Request photometric data for the intended switch position and optic. During a mock-up, measure the target surfaces and assess comfort at normal viewpoints. If the layout requires too much output from a restricted cavity, consider more fixtures at a lower setting or another luminaire format—subject to a proper design review. Thermal suitability and visual performance are linked but must be verified with their own evidence.
Coordinate the installation sequence
Decide when the ceiling contractor, electrician and lighting supplier will verify openings and driver locations. A sample should be available before hundreds of holes are cut. The installer should confirm the cutout tool, edge finish and clip engagement on the actual ceiling material. The control and driver wiring should be tested before the ceiling is fully closed. Record any site condition that differs from the approved drawing and resolve it before repeating the detail.
After installation, keep a fixture schedule that identifies model, output setting and driver location by room. This helps maintenance teams replace like with like and avoids accidental changes to thermal loading. If the building later adds insulation above the ceiling, the lighting installation may need review; the original approval should not be assumed to cover a changed construction.
Questions to put on the submittal review sheet
Ask for the precise installation drawing, permitted mounting orientation, ambient and driver conditions, insulation-contact guidance, cutout and panel-thickness range, wiring diagram and service method. Check that the product label and datasheet describe the same SKU. If the project has a special ceiling assembly or fire requirement, request project-specific review from the responsible professional. A supplier can provide product evidence; it should not be asked to certify an unknown ceiling assembly from a photograph.
What to do when the selected fixture does not fit
Do not force the unit into a shallow void or cover the heatsink to conceal it. Return to the performance requirement and compare alternative products or layouts. A lower-profile downlight, remote-driver arrangement, surface-mounted fixture or different spacing may be possible, depending on the design. Any alternative needs its own photometric, installation and approval review. Keep the architect and MEP team involved because moving one ceiling component can conflict with another.
If the issue is discovered after a pilot opening is cut, stop repeating that opening until the detail is resolved. Photograph the actual obstruction, measure the usable space and update the drawing. That small pause prevents a site-wide pattern of unsuitable installations and gives the supplier enough information to recommend a legitimate alternative.
Frequently asked questions
Does a low-wattage LED downlight need ventilation?
It needs to be installed within its approved thermal conditions. Whether a particular clearance or ventilation arrangement is required depends on the product and ceiling.
Can insulation touch the back of any LED downlight?
No blanket answer is safe. Follow the specific luminaire’s markings and installation instructions and the applicable local requirements.
Can I change the wattage switch after installation?
Only within the product’s approved settings and after confirming the new condition remains suitable for the ceiling and project design.
Is a larger cutout enough to solve overheating?
Not necessarily. Thermal behavior depends on the entire assembly and its surrounding environment; an improvised cutout can also create mechanical problems.
What document should I request first?
Request the exact SKU’s installation instructions and technical datasheet, then compare them with a real ceiling section.
