 跳到内容

An adjustable COB downlight can let a commercial space keep a quiet recessed ceiling while directing light toward a product display, counter, artwork or architectural feature. That flexibility is valuable when targets are not directly below the fixture or when displays change within a known zone. It is not a substitute for placement planning: the head can only move within the mechanical range of the exact model, and its beam must still suit the target.
This article explains how to specify adjustable and tiltable recessed downlights for changing commercial display needs. It avoids assuming that every model has the same tilt, rotation, zoom, dimming or cutout. Ask for the dimensioned drawing, photometric information and a physical sample of the proposed configuration. A product image can show the form, but it cannot prove that a fixture will reach your particular wall or shelf from the chosen ceiling point.
Map the target movement before selecting a fixture
Start with a plan of the store or project area showing both current and likely future display positions. Mark fixed architectural targets and flexible merchandising zones separately. A checkout counter may stay in place while a seasonal display moves several times a year. If a target can move across a wide area, a fixed recessed point may not provide enough reach even with an adjustable head. Consider a track system or multiple lighting layers for truly flexible layouts.
On an elevation, mark the height of the merchandise or feature. A fixture aimed at the top of a wall behaves differently from one aimed toward a low shelf. Estimate the distance and direction from the proposed ceiling position to the target and check it against the fixture’s actual mechanical range. Account for beams, sprinklers, signs and soffits that can block the light path. A simple line of sight is often more useful at this stage than comparing wattages.
Discuss the frequency of change with the operator. If staff will re-aim lights weekly, access and repeatability matter. If changes happen only during a scheduled fit-out, a contractor may be available to reset the scheme. If the fixture requires a tool or ladders at height, train the person who will handle it. Re-aiming can also alter glare for customers, so the accepted positions should be documented instead of allowing arbitrary movement.
Separate movement from optical flexibility
Tilt and rotation describe where the light engine points. Beam angle or zoom describes how wide the light spreads. A fixture may offer aiming without a choice of optics, or several optics without a wide mechanical range. Do not treat these as the same feature. Request the exact drawings and photometric files for the versions being quoted. Test the proposed movement at a representative ceiling height, because housings, trim and ceiling thickness can restrict practical aim.
A narrow beam can create emphasis on a small product but may leave a display wall patchy if the target is broad. A wide beam can soften transitions but may spill into circulation or adjacent displays. The correct choice depends on target size, distance and desired contrast with ambient lighting. Compare the useful light on the merchandise, not just total fixture lumens. If the project needs several beam versions, clearly label their locations on the lighting plan and carton schedule.
The COB source itself does not define beam quality or glare. The optic, reflector, baffle and recess shape the visible result. A product called “anti-glare” still needs inspection from actual customer sightlines. When the head is tilted, the aperture can become more visible from one side of the room. Check it from entrances, aisle intersections, seats and other normal viewing points, not only directly below the fixture.
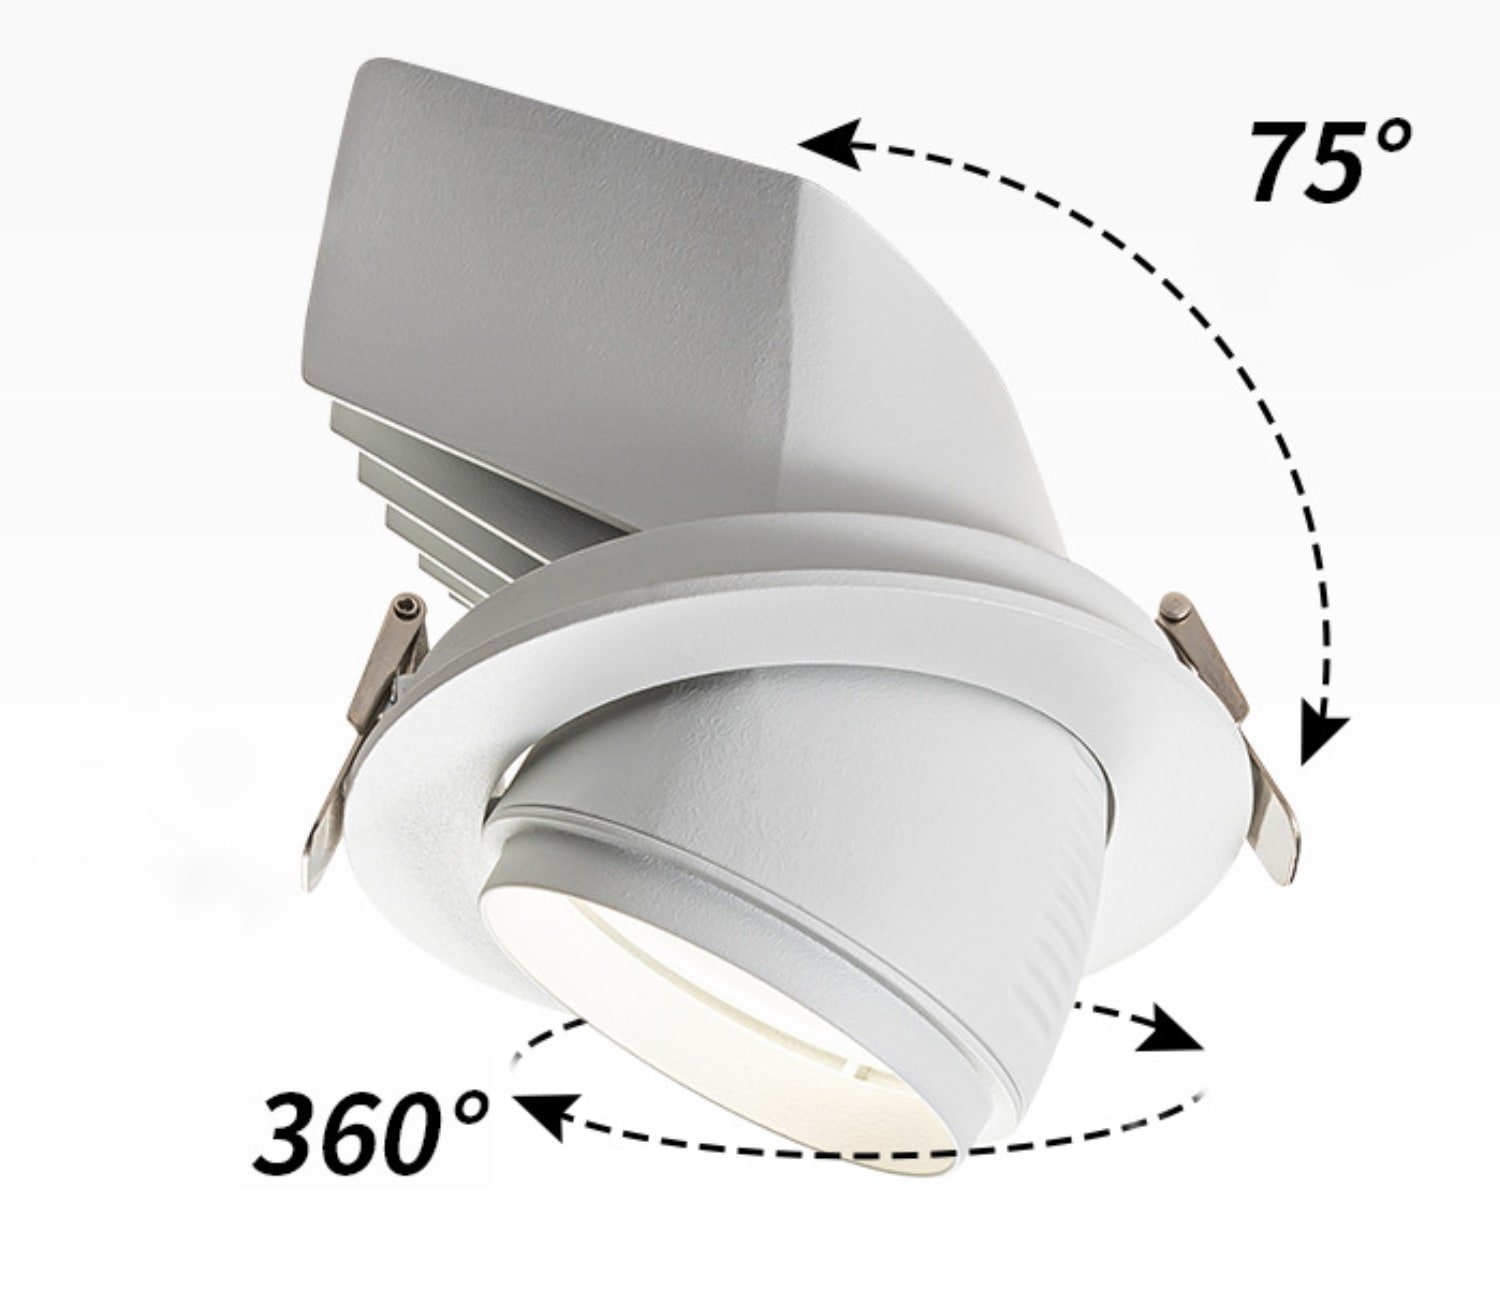
This product view helps identify the moving assembly. It does not establish the exact rotation or tilt range for every variant; use the current mechanical drawing and a sample for that.
Plan the ceiling opening and void
The ceiling cutout, thickness and void determine whether the fixture can be installed and adjusted safely. Ask for the cutout range, external dimensions, spring or bracket arrangement, heat-sink clearance and driver location. Check for interference with services and structural members. A fixture that reaches the target in a plan may fail the installation if the intended centerline falls under a beam or a shallow duct.
Before repeating the detail across the room, install a pilot unit in a representative ceiling construction. Check that the trim sits flush and the head can move as specified without scraping the ceiling or revealing unfinished edges. Confirm the driver can be accessed later. If the ceiling is highly finished, decide how a failed unit will be replaced without visible damage. These service questions should be answered while the design still has flexibility.
A recessed adjustable unit should not be chosen purely to avoid a visible track. In a ceiling with frequent layout changes, a track may reduce the need for new holes. In a fixed hospitality lobby or premium display area, the quieter recessed look may justify the more careful initial coordination. Compare the complete installation and expected changes over time, not just the catalogue price or first-day appearance.
Keep aiming and glare under control
Aiming should be done with the actual target present. If a product shelf, mannequin or artwork is not available, use a mock surface at the right height and reflectance. Start with the intended scene and adjust the beam so the important material reads clearly. Then walk the customer route and check whether the source itself draws attention or creates uncomfortable brightness. Small changes in angle can alter both target illumination and visibility of the aperture.
Reflective objects deserve extra care. Glass, polished packaging, shiny metal and glossy flooring can throw a bright image of the source toward viewers. The solution may be a different mounting point, optic, accessory or display position rather than simply dimming the fixture. In museum or gallery applications, conservation requirements may add further constraints; these should be decided by the relevant specialist. A general product article cannot certify suitability for sensitive objects.
Document each accepted aim. For a chain store, a photograph from the same camera position, a marked plan and a description of target location can help future teams reproduce the scene. Where a head is frequently moved, consider a practical check interval. The approved light level may change as merchandise and ambient lighting change, so the record should focus on the intended visual outcome as well as the mechanical setting.
Check color and control with the real merchandise
Select CCT and color-rendering requirements in relation to the actual materials. A setting that makes white walls look bright may make warm fabrics or timber less attractive. Ask for a sample under the intended ambient lighting and compare products side by side. If multiple adjustable downlights will illuminate one display, inconsistent color appearance can be more distracting than modest differences in fixture housing. Keep the chosen color specification and approved sample reference in the procurement documents.
Dimming can help balance accent and ambient layers, but only if the driver and controller work together. Verify the intended control interface, switching, low-end behavior and group consistency. A fixture may mechanically aim independently while several units share one control circuit. If the shop needs to change accent scenes without affecting circulation light, the electrical zoning must support that plan. Test a production-intent sample with the proposed controller before issuing a bulk order.
Ask how replacement units will be set up after a failure. If a new driver, optic or power setting changes the appearance, the display could acquire an obvious mismatch. Keep a schedule of model, revision, beam, finish, CCT, driver and control configuration. A spare that merely fits the hole is not necessarily an acceptable replacement.
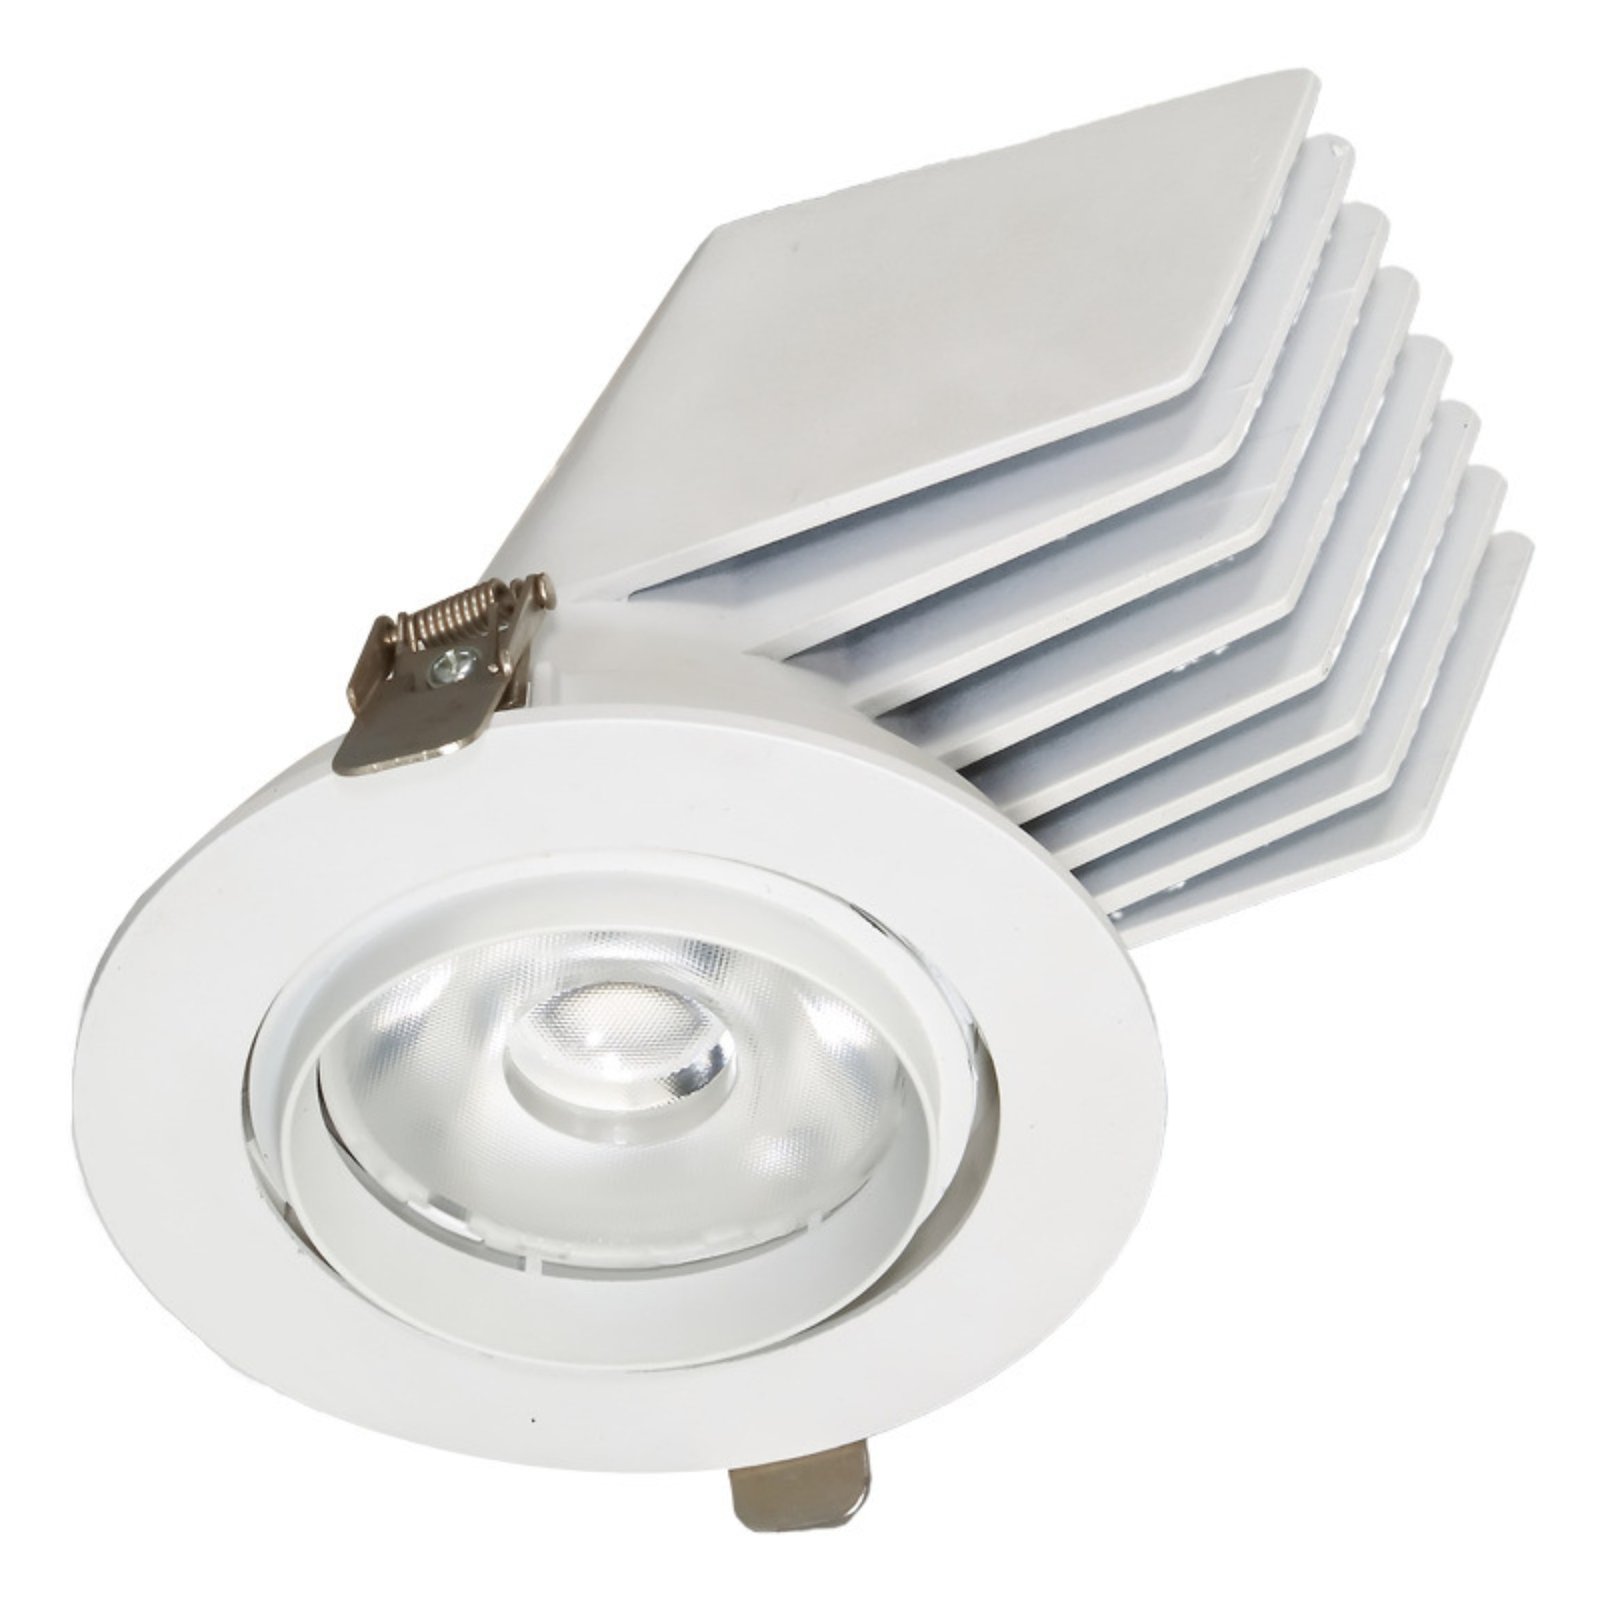
A second product view can help the installer and buyer distinguish the housing and finish. The actual installed result still needs to be reviewed on site.
Compare adjustable downlights with alternatives
Track spotlights can be repositioned along a compatible rail and re-aimed when displays move. Recessed adjustable downlights keep the ceiling quieter but cannot move away from their cutout. A fixed downlight may be simpler where the task never changes. Linear lighting can provide broad coverage rather than a focused accent. The choice is not a ranking of product types; it is a match between the geometry, desired appearance and likely future changes.
Make a comparison matrix for the actual project: target range, ceiling permission, access for staff, glare, control zoning, installation cost, cleaning and spare parts. If the first layout is uncertain, test a small section before finalizing. In some projects a combination is best: general light from a linear or recessed layer, plus adjustable accents for the merchandise. Do not make every luminaire do every job.
Approve a sample that tests the whole use case
Install the exact fixture, optic, trim and driver at the planned ceiling height. Put a representative target in place. Aim to the nearest and farthest positions that the layout expects, not just the easiest central position. Verify whether the full mechanical range is usable after the product is installed. Inspect glare and beam shape from normal viewpoints. If dimming is required, test it at the intended scene levels with the actual controller.
Record the accepted model and revision, cutout drawing, accessory list, photometric file, control interface, aim range and photographs. Keep the sample identifiable so a production batch can be compared against it. Ask the supplier to state any change in optic, driver or housing before shipment. Lowcarbon’s product center shows related families; the track spotlight versus linear track light guide can help when the target layout may favor a rail-based solution.
If the design team cannot demonstrate that the recessed unit covers the realistic target positions without glare, do not rely on a brochure claim of “360-degree flexibility.” Revisit the fixture position or choose a more adaptable mounting system. A small prototype zone is often the fastest way to expose this constraint before ceilings are finished.
Common mistakes to avoid
- Treating tilt, rotation and beam change as one feature.
- Assuming the catalogue’s maximum movement is fully usable after installation.
- Defining aim before merchandise or feature height is known.
- Ignoring glare when the head is tilted toward the customer route.
- Choosing a narrow beam solely because it looks dramatic in a product photograph.
- Failing to coordinate the cutout and driver access with the actual ceiling void.
- Ordering mixed optics without labeling them on the plan and cartons.
- Approving a full-power sample but not the intended dimming scene.
Frequently asked questions
Can an adjustable COB downlight replace a track spotlight?
Sometimes, if the target stays within reach of the fixed ceiling position. A track spotlight is more suitable when the fixture itself must move along a rail as displays change. Compare installed samples and future flexibility.
Does a 360-degree product description mean the beam can point anywhere?
No. Rotation around an axis does not remove tilt, trim, ceiling or obstruction limits. Review the exact mechanical drawing and test the installed sample at the required aim positions.
Is a narrow beam always better for retail accents?
No. It can emphasize a small target but may create harsh patches or miss larger merchandise. Choose the distribution by target size, distance, overlap and desired contrast.
How should glare be checked?
View the installed fixture from entrances, aisles, seats and other normal positions at the intended operating level, including the most tilted position that will be used.
What belongs in the approved fixture schedule?
Record model and revision, cutout, optic, beam, CCT, finish, driver, control interface, location, accepted aiming range and sample photographs. These details help future replacements reproduce the intended scheme.
Final recommendation
Use adjustable COB downlights when the target can realistically be served from a fixed recessed point. Define the display movement first, test the fixture’s actual aim and optical behavior in the ceiling, and document the accepted scene. Flexibility becomes useful only when it is measured against the real project, not inferred from the product name.
