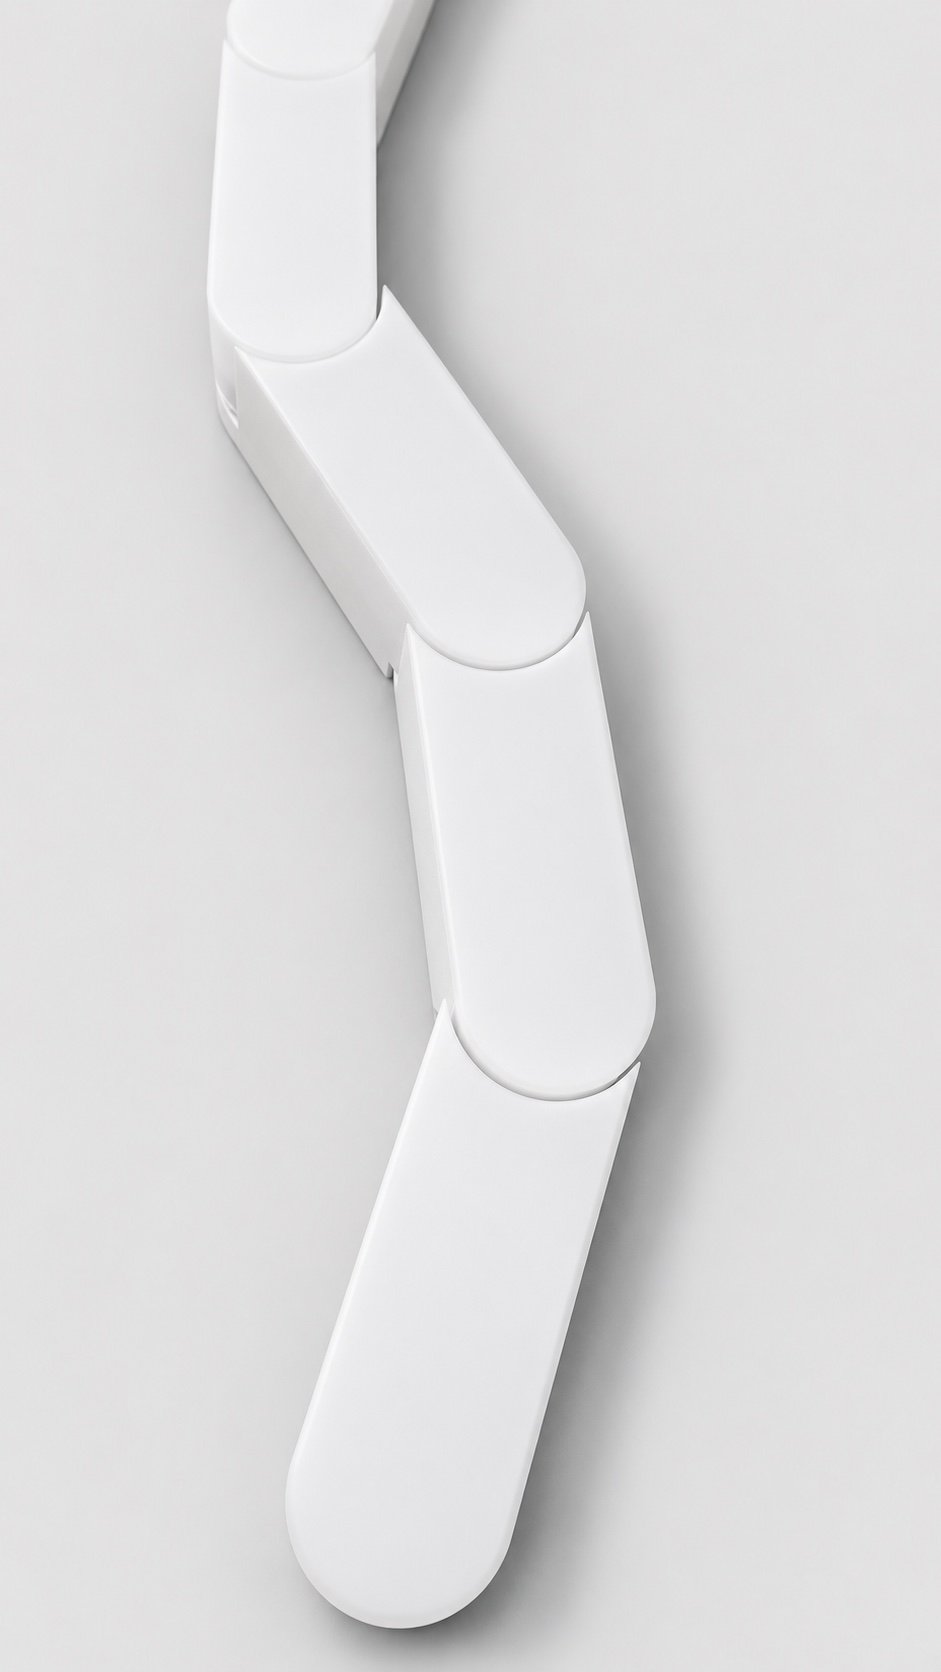
Turn at the joint.
Connected rigid sections let the assembly change direction at discrete points. Explore a route through a corridor or a shape around a focal area.
Inspect the connections ↓
ARTICULATED MODULAR LIGHTING
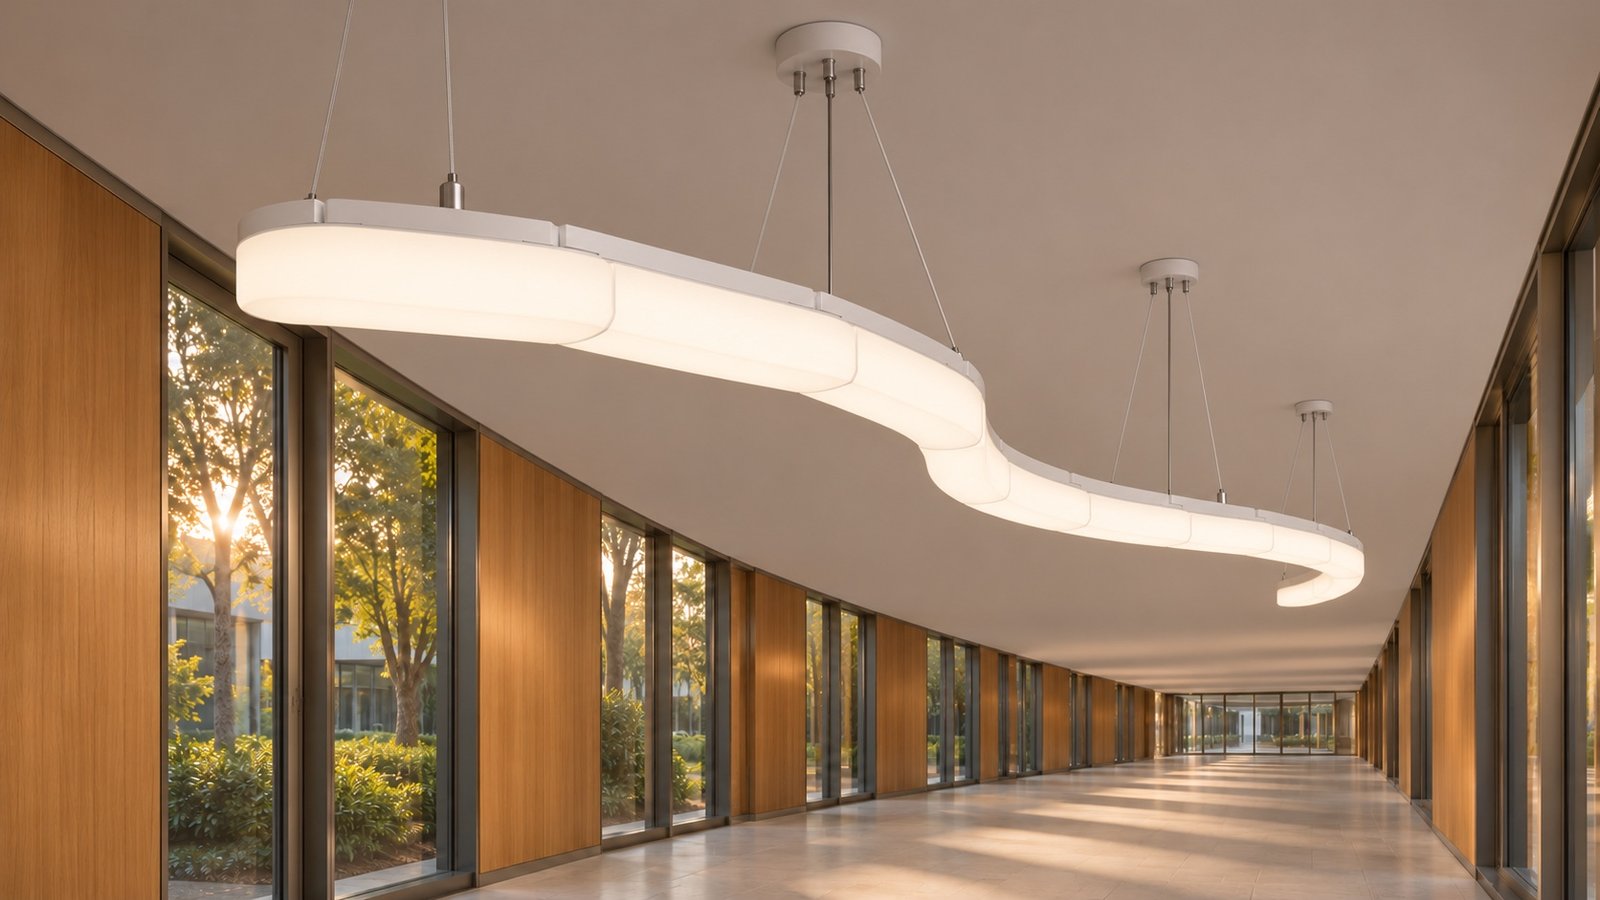
Give a connecting corridor a distinct lighting route, or define a focal point with a shaped assembly. Rigid modules turn at their joints, with a broad opal diffuser that directs light downward.
For importers, lighting brands & commercial project teams
Start with your market and a sketch. Final requirements can be reviewed together.
01 — ARCHITECTURAL POSSIBILITIES
For connecting corridors, circulation spaces and areas that call for a shaped lighting feature. Explore a layout around the architecture, then confirm it against a project drawing.
A FOCAL POINT, IN LIGHT
A loop can define a gathering zone or create a visual anchor beside an atrium or circulation landing. The articulated joints remain part of its character.
Discuss a layout like this ↗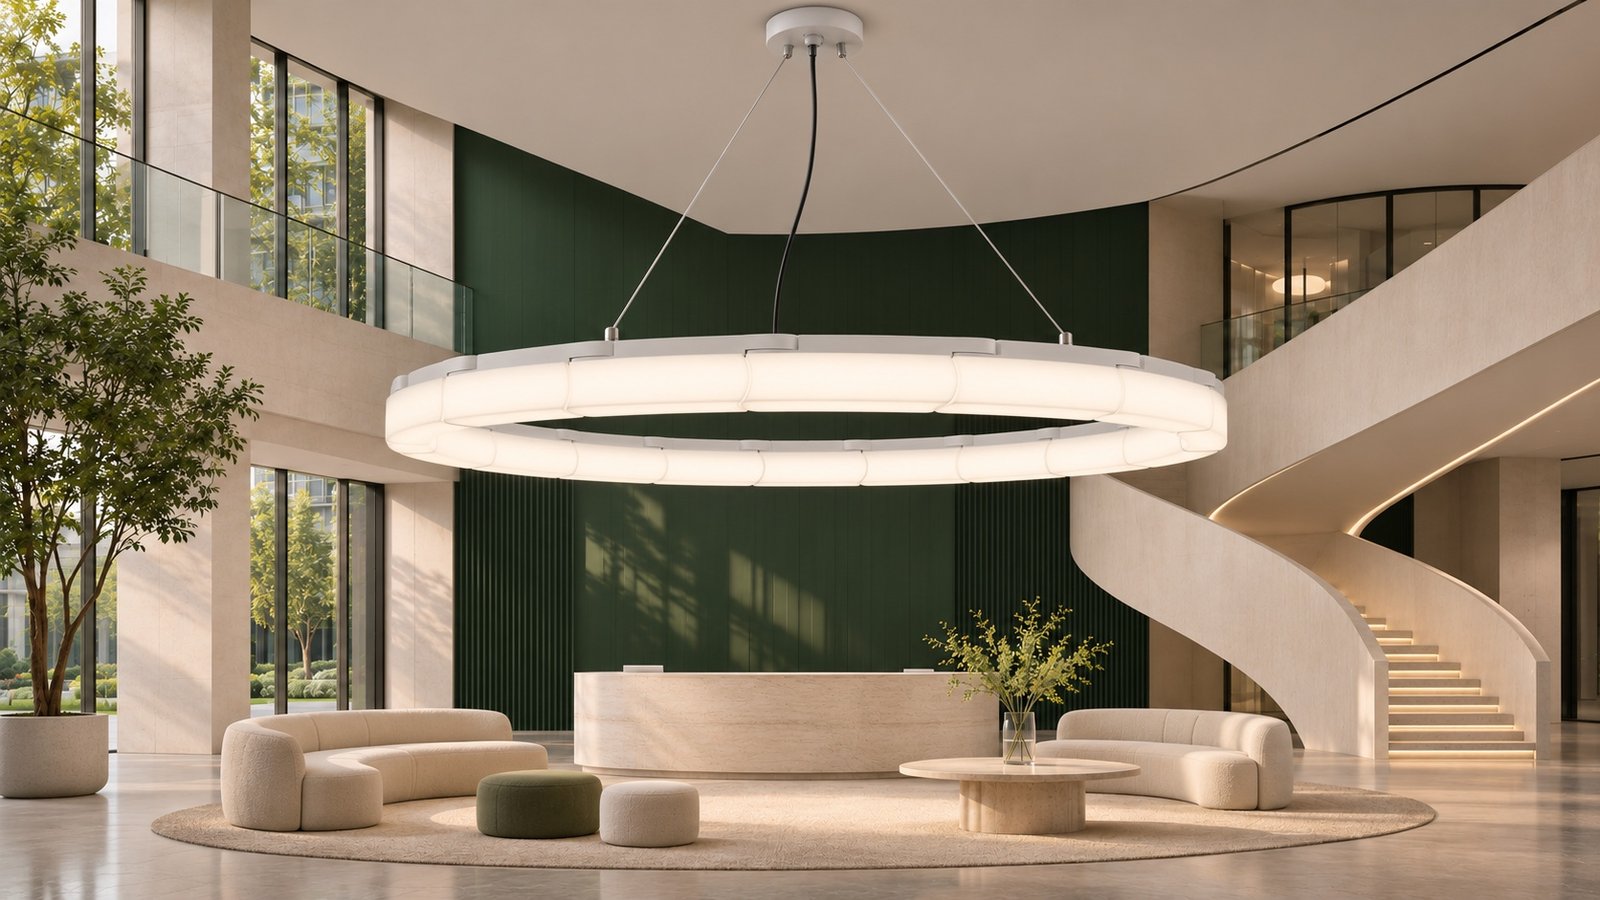
Application images illustrate design intent, not completed projects or measured light distribution. Final geometry, suspension and electrical configuration require project confirmation.
DESIGNED AROUND THE ROUTE
Start with the space you want to define. Then use the actual module and joint construction to assess the layout.
Connected rigid sections let the assembly change direction at discrete points. Explore a route through a corridor or a shape around a focal area.
Inspect the connections ↓Each module is 141 × 38 × 50 mm. Use that repeat size as a starting point for your drawing, then confirm joint angles and the complete assembly.
See confirmed dimensions ↓The thick opal diffuser has a broad illuminated side profile below its narrow solid base. Compare the actual lit sample with your visual brief.
See the illuminated sample ↓02 — THE REAL CONSTRUCTION
Long rigid sections meet at rounded pivot joints. A stepped overlap in the narrow base keeps the connection visible and distinct.
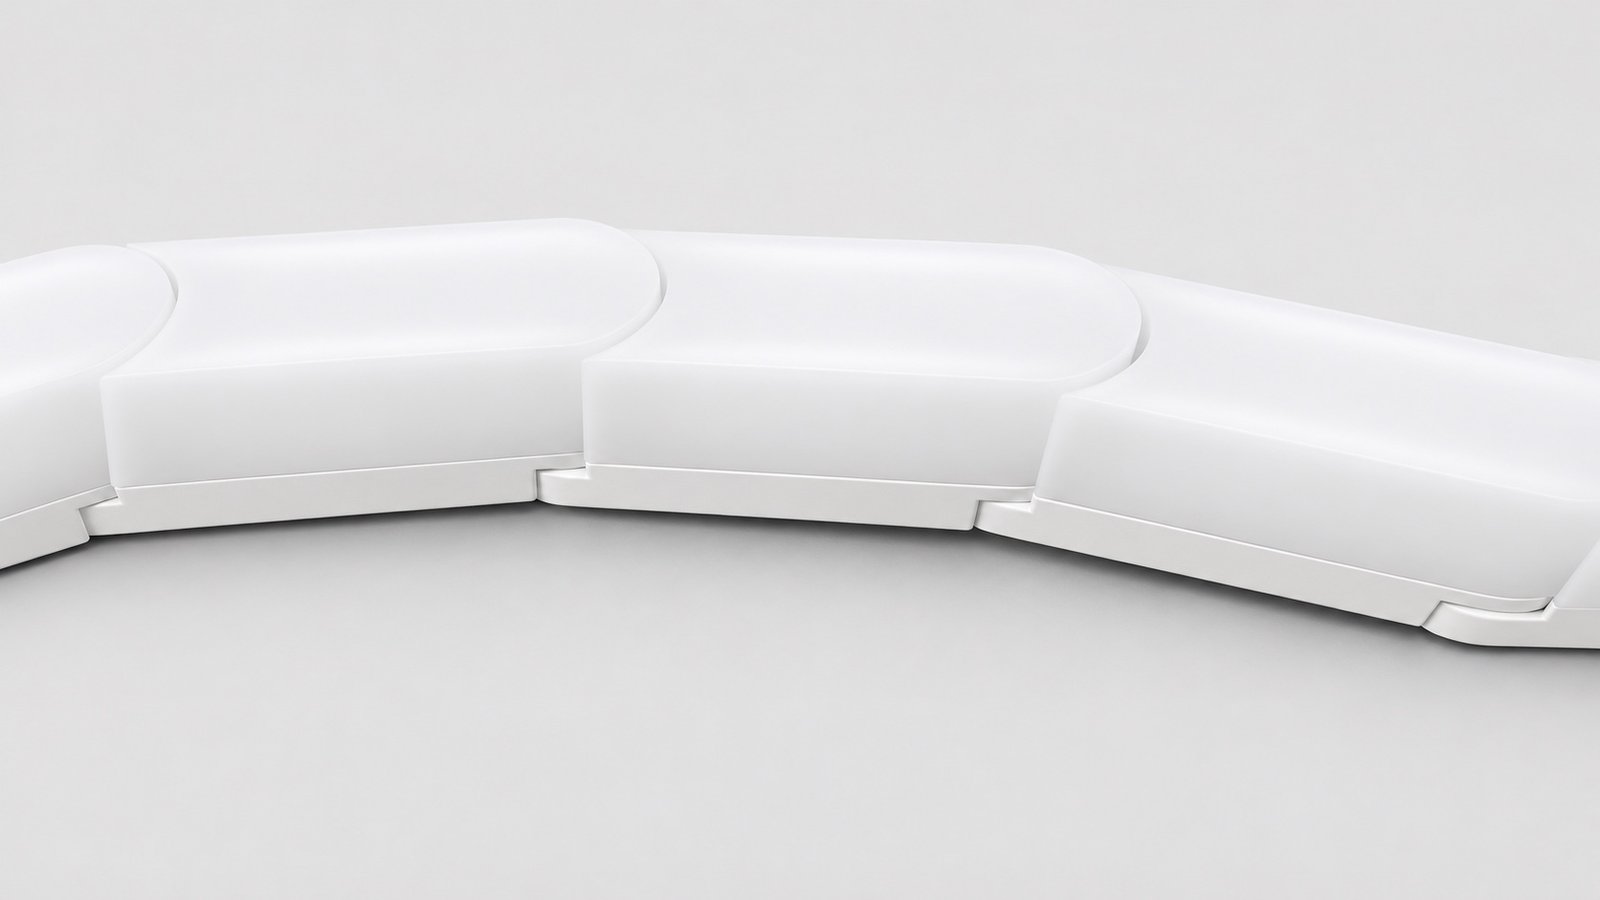
The rounded end meets the next module at a curved seam. Direction changes occur at the joints.
A narrow solid base with an overlapping step, visible in the actual close-up.
The free terminal follows the rounded profile, without an extra projecting tab.
A CLEAR VIEW OF THE PRODUCT
These product images are retouched from sample photographs, with cleaned surfaces and a neutral studio background. Use the original-photo links to compare the construction.
Diffuser-side-up views are for inspection. Installed suspension directs the light downward.
03 — WHEN THE LIGHT IS ON
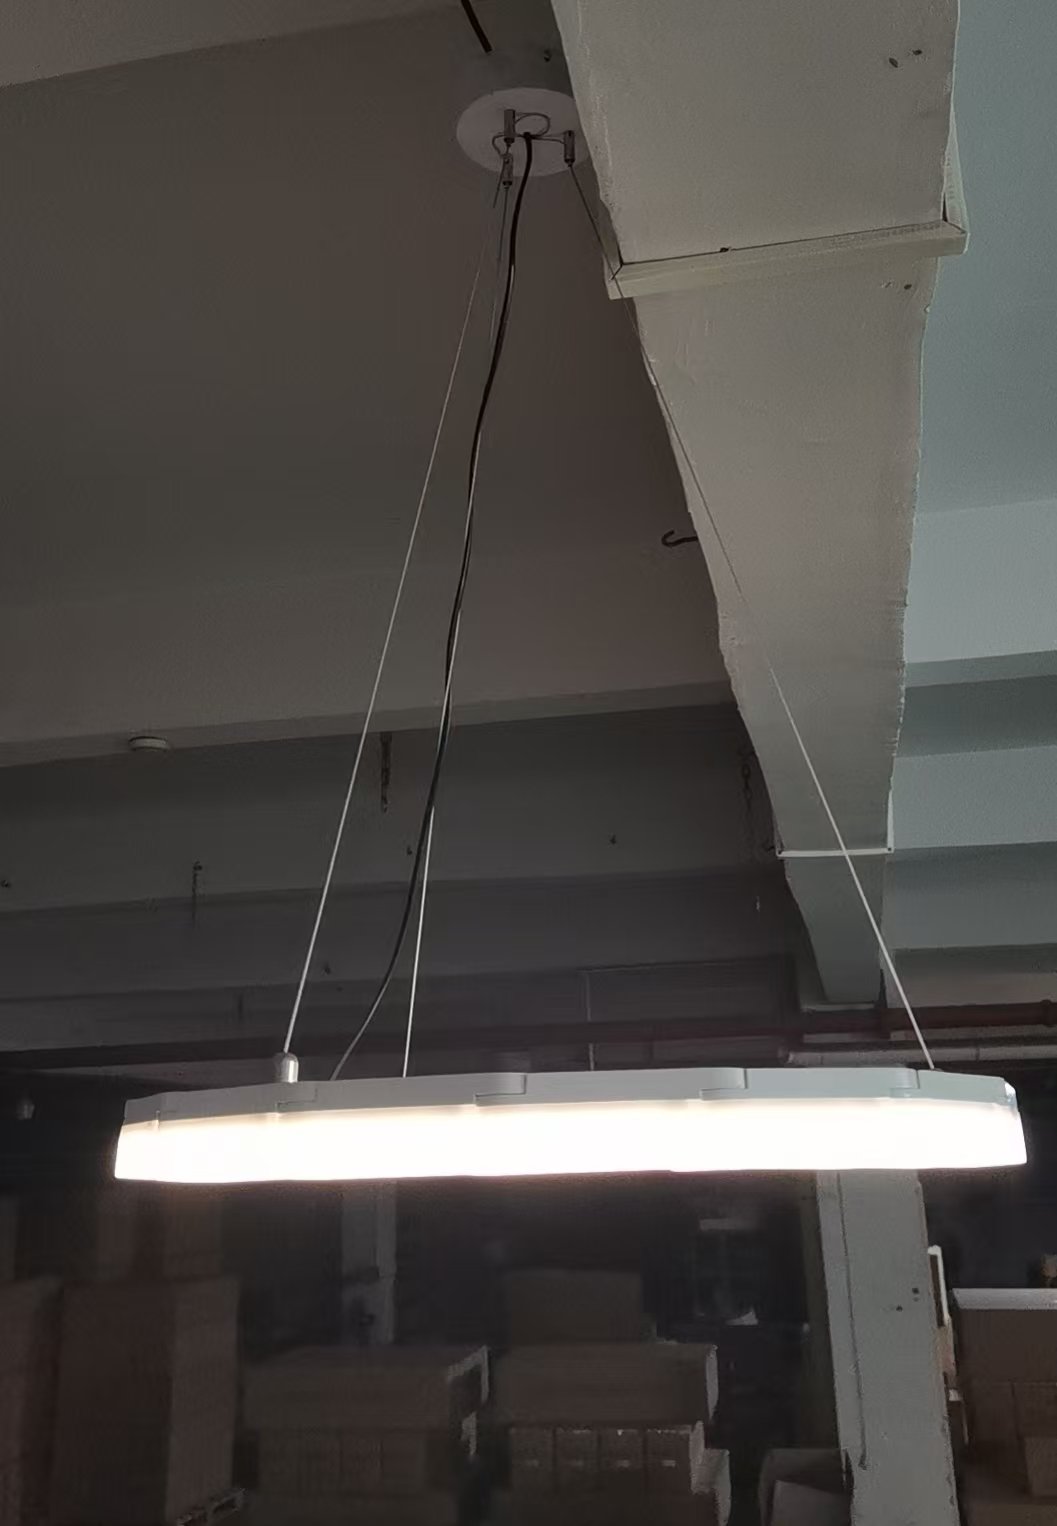
The substantial opal diffuser lights up below the narrow, non-emitting base. Its illuminated side profile is visible as well as the downward-facing surface.
Module outlines and curved joints remain part of the form. The actual illuminated photograph is shown here for reference.
04 — TECHNICAL OVERVIEW
Use the confirmed construction as a starting point. Request a project-specific specification before sample approval or ordering.
Power, output, CCT, CRI, driver, controls, IP rating, connection limits, joint angles and market compliance are not specified in this review. Request confirmation for your intended market and layout.
FROM INTEREST TO EVALUATION
Whether you are reviewing a product range or a single project, start with the information that matters to your decision.
IMPORTERS & DISTRIBUTORS
Share the destination market, expected quantity and the technical or compliance documents you need to assess the product.
Start a product evaluation ↗LIGHTING BRANDS
Bring your intended positioning and specification brief. Ask which configurations, documentation and sample options are available.
Discuss your product brief ↗COMMERCIAL PROJECT TEAMS
Share a ceiling sketch, route dimensions and proposed suspension points, together with the required lighting performance.
Discuss your project layout ↗A PRACTICAL REVIEW SEQUENCE
Market, application, approximate dimensions and quantity. A rough sketch is enough to start the discussion.
Review the layout, joint limits, suspension, electrical requirements and available documentation with LCB.
Request available sample options. Agree the appearance and final specification before placing an order.
Have a drawing or a product brief?Tell us what you are evaluating. Include only what you know so far.
Discuss it with LCB ↗BEFORE YOU SPECIFY
WIGGLE uses rigid modules connected by pivot joints. The layout changes direction at those joints. Confirm permissible angles and the final assembly with LCB.
Share a plan with the desired route, overall dimensions and suspension positions. The loop is shown in an actual sample photograph; application layouts on this page are illustrative and need project confirmation.
Your destination market, intended application, quantity and target electrical and lighting requirements. LCB can review the brief and confirm the specification and documentation available for that configuration.
The product study and construction close-ups are AI-retouched from sample photographs; original-photo links are provided. The illuminated sample is an original photograph. Corridor and atrium images are AI design concepts, not installed-project photographs.
YOUR NEXT STEP
Ask about a layout, sample or specification. Share what you know now; include drawings and detailed requirements in your email when ready.
info@lcblight.com ↗No complete specification needed to start.