 跳到内容

A parking garage has two visual jobs at once: help drivers understand the next turn, bay and ramp, and help pedestrians see the route to a lift or exit. A simple swap from old lamps to brighter LED fixtures does not necessarily improve either job. Concrete columns, parked vehicles, low ceilings and daylight at the perimeter create changing sight lines. A useful purchasing brief starts with those conditions, then selects the luminaire and controls.
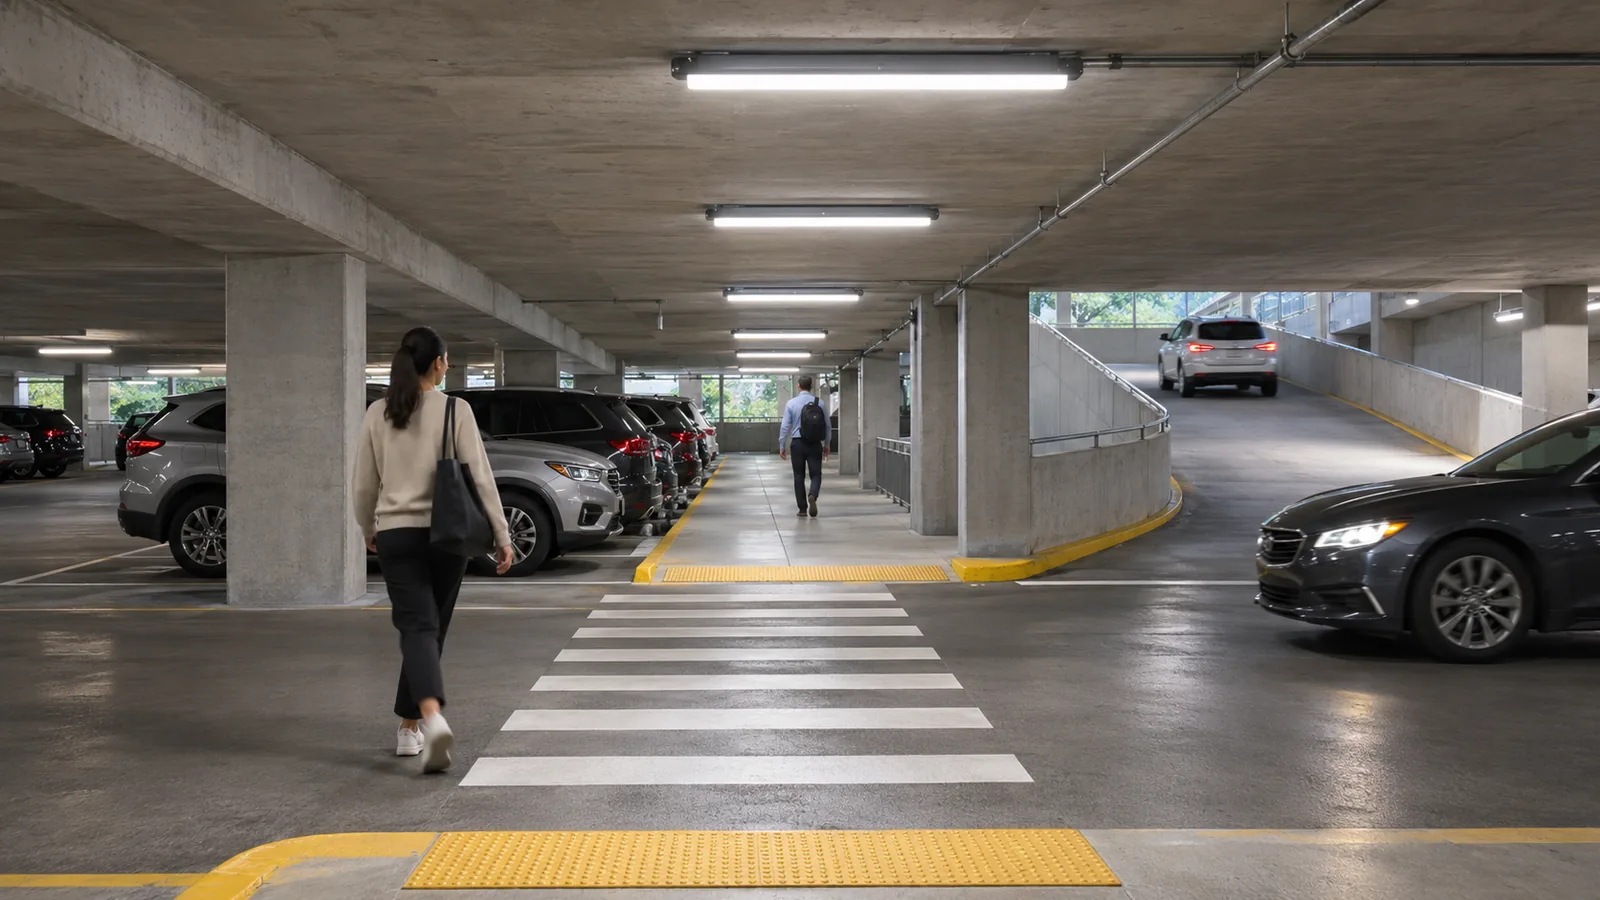
This guide is for owners, contractors and lighting buyers planning a new or replacement parking garage LED lighting system. It explains what to show on the drawings, what to ask suppliers for and what to test on site. The featured image and the crossing image below are concept illustrations. They are not photographs of an LCB installation or proof of measured lighting performance.
What should a parking garage lighting plan solve first?
Start with visibility at conflict points, not a single average floor illuminance figure. The critical view may be a person stepping from behind a parked van, a car entering from a bright street, or a driver reading a directional sign while turning. The same fixture layout can feel different when the bays are empty and when tall vehicles occupy them. Identify ramps, turns, pedestrian crossings, payment points, lifts and entrances on the plan before setting out rows of luminaires.
Ask the designer to document the relevant local lighting, electrical, fire and accessibility requirements. In the United States, the current IES recommended practice for roadway and parking facilities includes parking garages, maintenance and operations. Its criteria are a design reference, not a substitute for the applicable code or a site-specific calculation. This article deliberately avoids a universal lux target because the project location, use and approval process determine the final criteria.
Divide the garage into real operating zones
Mark the areas that work differently: the covered interior, open perimeter, ramp transitions, circulation lanes, parking bays, pedestrian paths, stairs and service rooms. A perimeter row can receive useful daylight while a nearby interior row remains dark. A short ramp can need a different response from a long, straight parking aisle. Giving every luminaire the same control command can therefore waste energy or create uncomfortable visual changes.
The US Department of Energy parking structure guide describes how daylight controls are most relevant near open edges and need careful review of adjacent obstructions and changing conditions. Use that as a planning principle. Survey the actual garage, including nearby buildings and trees, rather than assuming a sensor on every perimeter fixture will receive daylight. Check how a future extension or façade screen might change the result.
On drawings, give each zone a name and a reason. A control schedule can then describe the normal output, occupied response, hold time and manual override for that zone. This is more useful to a contractor than a vague instruction to “provide smart lighting.” It also makes later troubleshooting possible: if the ramp is unexpectedly dim, the operator can identify which group and sensor should be responsible.
Look at people and vehicles from their actual viewpoints
Check the design from driver eye height in a moving vehicle and from pedestrian eye height beside parked cars. A luminaire can deliver sufficient light to the floor while a person remains difficult to distinguish against a dark background. Vertical surfaces matter: faces, clothing, columns, bay numbers and sign faces all contribute to orientation. So do shadows cast by SUVs, vans and structural beams.
At a pedestrian crossing, consider the whole approach, not just the painted stripes. Can drivers see someone waiting at the edge before the person steps into the lane? Can a pedestrian see a vehicle coming around a column or down a ramp? The concept illustration below shows the kind of crossing geometry to review; it does not represent an approved layout.
Include the entrance and exit in the site review. Daylight and exterior lighting can produce large visual changes as drivers move between spaces. Discuss transition lighting with the qualified designer instead of solving a dark entrance by adding a single very bright fixture. A localized glare source can reduce comfort even when the area looks bright in a photograph.
Choose optics for the ceiling and geometry
Low ceilings make luminaire placement and shielding visible to users. A broad distribution may work well for regular bays, while a different optic or spacing can be needed at a ramp or between closely spaced beams. Ask for photometric files for the actual proposed product, optic and output. Model the occupied geometry rather than a clear rectangle with no cars or columns. Include maintenance assumptions in the calculation and show the result for the required planes and viewpoints.
A supplier photograph cannot demonstrate that a fixture will meet the scheme. Request the file, model number, mounting detail and proposed spacing together. Our IES and LDT file checklist explains how to verify that the file belongs to the quoted luminaire. If the manufacturer changes an optic or driver after the calculation, ask the designer whether the model must be updated.
Also check glare in the intended direction of travel. A bright row across a driver’s forward view or near a ramp can be more troublesome than the same row in a parking bay. Do not rely only on one image from a rendering. Walk the proposed route or build a representative mock-up, noting the mounting height and vehicle approach direction.
Match the enclosure to the actual environment
Parking structures can expose fixtures to dust, damp air, vehicle spray, cleaning chemicals and temperature variation. Conditions differ between an open-sided deck, a fully enclosed basement and a wash-down service area. Ask the facilities team how the space is cleaned and where water can reach the ceiling. Then specify a suitable enclosure, cable entry, mounting hardware and corrosion strategy for those locations.
An IP65 LED tri-proof light is one fixture family worth evaluating where dust and water ingress are concerns. An IP rating alone does not prove that the whole installed assembly suits every garage environment. Confirm the exact model’s datasheet, operating temperature, chemical exposure, impact risk, cable glands and mounting method. The supplier should identify which accessories preserve the intended protection after installation.
Do not hide drivers and connectors above inaccessible ceilings merely to make the first installation neat. Record where replacement parts can be reached safely, what access equipment is needed and whether a full luminaire or a serviceable component is replaced on failure. If fittings are repeatedly cleaned, check that the cleaning method does not damage seals or diffusers.
Use controls without creating dark surprises
Occupancy sensors can reduce output when a zone is quiet and bring it back when movement is detected. The DOE’s exterior lighting controls guidance specifically discusses parking structures, sensor location and grouped control. It notes that columns and large vehicles can block the view of passive infrared sensors. Treat the sensor layout as part of the lighting design, not an accessory added after the fixture schedule is fixed.
Test detection from both ends of an aisle, around a corner and from a parked bay. A driver may approach faster than a pedestrian; the lights should respond early enough that the useful zone is lit before either user reaches it. A motion sensor mounted in a luminaire is convenient, but its position may not cover the path concealed by columns. Remote sensors or grouped zones can be appropriate if the wiring and control logic are designed and tested.
Set the unoccupied level, delay and fade deliberately. Sudden switching can be distracting, and a dark patch at a pedestrian route can reduce confidence even if the system technically detects motion. The final setting belongs to the project’s approved design and local requirements; a generic percentage from a catalogue should not be copied into every area. Have the operator approve a nighttime walk-through and a daylight walk-through.
Keep life-safety and emergency lighting requirements separate in the specification. A normal lighting sensor or dimming controller must not be assumed to provide an approved emergency function. The electrical designer should confirm the emergency system, failure response and any mandatory minimum lighting that applies locally. Record how normal controls behave after a power interruption and when a sensor fails.
Make the RFQ comparable
Supply each bidder with the same reflected ceiling plan, structural sections, operating hours, cleaning method and zone schedule. Identify unusual locations such as entrances, low beams and wash-down points. Ask bidders to separate the luminaire, sensor, driver, mounting accessory and control gateway in their offer. Otherwise, a low fixture price can hide a missing control or service component.
Request the proposed luminaire’s photometric file, dimensions, enclosure rating, electrical data, control interface, maintenance instructions and applicable test documentation. Ask whether the quoted sample has the same optic and driver as the production order. For a large garage, agree on an approval sample and a written substitution process. A change in diffuser, output or sensor placement may affect the designed result even when the product name remains similar.
Ask the supplier to explain failure handling: what happens if a sensor stops detecting, a control network is unavailable or a driver needs replacement? The answer should identify the default state, who receives an alert if monitoring exists, and how staff restore service. These are operational questions, so they should be answered before purchase rather than after the first fault.
Commission the installed system in the real garage
Commissioning should include more than checking that every fixture turns on. Verify the installed model against the approved schedule; inspect cable entries, mounting and seals; then test every control zone. Walk and drive the routes with cars parked in representative positions. Check the ramp, the pedestrian crossing and the corners that a sensor cannot easily see. Confirm that adjacent luminaires respond together where the design calls for a lit path ahead.
Record sensor timeouts and dimmed levels, then test manual overrides and power recovery. Ask the operator to witness the handover and save a simple zone diagram with settings, product IDs and spare-part details. Our commercial LED commissioning checklist provides a broader handover framework. Photos are useful evidence of installation, but keep the photometric calculation and commissioning record too; a camera’s exposure does not measure the lighting experienced on site.
A buyer’s one-page decision checklist
- Geometry: Are ramps, crossings, columns, large vehicles and pedestrian routes shown on the plan?
- Criteria: Has a qualified designer identified the applicable local code and the relevant parking-facility guidance?
- Photometry: Does the calculation use the exact quoted luminaire, optic and mounting height?
- Environment: Are enclosure, cable entry and cleaning requirements matched to each location?
- Controls: Are sensor coverage, grouped zones, default levels and failure responses documented?
- Maintenance: Can staff safely reach, identify and replace the parts most likely to need service?
- Handover: Will the operator receive settings, as-built drawings and a tested route checklist?
These questions create a common basis for comparing offers. They also help the project team separate a good product from a complete lighting system. A fixture that performs well in isolation can disappoint if the control zones, access method or mounting details are wrong for the garage.
Frequently asked questions
Is a higher lumen package always better for parking garage LED lighting?
No. Output has to work with optic, mounting height, spacing, glare control and the required visibility at driver and pedestrian viewpoints. Compare a site-specific calculation and a representative sample rather than wattage or lumens alone.
Can occupancy sensors turn all garage lights off?
That depends on the approved design and local requirements. Many projects retain a reduced normal-lighting level in quiet areas. Emergency and life-safety requirements must be determined separately by the responsible designer.
Does an IP65 rating make a fixture suitable for every parking structure?
No. Ingress protection addresses a defined dust and water test; it does not settle impact, corrosion, chemical exposure, temperature or the quality of installed cable entries. Verify the complete configuration for the intended location.
Should daylight sensors be installed throughout the garage?
Not automatically. Daylight changes with distance from open edges and with surrounding obstructions. Survey the site and test the control zones rather than copying the perimeter layout into the interior.
What should be checked before a multi-level rollout?
Approve one representative level or zone with the actual fixture, sensor and mounting method. Test driver and pedestrian routes, record the settings, and use that approved configuration to review the remaining levels.
For a parking structure project, send the ceiling plan, sections, environmental conditions and proposed control zones with your enquiry. LCB can discuss appropriate commercial LED fixture families and customisation options; the final optical and code review should be completed for the actual site.
