 跳到内容

A lighting quotation is not the same as a project submittal. A price and product photograph may be enough to begin a conversation, but they rarely give a contractor, consultant and owner enough information to approve a commercial LED fixture. Missing drawings, mismatched photometric files or vague control descriptions create delays after the purchase order—when changes are hardest to manage.
A good submittal package connects the selected product to the project’s drawings, performance requirements and installation conditions. It should be concise enough to review and complete enough to prevent assumptions. This guide is a buyer’s checklist for track lighting, linear systems and downlights. Exact legal and technical requirements vary by market and project; the responsible design professionals must define what is mandatory.

Start with a model schedule
Create a schedule that maps the project’s fixture tags to orderable supplier codes. For each tag, list quantity, installation location, finish, wattage or output setting, CCT, optic, control method, voltage and accessories. If the same housing serves different rooms with different switch settings, treat those as distinct scheduled configurations. Avoid “or equivalent” entries without a defined comparison and approval process.
The schedule is the index for the rest of the package. A reviewer should be able to find the exact datasheet, drawing, photometric file and installation instruction for every tag. When a value changes, update the schedule revision and the affected supporting files together.
Include dimensioned drawings and installation details
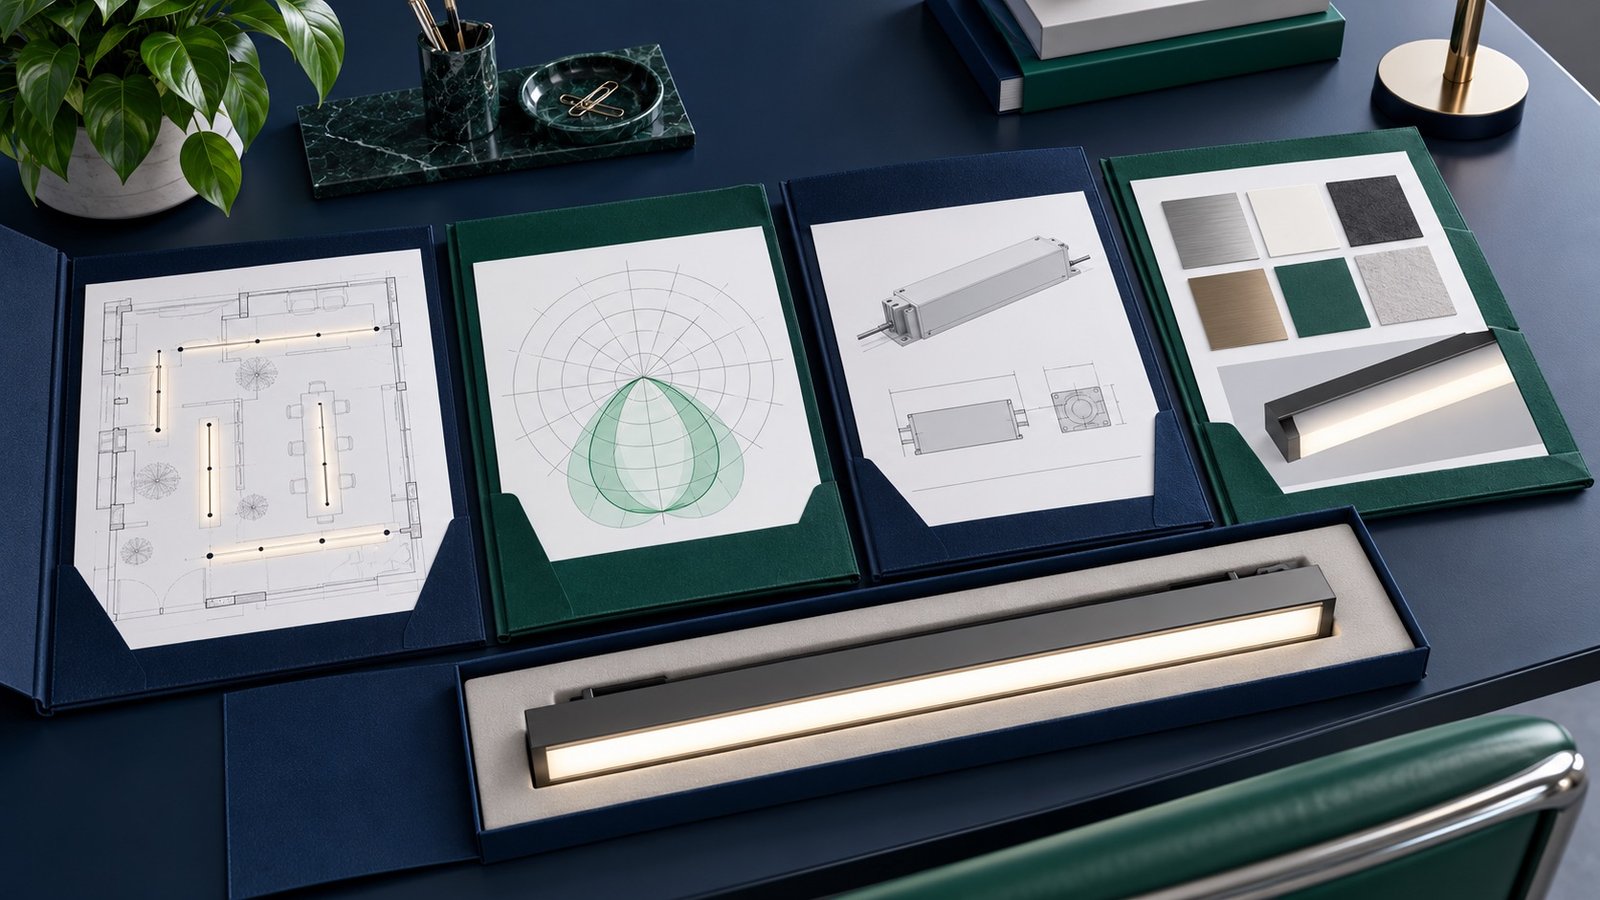
Product dimensions are not enough if the luminaire interacts with a ceiling, shelf, track rail or suspension system. Provide a dimensioned drawing with cutouts, fixing points, driver position, cable entry, connector location and service access where applicable. For continuous linear systems, include a run layout showing module lengths, joints, feeds, corners and end caps. For track products, show the proposed adapter and compatible rail system.
Ask for the current installation instructions, not a simplified sales sketch. The installer needs the approved mounting method and any limits on orientation, spacing, environmental conditions or wiring. If the site has a rated ceiling, unusual structure or insulation, add a coordinated detail from the responsible project team.
Match performance data to the exact option
Provide the datasheet and applicable photometric file for the chosen optic and output setting. If a family has several lenses, do not submit a file for the standard lens while quoting a different one. Identify the source and revision of laboratory reports where required. Check that reported input power, lumens, CCT and product code agree across the schedule, report and file.
For projects that evaluate glare, color quality, flicker or emergency performance, request the relevant evidence for the actual configuration. A broad claim on a catalog cover is not a substitute for a report, test condition or project calculation. Where data is not available, state that clearly and agree whether a sample or test is needed before approval.
Describe controls and electrical interfaces
A control line that says “dimmable” is incomplete. Identify driver model, dimming or communication method, input range, wiring diagram and any interface devices. For addressable systems, specify how devices will be grouped or commissioned. For multi-zone linear runs, show which drivers serve which sections. Where a selectable product is used, record the switch position that the installer must set.
Check compatibility with the project’s control equipment before ordering. A driver that dims well on one controller may behave differently on another. Arrange a bench or site test for critical scenes, particularly where cameras, low-end dimming or frequent switching are involved. The approved control configuration should appear in the final submittal and O&M handover.
Document finish, accessories and packaging
A buyer may approve a black track spotlight and receive the right head with the wrong adapter finish. List visible finishes and all required accessories by code. Include mounting clips, suspension sets, end caps, couplers, emergency components and spare parts as applicable. For long linear fixtures, agree packaging and carton labels that allow the receiving team to identify lengths and options without guesswork.
Use physical samples or finish chips where visual matching is important. A digital rendering cannot establish powder-coat texture, diffuser appearance or how two modules meet. Tie the approved sample ID to the schedule and note which attributes it governs.
Build an approval trail
Every submittal should carry a revision, date and responsible contact. Record comments and responses. If a reviewer requests a change, revise the affected documents and highlight what changed. Do not leave the original file alongside a new one with identical names; that invites accidental use of the superseded data.
The approved package should be available to purchasing, production, site installation and commissioning teams. A supplier substitution—driver, LED, optic or hardware—should trigger the agreed review before shipment when it affects approved characteristics. At completion, retain the final installed configuration, not merely the initial bid documents.
A practical supplier request list
- Fixture schedule linking project tags to full orderable model codes.
- Current datasheets and dimensioned installation drawings.
- IES/LDT files and matching test reports where needed.
- Electrical and control wiring information for the chosen driver.
- Product-specific mounting, thermal and environmental instructions.
- Accessory, spare-part and packaging lists.
- Sample IDs, finish references and approval comments.
- Revision log and process for proposed substitutions.
Lowcarbon’s product center is a starting point for choosing track, linear or downlight platforms. Once the application and options are clear, send the project schedule and required documents through the project inquiry form. Its manufacturing overview describes how sample approval and production checks fit into the process.
Tailor the package to the product family
For track lighting, include the rail and adapter compatibility statement, fixture mass, aiming range and any restraints or mounting requirements. Show where the track is supported and which circuit or control group each fixture uses. For a dual-panel track light, document both panel aiming and any separate output settings. A generic track spotlight cut sheet will not answer these questions for a larger adjustable panel.
For linkable linear lighting, include a complete run schedule: module lengths, feed points, joints, end caps, suspension locations, driver locations and service access. Show the optic chosen for each run and whether the end appearance has been approved. For downlights, include cutout, ceiling-thickness range, void and insulation instructions, trim finish, output switch position and driver access. The common checklist is a starting point; the family-specific details prevent installation surprises.
Review deviations in one place
Do not bury deviations across emails. Add a short compliance or exception sheet that compares the proposed product with each important project requirement. If a luminaire has a different optic, control protocol, finish or warranty term, identify it clearly and describe the effect. The reviewer can then approve, reject or request a revised proposal. Silence should not be interpreted as acceptance of an unlisted deviation.
Where a supplier provides “equivalent” documents for a product family, ask what evidence supports equivalence for the exact order. A test report for a related unit may be useful context, but it should not be presented as the report for a configuration it did not test. This distinction improves trust and reduces rework during formal review.
Coordinate sample, drawing and production dates
Project schedules often pressure teams to order before the sample is fully approved. Separate a provisional selection from a release for mass production. Note the latest date by which drawings, samples and tests must be accepted to meet delivery. If a change is requested after that point, agree its cost and schedule effect openly. A controlled hold point is less disruptive than discovering an unapproved finish after the shipment arrives.
Keep the final approved package accessible to the factory and inspection team. If QC checks only against an early catalog image, the project-specific changes may be missed. Conversely, the site team should receive the same final revision so it does not install from an old drawing.
Handover is the final submittal stage
After installation, provide the owner with the as-installed model schedule, driver and control settings, spare-part codes, cleaning guidance, warranty contact and any revised photometric or wiring documents. Identify any field substitutions that were approved. This is not administrative decoration: it is how the building can maintain the lighting without losing the specification that the buyer worked to establish.
For a multi-site program, use the same package structure at every location while recording site-specific variations. A consistent index makes later comparison and troubleshooting much faster. It also helps a future buyer understand which configuration actually delivered the approved result.
A review sequence that saves time
Start with completeness: are all fixture tags and options covered? Then check identity: do the schedule, datasheet, drawing and photometric file refer to the same model? Next review technical fit against the ceiling, electrical supply, controls and target surfaces. Only after those checks should the team sign off appearance and commercial substitution questions. This order prevents a beautiful sample from distracting reviewers from a missing mounting detail.
Use one comment log with an owner and status for each issue. A comment such as “provide IES file” is resolved only when the correct file is received and linked to the exact optic. A note such as “confirm driver” is not closed by a generic driver brochure. Ask for a revised index at each resubmission so reviewers can see what changed without rereading every unchanged page.
When a shorter package is enough
A small, straightforward replacement may not need the same volume of documents as a multi-site new build. The principle still applies: identify the exact product, show its fit, prove the relevant performance and preserve the approval decision. Scale the package to risk and complexity, but do not omit the information that installers and owners will need later. A two-page, accurate submittal is more useful than a forty-page catalog with no project-specific configuration.
Frequently asked questions
What is the difference between a quote and a submittal?
A quote establishes commercial terms; a submittal provides the technical information needed to review the proposed product against the project specification.
Does every project need an IES file?
Not always, but one is important when the designer must model distribution or verify illuminance for the selected luminaire.
Can one datasheet cover a configurable family?
It can describe the family, but the order schedule must still identify the exact approved configuration and settings.
When should a physical sample be approved?
Before bulk production when finish, fit, optical appearance or installation behavior is critical to the project.
What if a supplier changes a driver after approval?
Use the agreed change-control process and review electrical, control, thermal and documentation impacts before accepting the substitution.
