 跳到内容

A luminaire photograph tells you what a fixture looks like. A photometric file helps a lighting designer estimate where its light will go. For a commercial buyer, that difference matters: the same nominal wattage can produce very different shelf illumination, aisle uniformity, wall brightness or glare. An IES or LDT file is therefore useful evidence during selection, but only if the file actually represents the product you intend to buy.
This guide is a practical validation checklist for importers, contractors and project teams considering LED track lights, linear systems or downlights. It is not a substitute for a qualified lighting design or a measured site mock-up. It explains what to request, how to spot mismatches and how to carry the approved data through purchasing and production.
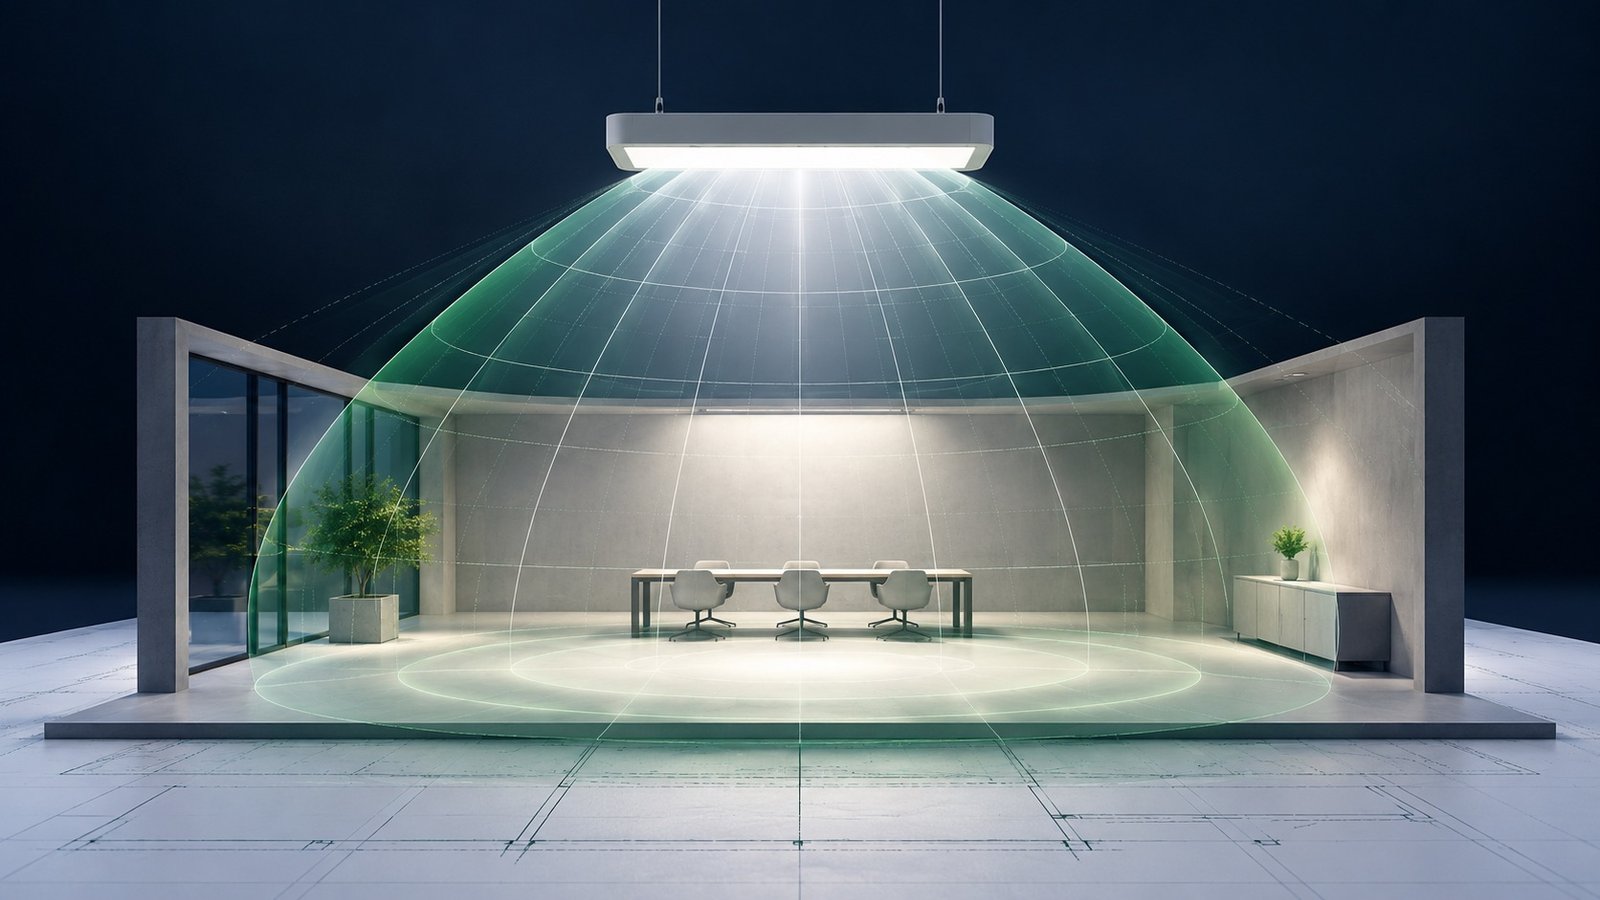
What is an IES or LDT file?
An IES file is a standardized electronic representation of measured light distribution. In North America, the familiar .ies format is associated with ANSI/IES LM-63. An LDT file is commonly used for EULUMDAT photometric data in Europe. Both let compatible design software model a luminaire’s intensity distribution rather than placing a generic beam in a room. The Illuminating Engineering Society describes an IES file as a digital representation of how a source or luminaire distributes light. A file may also carry basic luminaire information, but its existence alone does not certify every claim on a sales sheet.
A useful file is tied to a specific configuration: optical lens or reflector, LED board, drive current, output setting and sometimes mounting orientation. If a supplier offers one housing with three optics and two wattages, ask which combination was measured. Do not assume that a single file represents every option in the range.
Start with the exact product identity
Before looking at a simulated lux plot, compare the file name and accompanying report with the proposed order. Record the model code, revision, rated input, nominal power, CCT, lens or beam option, mounting method and measurement date. A file labelled “40 W wide beam” should not quietly become the basis for buying a 60 W narrow-beam model. For a selectable-output downlight, note the switch position used for testing. For an adjustable track panel, confirm the panel angle and whether one or both emitting sides were measured.
Ask for a one-page configuration map if the naming scheme is complicated. It should connect each orderable SKU to a photometric file and datasheet. That small administrative step prevents a surprisingly common error: a designer models one configuration while the purchasing team orders another with a similar commercial name.
Check the chain from measurement to file
The strongest submission includes a photometric file, a corresponding measurement report and a product datasheet that agree on key details. Ask who measured the sample, when it was tested and which exact sample was used. For LED products, a laboratory report under an applicable measurement method such as IES LM-79 may provide further context. Do not treat a simulation image as a lab report, or a report for a related model as automatically transferable to your chosen optic.
Look for obvious inconsistencies: file lumens far from the report, a different power value, a reflector description that does not match the image, or a report revision older than a major product change. A change in LEDs, lens texture, drive current or housing geometry can alter the distribution. The right response is not always “reject”; it is to request the current file and a clear explanation of what changed.
Read beyond the headline beam angle
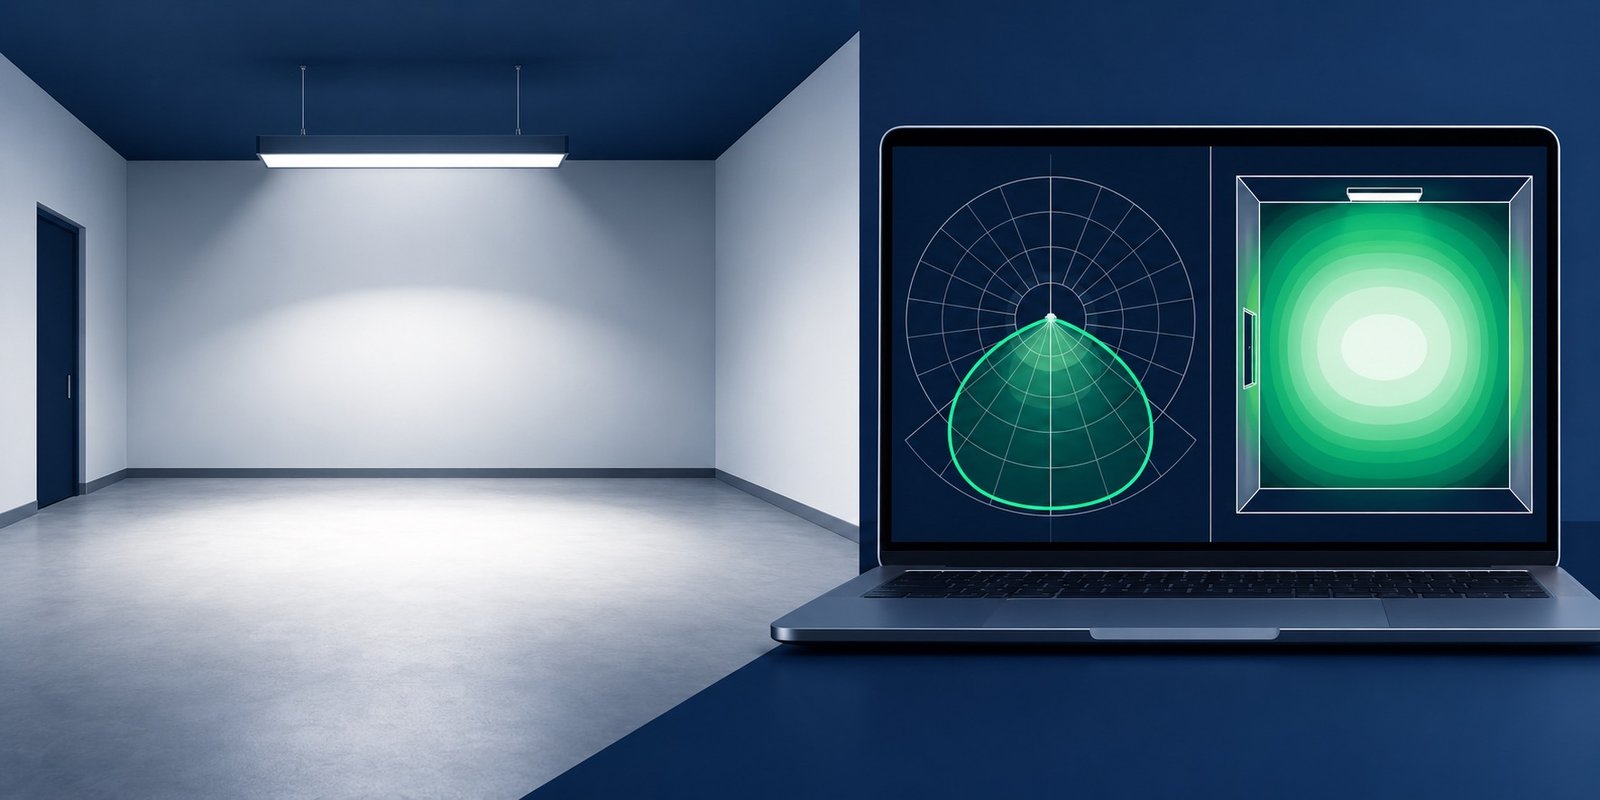
A 60-degree beam label is a quick descriptor, not a complete account of the distribution. Designers should inspect the polar curve, candela data and the resulting illuminance in the actual space. Two luminaires with similar beam-angle labels can differ in center intensity, spill light, edge softness and asymmetry. Those differences become visible on vertical shelves, end caps and accent walls.
For a retail aisle, check both the horizontal walking plane and the vertical merchandise plane. For a continuous linear run, examine uniformity along the run and across the task area. For downlights, review the ceiling height, spacing and potential glare from normal viewing positions. If a fixture can be tilted, the model should use a plausible aiming direction. A perfect-looking render built from unrealistic aiming is not a reliable purchase decision.
Five file checks a buyer can perform
- Open the file. Confirm that it imports without errors into the software used by your designer. A readable text file can still contain invalid or incomplete data.
- Compare identity. Match the file to the quoted SKU, optic, output setting and mounting orientation.
- Compare the numbers. Check reported lumens and electrical power against the datasheet and test report, allowing for clearly explained test tolerances.
- Inspect the distribution. Look for the expected symmetric, asymmetric or narrow-beam shape instead of accepting a marketing label.
- Save a controlled copy. Attach the approved file revision to the project submittal and purchase record.
These checks do not replace photometric expertise, but they catch document errors before they spread into drawings and orders. If any value conflicts, ask the supplier which document is current and request a corrected package.
Model the real installation, not an idealized room
Simulation is only as useful as its inputs. Supply the designer with accurate mounting heights, room dimensions, shelf or partition positions, surface reflectances and operating schedules. A retail display changes when dark product packaging replaces pale packaging. An office with a dark ceiling may need a different visual assessment from a bright-rendered generic model. Reflectance assumptions and maintenance factors should be documented rather than hidden in a screenshot.
Track adapters, suspension drops and recessed positions also affect the photometric origin and aiming geometry. Ask whether the model accounts for the actual fixture location and clearances. If several products are compared, keep room assumptions identical so the comparison reflects product differences rather than altered inputs.
Validate the result in a sample installation
Even a well-prepared file cannot show every on-site issue. Request a sample or short pilot run when visual quality matters. Evaluate merchandise appearance, beam overlap, glare from customer viewpoints, dimming behavior and the finish of the installed fixture. Use a light meter where quantitative acceptance is required, but also inspect the space as customers and staff will see it. Photograph the approved setup and record the aiming, mounting height and control setting.
A mock-up is especially valuable for an adjustable dual-panel track light because independent panel angles can change the balance between shelves and aisle. The photometric model helps narrow the options; the pilot confirms that the selected configuration works in the real room. See our commercial LED product center for the available track, linear and downlight platforms.
Keep the file linked to the final order
The last verification happens after the design is approved. Put the file revision, model configuration and accepted sample reference in the purchase specification. If the supplier proposes a component substitution, ask whether the photometric data remains representative and whether retesting is appropriate. Otherwise, the design may be based on a product that was never delivered.
At receipt, compare carton labels and fixture labels against the approved model. For multi-site work, preserve the same document set for every location. If the project deliberately changes CCT, optic or drive current, create a new approval record. Version discipline is less glamorous than a render, but it is what makes a good simulation repeatable in procurement.
Request checklist for your supplier
- Orderable model code and exact configuration represented by each file.
- Current IES or LDT file and its revision/date.
- Matching product datasheet and relevant measurement report.
- Lens, reflector, output, CCT and control settings used in testing.
- Mounting and aiming guidance for the proposed application.
- Sample availability and procedure for approving any later change.
If you are preparing a project brief, start with the product families and send the ceiling height, target surfaces, layout, market and desired control method through the site’s project inquiry form. Ask for files matching the exact shortlisted configurations rather than a generic family download.
Common mistakes in a photometric comparison
One frequent mistake is comparing simulated images with different exposure, rendering or room assumptions. A brightly rendered scene is not necessarily a brighter or more efficient luminaire. Use the same room model, calculation grid and display scale for each candidate. Read the numerical results and inspect the distributions, then return to the visual render as an aid to understanding rather than the sole evidence.
Another mistake is treating lumens as if they identify the beam. Total flux indicates the amount of emitted visible light, while the intensity distribution tells you where that light goes. A high-output wide beam can produce less light on a distant display than a lower-output narrower beam. Equally, a concentrated beam may create unacceptable hotspots or glare. Compare the performance on the project’s target surfaces.
Beware of applying an old file to a new revision. Product names often remain stable while the LED board, optic or drive setting changes. Ask for the file date and revision number on every resubmission. If the supplier cannot tie the file to the quotation, the design team should identify the data as provisional rather than approve it silently.
How to organize a useful review meeting
Invite the designer, buyer, installer and supplier to review one short list of configurations. Ask the designer to show a plan view, a relevant vertical section and the critical target planes. The buyer should confirm the exact quoted SKU and delivery options; the installer should flag mounting or aiming constraints; the supplier should explain how the tested configuration corresponds to the production version. Record the open questions in a table with owner and due date.
For each candidate, keep the file, report, model code and calculation output in one named folder. A simple naming convention such as project-fixturetag-model-optic-revision can prevent accidental cross-use. When a candidate is rejected, move its files out of the active approval set. The final package should make it obvious which data informed the approved layout.
After installation, compare a representative area with the prediction. Differences do not always mean the file was wrong; mounting height, surface reflectance, aiming or site geometry may have changed. The comparison is still valuable because it creates a record for future projects and highlights where assumptions need to improve.
Frequently asked questions
Does an IES file prove the luminaire is certified?
No. It represents photometric data for a measured configuration. Safety certification, regulatory compliance, electrical tests and product warranties require their own evidence.
Can one file be used for every wattage in a selectable fixture?
Not automatically. Ask which switch position and optical configuration were measured. Scaling a file may not represent every operating state accurately.
What should I do if the file and datasheet disagree?
Pause approval and request a corrected, version-controlled package. Record the supplier’s explanation and confirm which configuration will be shipped.
Do I still need a mock-up if the simulation passes?
For visually sensitive applications, yes. A mock-up helps confirm glare, merchandise appearance, control behavior and installation details that a model may not capture fully.
Should I request both IES and LDT?
Request the format your design team uses. If the project spans markets or software platforms, both formats can help, provided each reflects the same tested configuration.
Reference: Illuminating Engineering Society, “Learn About IES Files”. This buyer guide is educational; project-specific design and compliance decisions belong to qualified professionals.
