 跳到内容

A cylindrical LED track spotlight is a familiar choice for boutique retail because the small visible body can be moved along a compatible rail and aimed toward changing merchandise. That apparent simplicity can conceal important buying decisions. The rail and adapter must match, the fixture must reach the intended targets without glare, and the beam and color need to flatter the actual products. A black or white housing also changes how the ceiling reads, but finish should be considered after the lighting task is clear.
This guide is for lighting buyers, store designers and contractors selecting cylinder track spotlights for boutiques, galleries and small display zones. The exact electrical, optical and mechanical details vary by model. Obtain the current datasheet and a sample of the configuration to be ordered. Do not infer compatibility or beam performance from a catalogue photograph.
Define the display rhythm
Sketch the store’s main sightlines, entrance view and customer route. Identify window displays, wall shelving, freestanding tables, mannequins and any feature objects. Mark which positions are fixed and which change seasonally. The ability to move spotlights along a rail is valuable only if the rail is located where the future targets can be served. A rail placed exclusively for the first display arrangement may offer less flexibility than expected.
The merchandise itself determines the lighting task. Clothing needs useful light on vertical fabric and faces. Jewelry, glossy packaging or glass may produce distracting reflections. Artwork and sensitive materials may have specialist exposure requirements. Decorative objects can benefit from controlled contrast, but extreme hotspots can make nearby areas look dull. Decide which targets need emphasis and which should remain part of a comfortable general layer.
Measure or estimate the display heights and distances before choosing the optic. A narrow beam can highlight a small object from an appropriate position; the same beam may make a clothing wall patchy. A wider beam can cover more merchandise but may spill into circulation. Ask the supplier for photometric information on the exact beam version. If several optic types are used, label them on the plan so installers do not place a narrow accent head where a broad wall display was intended.
Confirm rail and adapter compatibility first
Not every track spotlight fits every rail. Check the mechanical profile, circuit arrangement, electrical ratings and adapter of the existing or proposed system. If the store is a retrofit, record the rail manufacturer and model when available. A photograph of the rail profile and connector can start a discussion but should not be the final compatibility decision. Have the qualified installer check an actual sample before placing a bulk order.
The circuit design limits the control options. A store may want separate scenes for the window, wall displays and circulation even when all fixtures look similar. Confirm whether the rail offers suitable circuits and whether the chosen driver supports the required control interface. Do not promise independent dimming for every head unless the electrical design actually provides it. Test the sample with the intended controller at the low and high scene levels.
Also review loading and mounting. A rail that already holds many fixtures may have limited capacity for additional units. A suspended rail has different support and stability concerns from a surface-mounted rail. The exact structural and electrical decisions belong to the project designer and installer. A product guide can identify questions but cannot approve the building detail.
Check adjustment after the spotlight is installed
A cylindrical head may rotate and tilt, but each model has a defined range and may be limited by the adapter, housing or nearby ceiling. Ask for the mechanical drawing and test the unit on the actual rail. Confirm that it can reach both the current and likely future target positions. If a display is close to a high wall or behind a shelf, the light path can be obstructed despite a wide nominal adjustment range.
Aiming should be reviewed at customer eye level. A head turned toward a mannequin may expose the bright aperture to people walking from the entrance. A head aimed across an aisle may produce glare or reflections in glass. Walk the normal route while the sample is lit at the intended level. If the result is uncomfortable, try a different rail position or optic rather than assuming the problem can be fixed by a darker housing alone.
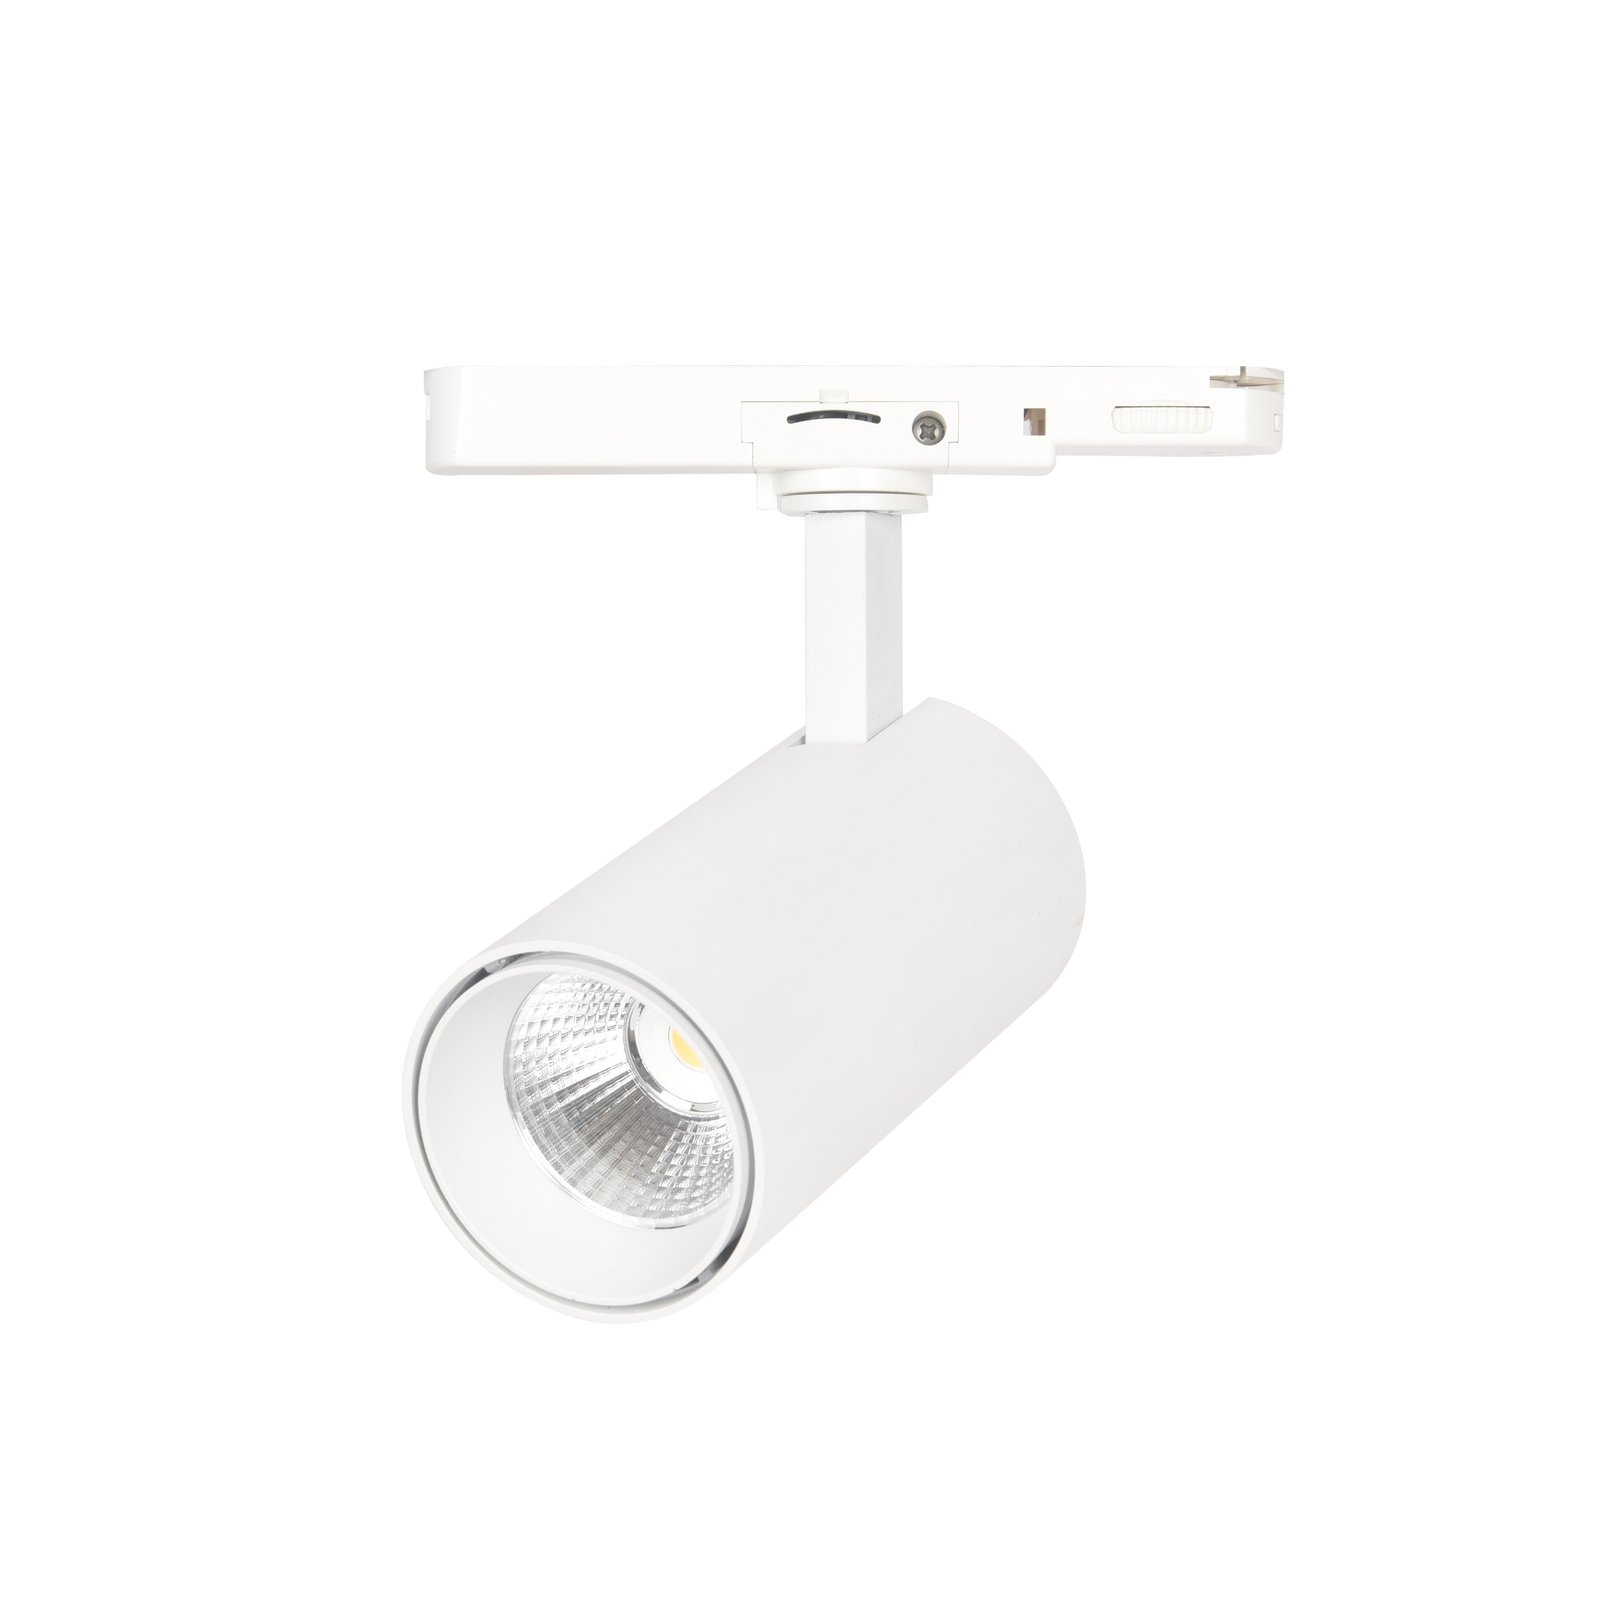
The white product view helps compare finish and body proportions. The installed beam and aiming range must be checked separately.
Compare black and white finishes in context
A black cylinder can recede against a dark ceiling or become a deliberate graphic element on a light rail. A white cylinder may blend with a white ceiling but stand out against dark track. There is no universally better color for boutique retail. View physical finish samples with the planned ceiling, rail and ambient light. Check sheen and texture as well as color, because a glossy housing may attract more visual attention than a matte one.
The inside of the aperture may differ from the outer body. A dark baffle can affect the apparent brightness from some positions, but it does not make a fixture glare-free. Compare the lit sample, not just the unlit housing. If the project mixes black and white heads across zones, record exactly where each finish belongs and how spare units will be stocked. A visually incorrect replacement can be conspicuous even when the beam is similar.
On refurbishment projects, confirm whether the existing rail finish is still available. A new white head on an aged or differently toned white rail may not match as expected. Ask for finish samples early if appearance is critical. Custom finishes may add minimum quantities or lead time; do not promise them to the design team until the supplier confirms the order conditions.
Use the beam to support the brand story
Boutique lighting can guide attention, but it should still make products easy to inspect. Define how bright the display should appear relative to the general layer and test that balance with actual merchandise. A narrow accent on one feature can create interest; repeating many narrow beams on a dense wall can create clutter. A broader distribution may be more appropriate for a rack or table. The store may need a mix, documented on a fixture schedule.
Look for beam edge quality, color consistency and unwanted rings or scallops on nearby walls. Total lumens are not enough to compare two spotlights. Use the exact photometric files and an installed sample. If the supplier offers interchangeable lenses or reflectors, verify which optical part is installed in the sample and which will ship in production. Even a small difference in distribution can be visible when many heads are repeated along one wall.
For textiles and cosmetics, color appearance is important. Select the required CCT and color-rendering target with real product samples present. Compare neighboring lights side by side. A single odd-color head can make merchandise look inconsistent. If product colors shift regularly, a consistent, well-documented base specification may be more valuable than chasing a dramatic scene for one campaign.
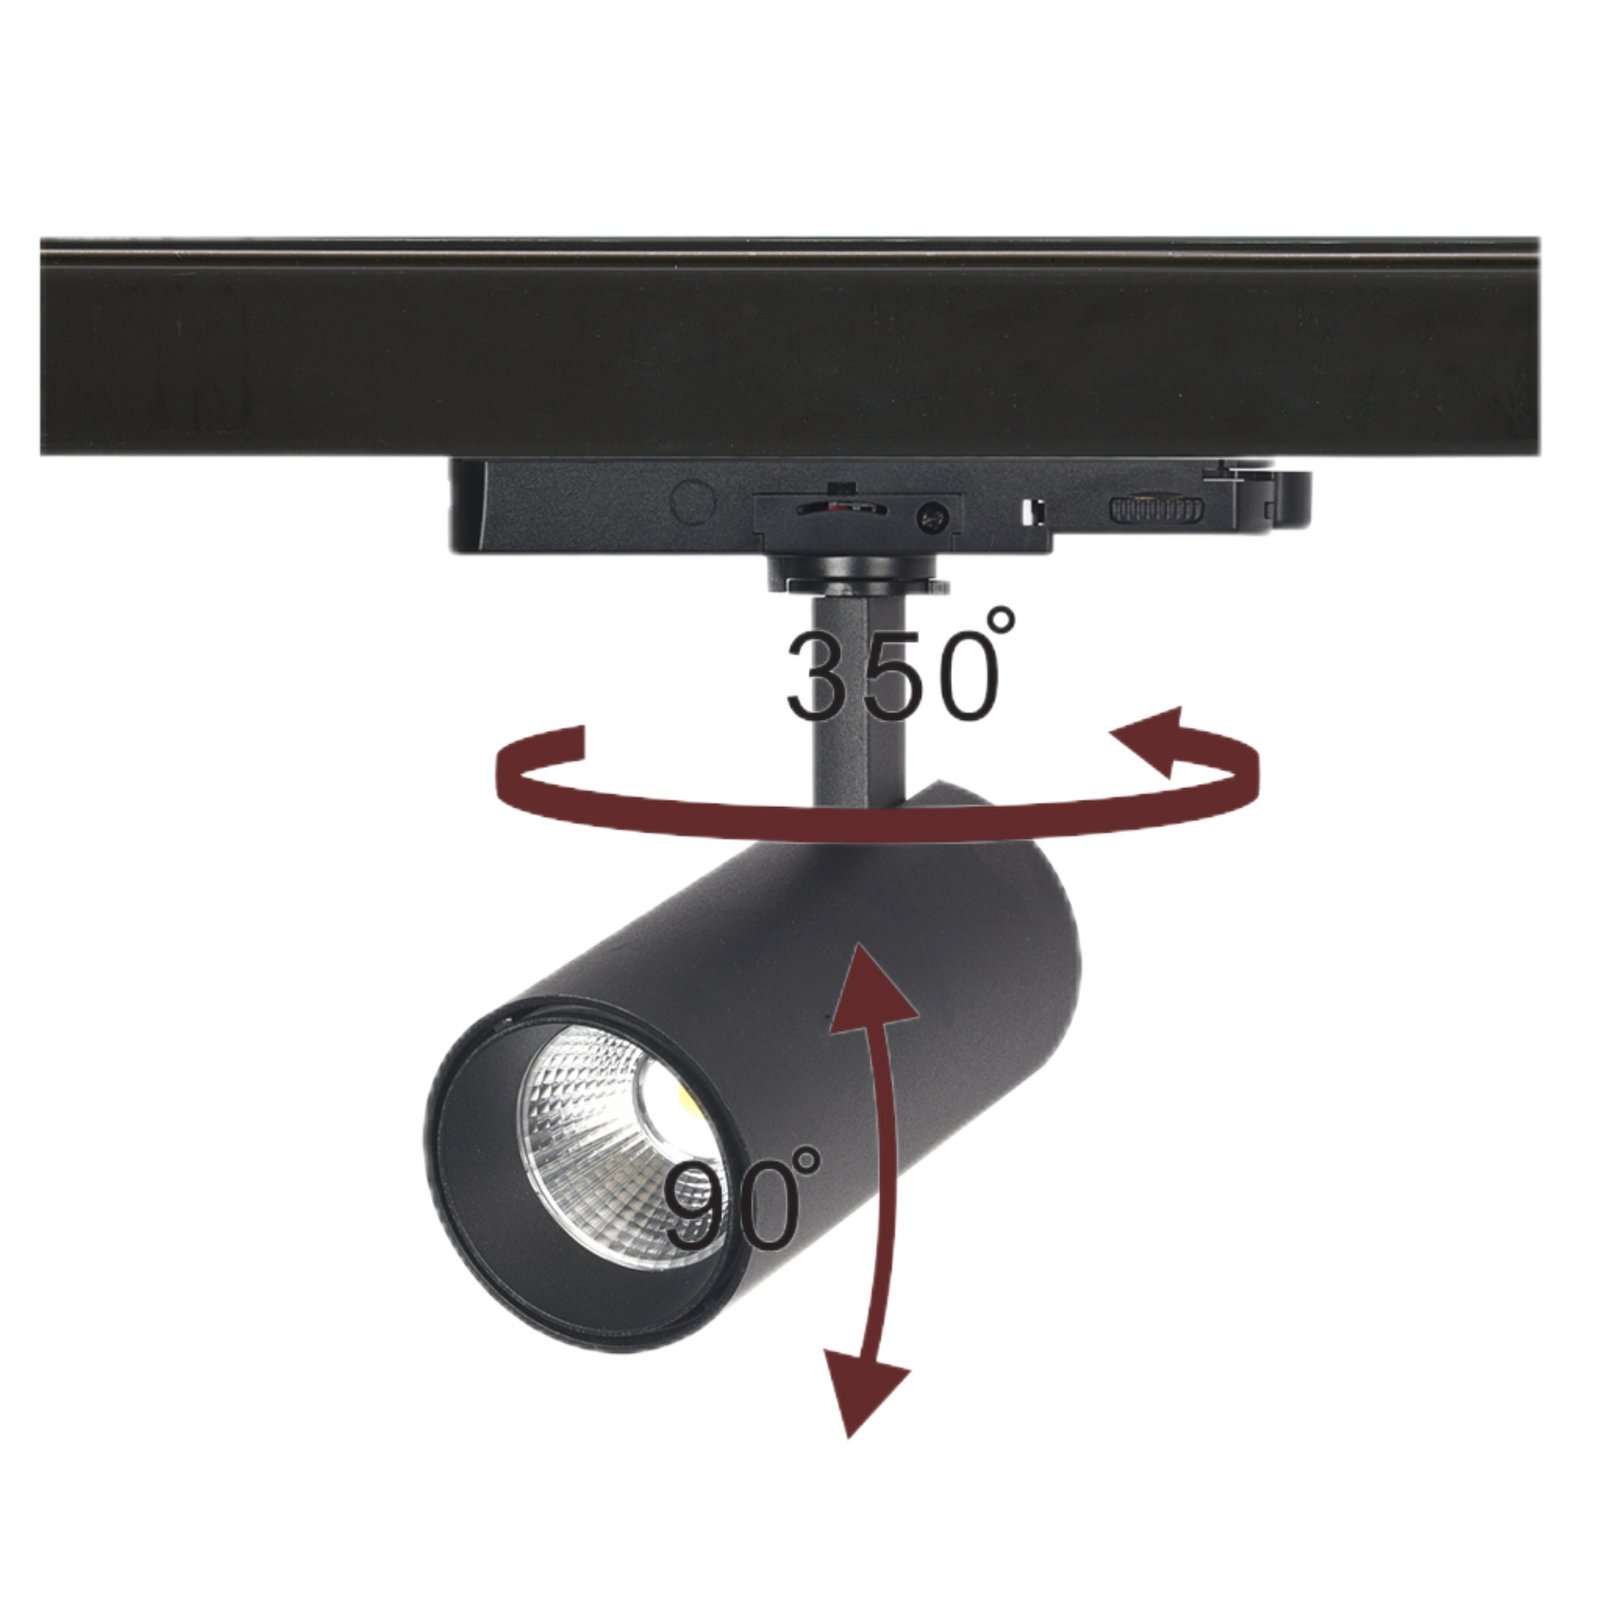
An adjustment image can show the idea of rotation and tilt; the current model drawing and installed test should establish the usable range.
Plan controls and scene changes
A boutique may need a bright trading scene, a softer evening scene and separate control of window displays. Define those requirements before selecting the driver and rail. Check that the spotlight’s driver works with the proposed dimming interface and that all heads on a group behave consistently at the intended low level. A simple on/off demonstration is not enough.
When displays move, the operator should have a safe process for repositioning and re-aiming heads. Who is allowed to move fixtures? Must power be isolated? How will rail loading and glare be rechecked? What scene settings should remain unchanged? The supplier’s instructions and the qualified installer’s training should govern the procedure. An adaptable system is most useful when people know how to adapt it without degrading the store experience.
Keep a store-level fixture map showing rail type, circuit, location, model, optic, finish, CCT, driver and scene group. Photograph key display positions after commissioning. When merchandising teams change the layout, the map gives them a starting point. For multi-store brands, a standard fixture kit can help, but each store should still record site-specific deviations.
Compare complete installed cost and maintenance
Fixture price is one line in the project. Include rail, power feeds, support, control components, installation, aiming, commissioning and a spare-stock plan. A slightly cheaper head that does not fit the existing rail or requires a new controller may cost more as an installed system. Conversely, a higher-priced adaptable head may earn its place if displays change often and the spare parts remain available. Compare real project costs rather than generic product claims.
Ask how the light engine, driver and optic are serviced. Can a failed unit be replaced without changing the rail? Is the same finish likely to be available later? How are revisions identified? A boutique with many visibly identical heads should keep a few properly specified spares or an agreed replenishment route. A replacement should match appearance and beam, not just switch on.
Cleaning is another practical issue. Dust on a dark cylinder or optical surface can be visible and may change the light. Confirm approved cleaning methods and access at the mounting height. Avoid touching lenses or reflectors in ways the manufacturer does not allow. Provide the maintenance team with the product instructions and fixture schedule.
Approve a representative display bay
Install several heads, not only one, on the intended rail. Include at least one wall display and one freestanding feature if both will be common. Test the proposed beam versions, finish and control scene with actual merchandise. Walk the entrance and aisle views. Check source visibility, reflections, product color, beam overlap and any shadows caused by shelving. Adjust the positions and record what was accepted.
The approval record should include the rail and adapter models, head revision, beam/optic, finish, CCT, driver, control circuit, target locations and photographs. Ask the factory to identify these options explicitly in its quotation and carton labels. Lowcarbon’s product center shows related commercial ranges, while the track spotlight versus linear track light guide helps when a wall or aisle may need broad coverage rather than narrow accents.
Do not use a styled application image as evidence that a particular rail, beam or installation will work at your site. A pilot display bay is the evidence that matters. It is also a useful place to train staff on safe, repeatable changes after handover.
Common mistakes to avoid
- Assuming a track head fits any visually similar rail.
- Choosing beam width from wattage or housing size.
- Aiming fixtures without checking glare along the customer route.
- Treating black finish or a dark baffle as a guarantee of low glare.
- Approving only one head when the display depends on several overlapping beams.
- Forgetting the effect of glossy products and mirrors on reflections.
- Ordering mixed optics without clear location labels.
- Giving merchandising staff a flexible system without a safe adjustment process.
Frequently asked questions
Can a cylinder spotlight be moved anywhere on a track?
Only where the exact rail and circuit permit it, and within the system’s loading and installation rules. The adapter must be compatible and the new position should be checked for aim and glare.
Is a black cylinder less glaring than a white one?
The outer housing color alone does not determine glare. Optical design, aperture brightness and viewing geometry matter. Compare lit samples from normal customer positions.
Should every display use the same beam angle?
Not necessarily. Different target sizes and distances can call for different distributions. Keep a documented optic schedule so each head goes in the intended position.
How do we make seasonal changes easier?
Plan rails around likely future zones, use compatible fixtures, keep a fixture map and train staff or contractors to re-aim safely. Check new layouts for glare and reflections.
What should a buyer request before bulk ordering?
Request the exact rail/adapter compatibility evidence, mechanical drawing, photometric file, driver/control details, finish sample, installation instructions and an approved pilot bay record.
Final recommendation
Select cylinder track spotlights as part of a store system: rail, adapter, optic, driver, controls and operating process. Test the real merchandise and customer viewpoints, then record a configuration that can be repeated and maintained. That makes the spotlight’s flexibility genuinely useful rather than merely advertised.
